
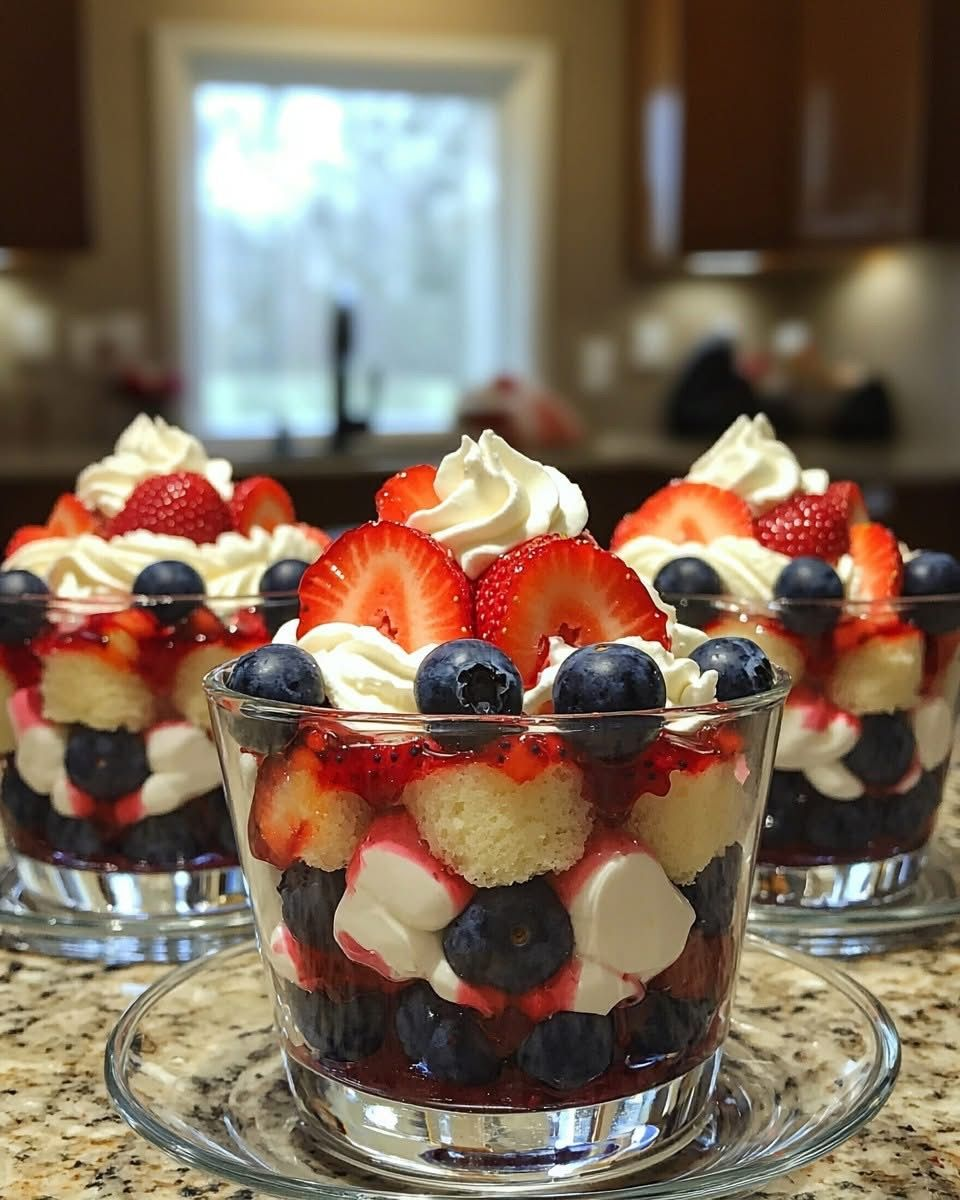
I’m obsessed with berry desserts that feel like a party in a glass. Layers, colors, a little tang, and just the right amount of sweetness that doesn’t scream “dessert for breakfast.” If you’re craving something playful, easy to assemble, and still impressive, this berry layered dessert is your new bestie.
What makes this berry layered dessert so irresistible
Let’s be real: layers do the heavy lifting here. Each bite gives you a splash of juicy berries, a creamy kiss, and a crumbly crunch that keeps your teeth interested. It’s dessert, but it behaves. No oven needed, mostly no fuss, and the visuals speak for themselves. FYI, the contrast between tart berries and smooth filling is where the magic happens.
The base you can’t mess up
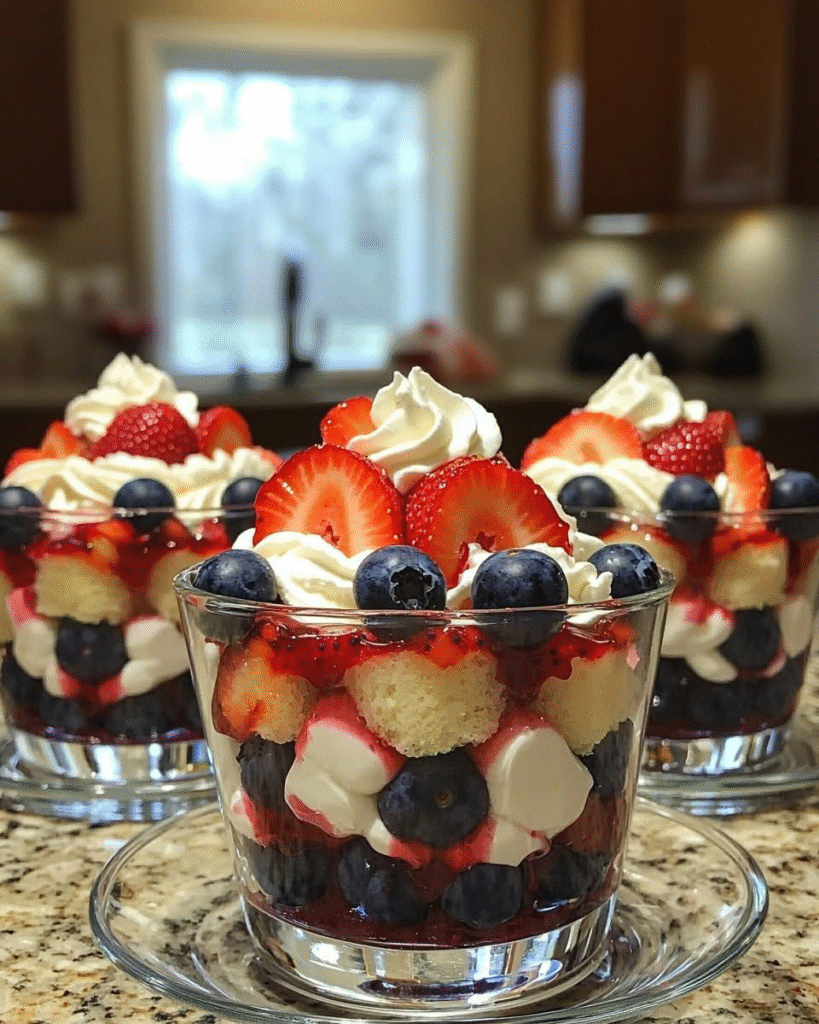
A good foundation anchors the whole thing. You’ve got a few solid options:
- Crushed shortbread or gingersnap crust for a buttery crunch.
- Oat and graham cracker crumb for a wholesome vibe.
- Whipped biscuit crumble for a lighter, fluffy texture.
If you want to keep it lighter, skip the butter and press in finely crushed cookies with a touch of sugar and a splash of melted butter to hold it together. Press evenly in the bottom of your serving dish and chill while you prep the filling.
Berry filling: the star of the show
Here’s where the flavor party starts. You’ll want a mix of berries that deliver pop and color: strawberries, blueberries, raspberries, and blackberries all work beautifully. You can use fresh or thawed frozen berries—your call.
Two easy routes to berry bliss
- Layered fruit and cream: a simple mash of berries folded with a little sugar and lemon juice, then spooned between creamy layers.
- Cooked berry compote: simmer berries with a touch of sugar and zest until saucy, cool slightly, and pour in between layers for a glossy finish.
Tips to avoid soggy drama: toss berries with a pinch of cornstarch or a splash of lemon juice to brighten and help them set a bit. If you’re short on time, skip the cookdown and use a chunky, chunky berry mix with some zest.
Creamy layers: tang, creaminess, and balance
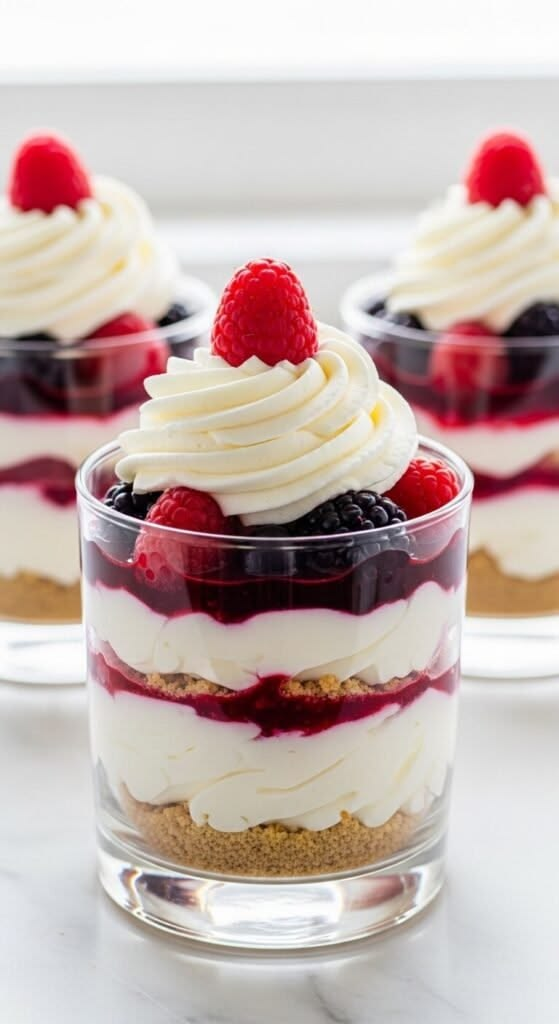
The cream layer keeps this dessert from tipping into « too sweet. » You’ve got several easy, no-fuss options:
- Mascarpone or cream cheese whipped with a little vanilla and sugar for richness.
- Greek yogurt folded with whipped cream for a lighter, tangy twist.
- Ricotta mixed with a touch of lemon and powdered sugar for a fresh, airy feel.
- Beat your chosen base until smooth and airy. Sweeten to taste, keeping in mind the berries will still add sweetness.
- Fold in whipped cream or extra light cream to keep the texture fluffy.
- Layer generously between berry portions, then chill to set.
Texture balance: the secret weapon
Texture is what makes this dessert feel special. You want a little crunch, a little creaminess, and plenty of berry juiciness. Consider adding a final crunch layer on top:
- Crumbled cookies or granola for a toasty finish.
- Toasted coconut for a tropical bite.
- Chopped nuts for extra texture (almonds or pistachios work well with berry flavors).
Want even more play? Add a few spoonfuls of finely chopped dark chocolate or white chocolate drizzle for a glossy finish. decorations aside, the key is keeping everything cohesive: berry-tart, creamy, crunchy, in harmony.
Presentation ideas that wow with minimal effort
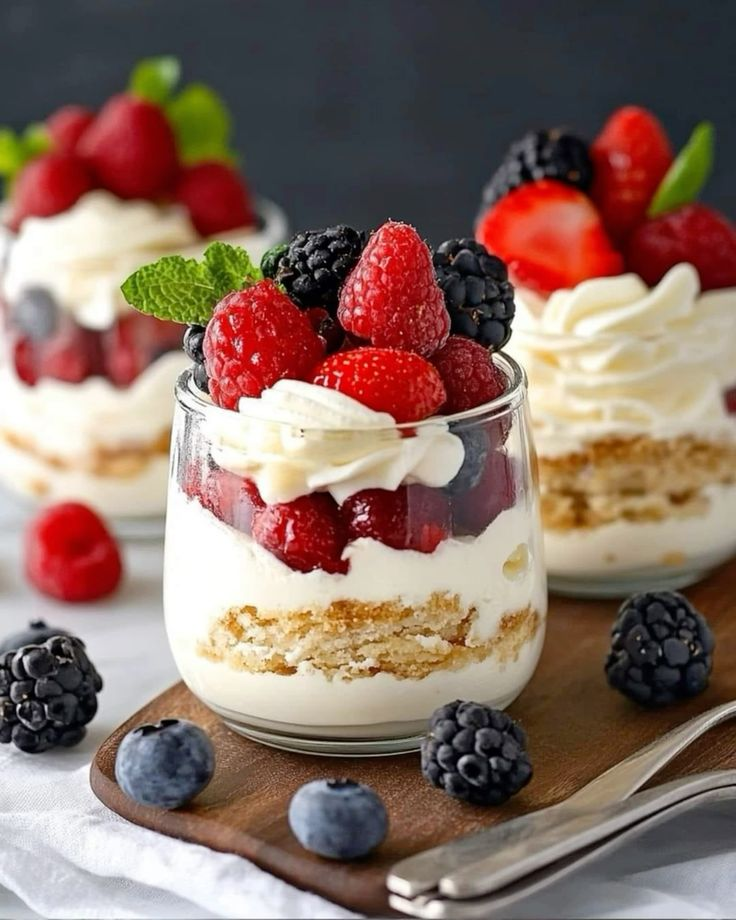
The fun part is how you present it. A no-stress showstopper can still feel fancy.
Clear glasses for a mini-trifle vibe
Layer in small mason jars or clear dessert cups so everyone can see the pretty strata. It’s basically edible art in a cup. Bonus: you can assemble a few the night before and let them chill.
Tray-and-scoop options
For a party, whip up a big pan, slice into squares, and serve on a tray with little forks. Keep a small bowl of fresh berries on the side for extra pop and color.
Seasonal twists
Swap berries with the season: stone fruits in summer for a peach-berry hybrid, or use pomegranate seeds and orange zest for a winter fusillade of color and flavor. IMO, always good to tailor to what’s fresh and affordable.
Make-ahead tips and storage
This dessert loves chill time. It gives flavors a chance to mingle and the texture to set just right.
- Prepare the crust a day ahead and press it into the dish. Cover and refrigerate.
- Make the berry filling and cream layers the night before. Keep each in separate containers, then assemble before serving. Easy peasy.
- Store covered in the fridge for up to 3 days. If you’re stacking multiple layers, keep the top nice and tight to avoid drying out the edges.
FYI: if you’re transporting to a potluck, assemble the layers in the serving dish the night before and keep chilled. When it’s time to serve, give it a light freshen-up with a dusting of powdered sugar or a few extra berries on top.
Flavor twists to try
Want to push this dessert beyond the standard berry-brain freeze? Here are some quick swaps:
- Add a splash of vanilla or almond extract to the cream to deepen the flavor without complicating the recipe.
- Fold in a spoonful of lemon curd into the cream for a tart zing that brightens everything.
- Install a chocolate surprise: a thin layer of melted chocolate or choc chips tucked between layers for a decadent touch.
Remember: balance is key. Too much chocolate can overpower the berry goodness, but a whisper of cocoa can make everything feel fancier.
Frequently Asked Questions
Find answers to common questions
Conclusion
Berry layered dessert is your new go-to for any occasion that calls for something stylish, tasty, and not fussy. It’s casual enough for weeknights and fancy enough for guests. With a few flexible components—crust, berry filling, creamy layers, and a crunchy top—you can tailor it to whatever berries you’ve got, whatever dietary needs you’re catering to, and whatever mood you’re in. IMO, the best part is watching everyone dig in and say, “Whoa, this is perfect.” Give it a try, and you’ll see why this little dessert gets invited to the party so often.
Want a printable PDF version?