
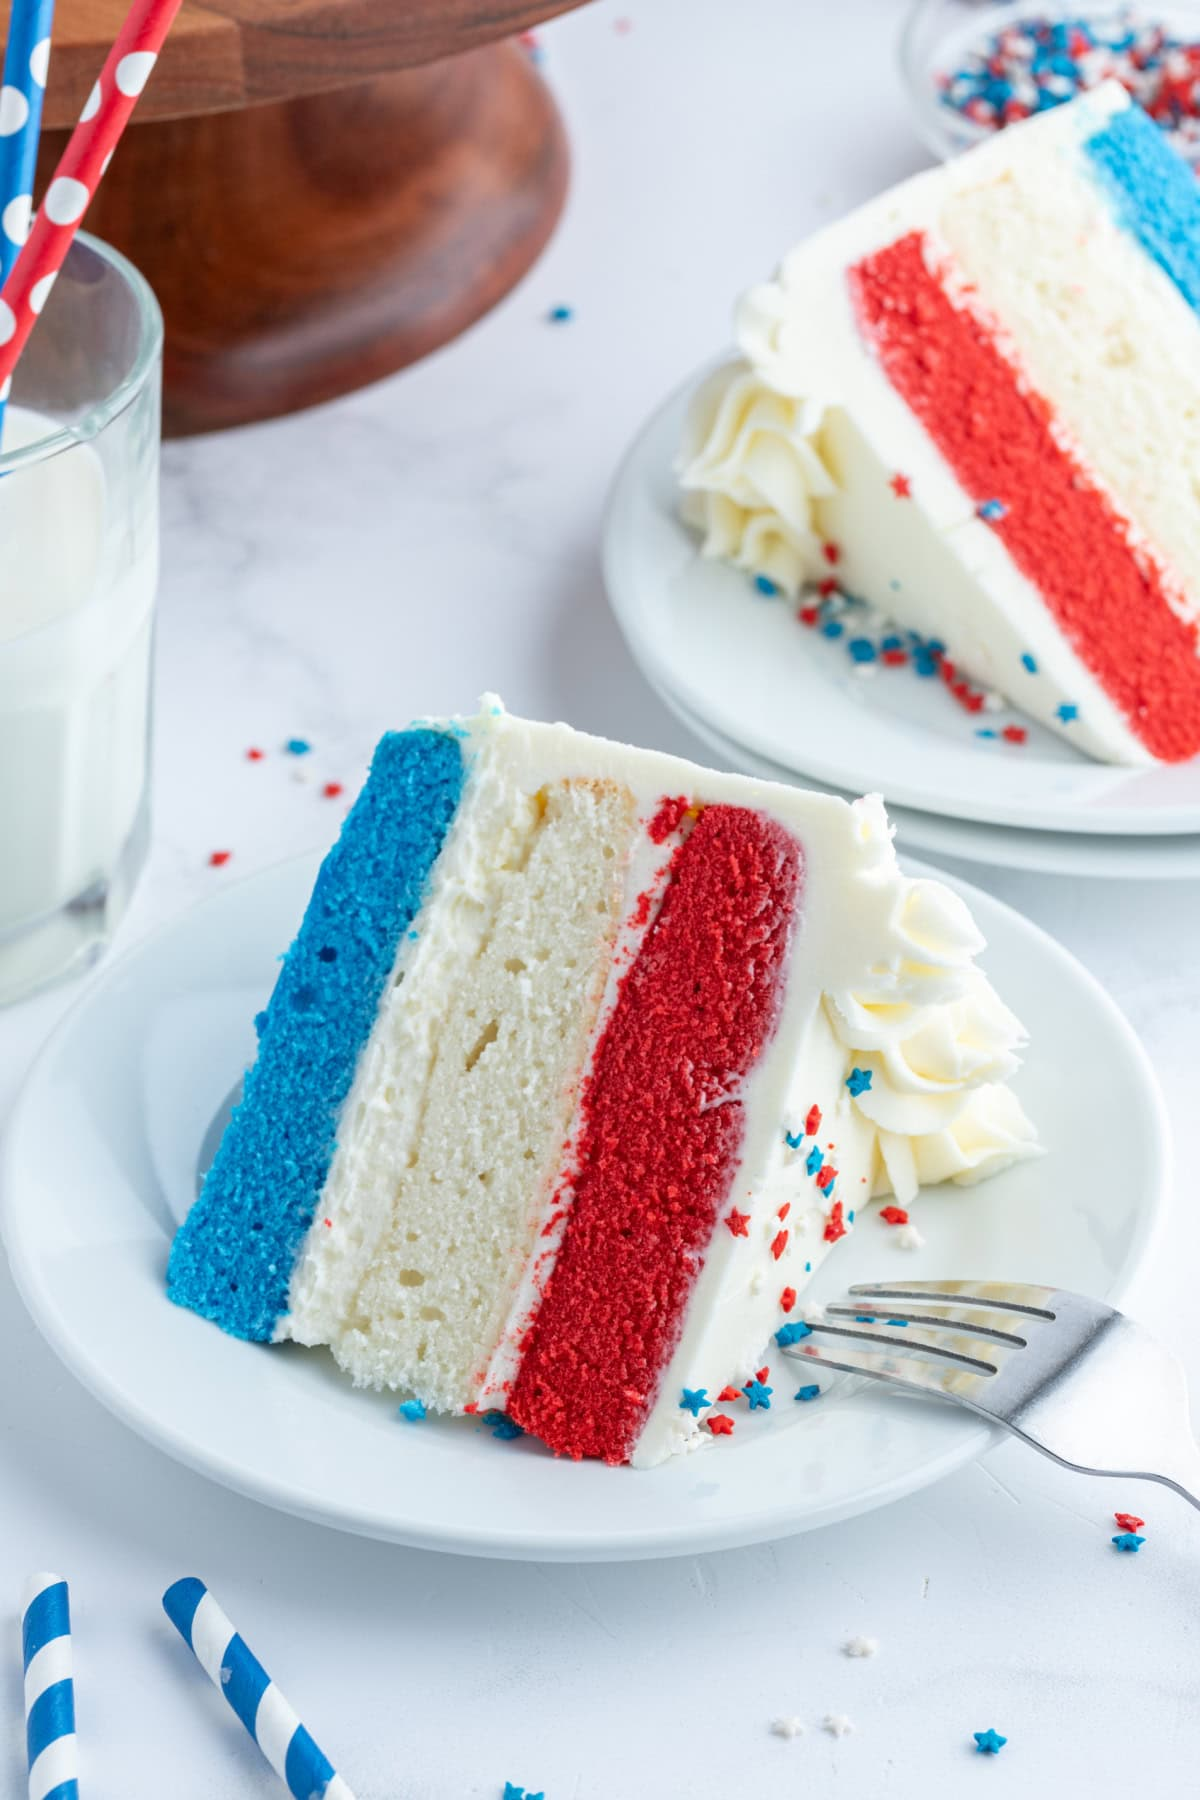
This red white blue icebox cake is basically a summer time superhero. No bake, no fuss, and proudly patriotic in the tastiest way possible. If you want something that screams party vibes without the oven heat, this one’s for you. Ready to dive in? I thought so.
What the heck is a red white blue icebox cake?
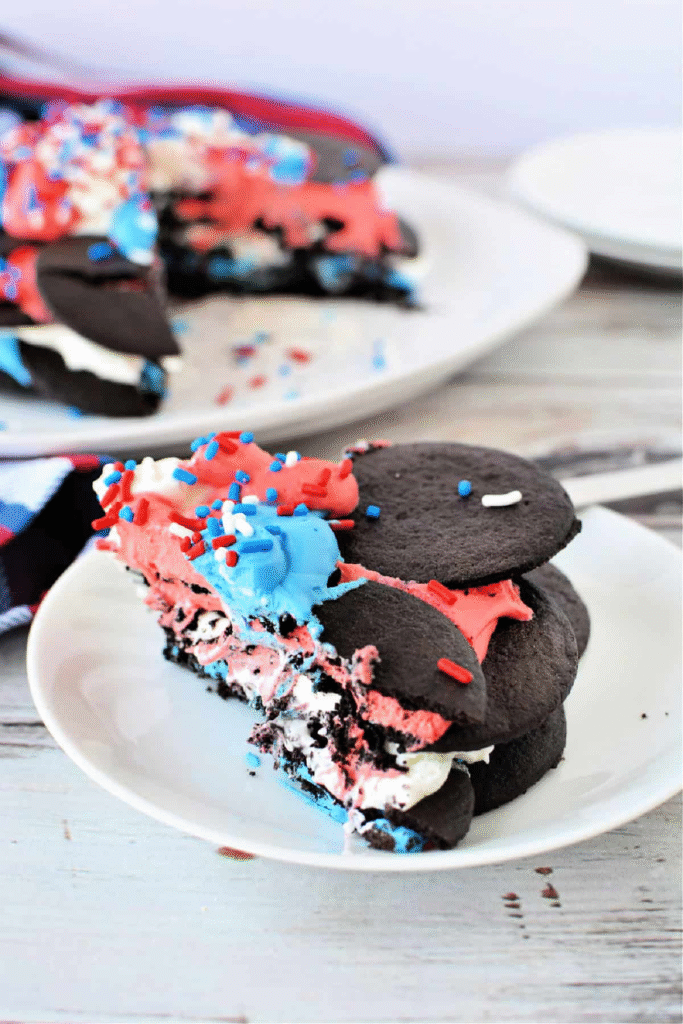
Think Oreo-stacked goodness meets a patriotic parade. An icebox cake uses thinly sliced cookies or graham crackers layered with whipped cream or cream cheese mixture, then chilled until the layers set into a sliceable dream. For this version, you swap in red, white, and blue flavors and colors. It looks festive, tastes like a cool breeze on a hot day, and travels well to picnics, BBQs, or virtual Fourth of July hangs with your crew. FYI, no baking required means you can pre-make, hide in the fridge, and pretend you totally whipped this up in five minutes.
Let’s talk colors and flavor ideas
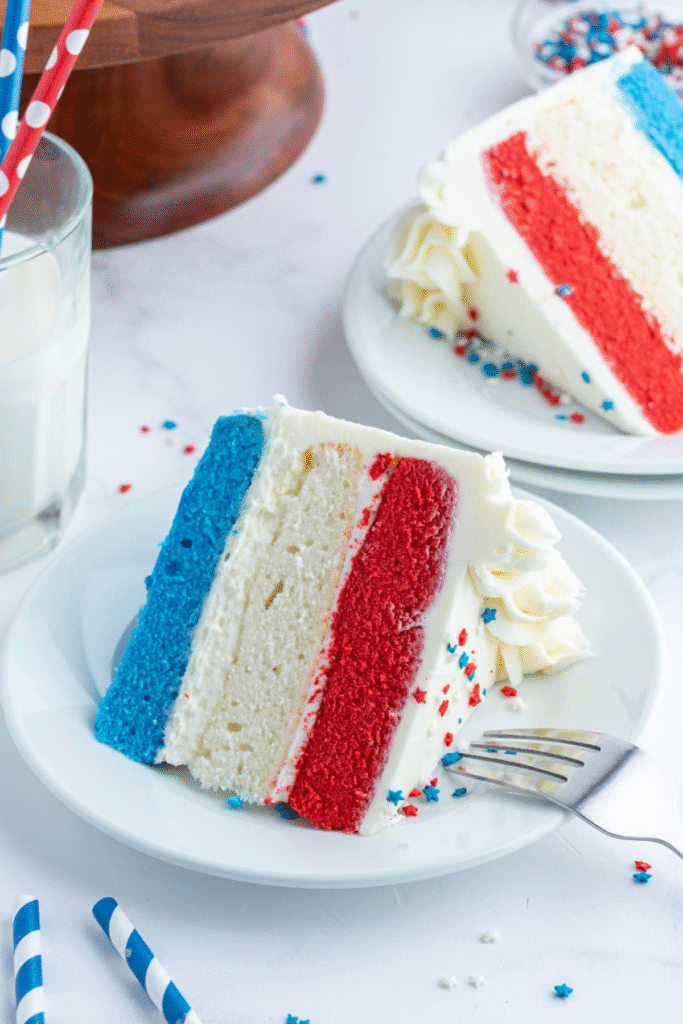
This cake should be a celebration of color as much as flavor. You’ve got options, depending on how bold you want to go.
- Classic palette: vanilla cream with blueberries for the blue, strawberries for the red, and plain whipped cream for the white. Clean, bright, and crowd-pleasing.
- Richer twist: use a cream cheese filling with a splash of vanilla for the white, mix in lemon zest for brightness, and layer in fresh berries with a hint of berry compote for the red and blue layers.
- Gooey texture: switch in cinnamon shortbread or vanilla wafer cookies for extra bite, then fill with a slightly sweetened whipped cream and a light mascarpone blend.
What you don’t want: anything that makes the layers slide apart or taste like cardboard. Choose cookies that hold up, not crumble into a sad mush. If you’re allergic to dairy, you can use coconut whipped cream or a dairy-free cream cheese alternative for the white layer.
The build: how to assemble without panicking
The beauty of an icebox cake is simple assembly. Here’s a friendly, no-stress roadmap.
- Line your dish with parchment for easy release. A rectangular pan works great, but a round cake pan also shines for a party centerpiece.
- Whip your cream or cream cheese filling until it’s fluffy and holds soft peaks. If you’re using cream cheese, add a touch of sugar and vanilla so it doesn’t taste flat.
- Lay down a cookie or graham cracker layer, then smear a thin coat of white filling. This acts like glue for the next color block.
- Add your red layer: either a strawberry puree, red-tinted cream, or a berry compote smeared evenly.
- Repeat with the blue layer. You’ll end with three color-stripes—red on top or bottom depending on your dish orientation.
- Chill for at least 4–6 hours, or overnight if possible. Patience makes everything taste better, especially when it’s a party cake.
Tip: press down gently with a spatula as you go to minimize air pockets. Nobody wants a wobbly cake, unless you’re doing a fun, wobbly effect on purpose—which I won’t judge.
Subtle flavors that elevate the show
You can keep it simple, or you can sneak in a few grown-up touches without losing the charm.
Vanilla with a citrus wink
A little lemon or orange zest in the white filling brightens every bite. It’s like sunshine in a spoonful.
Berries that burst
Use a mix of fresh blueberries and sliced strawberries for color depth and juicy pops. If you want, fold in a spoonful of blueberry compote for a glossy blue layer.
Texture play
Add finely chopped nuts, coconut flakes, or crushed cookies between layers for crunch. The contrast makes each slice more interesting.
Presentation that pops (literally and figuratively)
We eat with our eyes first, so make this cake look the part.
- Slice with a warm knife for clean cuts; wipe the blade between slices.
- Top with fresh berries in a tidy row, or scatter them like confetti for a more playful feel.
- Dust with a light shower of powdered sugar for a festive finish.
If you’re feeling extra, you can use a striped piping pattern on the white layer before you chill, or place decorative star-shaped cookie toppers on the surface after slicing.
Make-ahead magic and storage tips
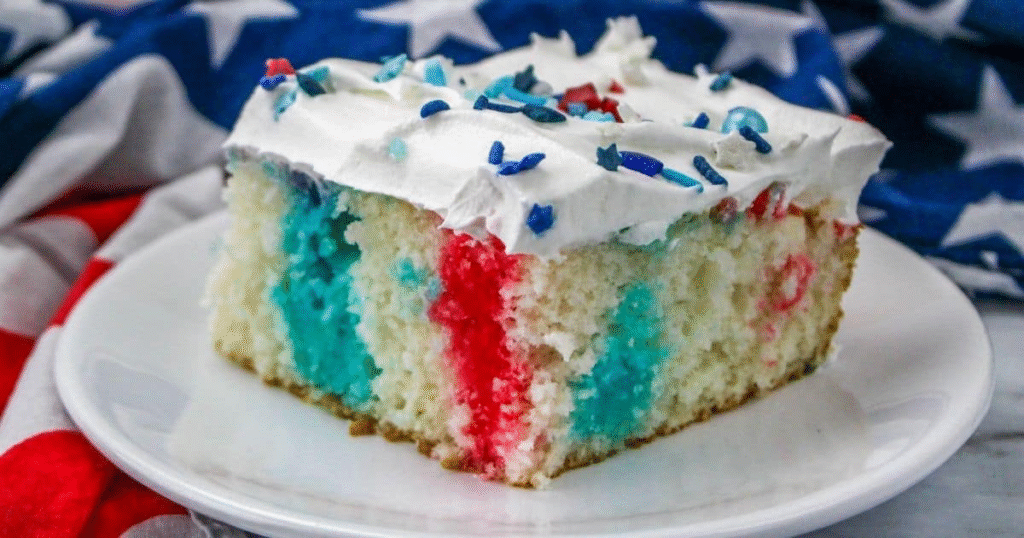
This cake thrives on chilling time, so plan ahead like a culinary general.
- Make it the day before your event. It tastes better after it’s had a good long nap in the fridge.
- Keep leftovers in the fridge, wrapped tightly. It’ll be firm for up to 3–4 days, though let’s be honest—it won’t last that long in your house.
- Can you freeze it? Yes, but expect a softer set once thawed. If you’re freezing, wrap it tightly and freeze in portions for easy serving.
If you’re short on time, assemble a quick no-bake version using a store-bought vanilla pudding layer and a mixture of whipped topping. You’ll still get the patriotic wow factor.
Common pitfalls (and how to dodge them)
We all want this to be slam-dunk delicious, not a soggy disaster.
- Too much filling can make the cookies soggy. Thin coats are the secret sauce.
- Not enough chill time = slippage. Be patient; it’s worth it.
- Color bleed—yep, the red can tint white. Use a sturdy white filling and avoid overly watery berry fillings.
- Sharp cookies that crack when cut. Choose softer, flexible cookies or soak slightly in milk to soften if needed.
If anything goes sideways, chill it longer. The fridge is your best friend here.
Frequently Asked Questions
Find answers to common questions
Conclusion
There’s something wildly satisfying about a red white blue icebox cake: it’s festive, forgiving, and delicious without turning your kitchen into a heat chamber. It looks impressive enough to bring to a backyard bash, yet it’s so simple you can practically assemble it in a snack break. So grab some cookies, whip up your filling, and let the fridge do the hard part. FYI, you’ll probably want seconds—and maybe thirds—because this cake is exactly the kind of chill hero we all need in warm weather. IMO, it’s the tasty way to celebrate the flag without all the pomp and circumstance. Enjoy, share, and maybe add a wink to the garnish for good measure.