
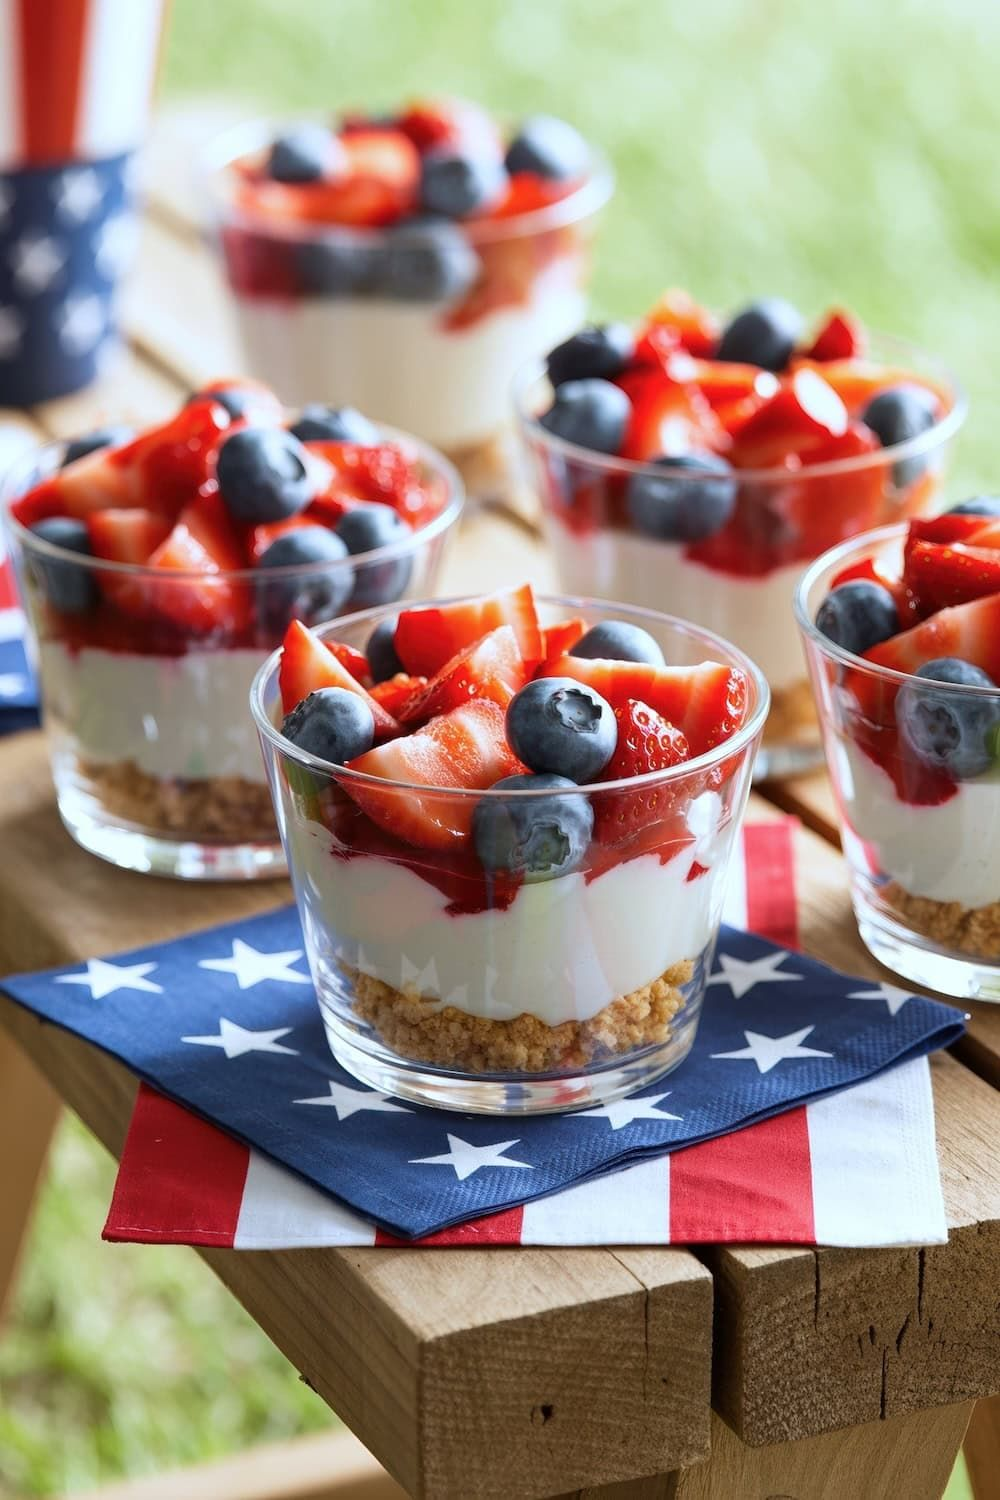
The 4th of July brings fireworks, picnics, and yes—dessert cups that scream red, white, and blue with zero fireworks in your kitchen. You don’t need to be Gordon Ramsay to pull this off; you just need a little whimsy, some sturdy dessert cups, and a splash of patriotic flair. Let’s dive into cups that taste like celebration without turning your kitchen into a science experiment.
Why Dessert Cups Are The MVP of July 4th
Dessert cups are perfect for outdoor celebrations: portable, portion-controlled, and ridiculously easy to customize. They let you serve a lineup of flavors without a ton of prep or fuss. And yes, they’re visually irresistible—watch guests gravitate toward the red, white, and blue layers like moths to a sparkler. FYI, you can mix textures too: creamy, crunchy, and a little fruity zing all in one.
Classic Red, White, and Blue Layer Cup
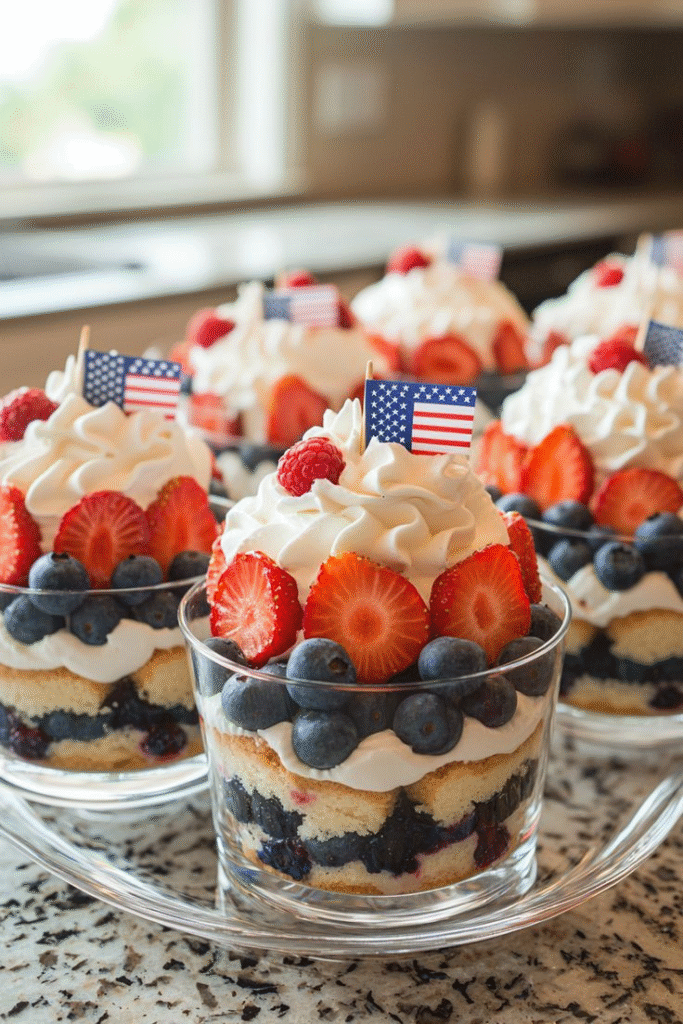
This is the MVP of the dessert cup game. Simple layers, bold colors, and a guaranteed smile from the crowd.
- Pick a sturdy cup: clear plastic or mason jars work great for showing off the layers.
- Base layer (red): strawberry or raspberry puree with yogurt or whipped cream for a light, fruity kick.
- White layer: vanilla yogurt or whipped cream cheese for that creamy, mellow contrast.
- Top layer (blue): blueberry compote or mixed berries macerated with a touch of lemon.
- Chill: give them a few hours in the fridge so the layers stay pristine.
Tips for flawless layering
– Keep each layer thin but distinct so you can see the colors pop. Nobody wants a muddy purple cup at the picnic.
– Use a piping bag or a small spoon to tame the edges. Clean lines make it Instagram-worthy.
– If you’re worried about color bleeding, add a light gelatin layer or a touch of cornstarch for stability.
Whipped Dream Cups: Light, Fluffy, and Festive
If you want something airy without sacrificing flavor, whip up something light and patriotic. Think whipped cream, mousse, and fruit nestled in a cup.
Minty whipped cream twist
– Add a pinch of crushed candy cane or peppermint extract for a hint of seasonal flair (no actual alcohol, promise).
– Layer with vanilla yogurt and fresh berries to keep it bright and refreshing.
Berry mousse cups
– Use a quick fruit puree folded into whipped cream to make a mousse that sets nicely in cups.
– Top with a blueberry or strawberry half for a dramatic finish.
No-Bake Cheesecake Cups: Creamy and Crowd-Pleasing
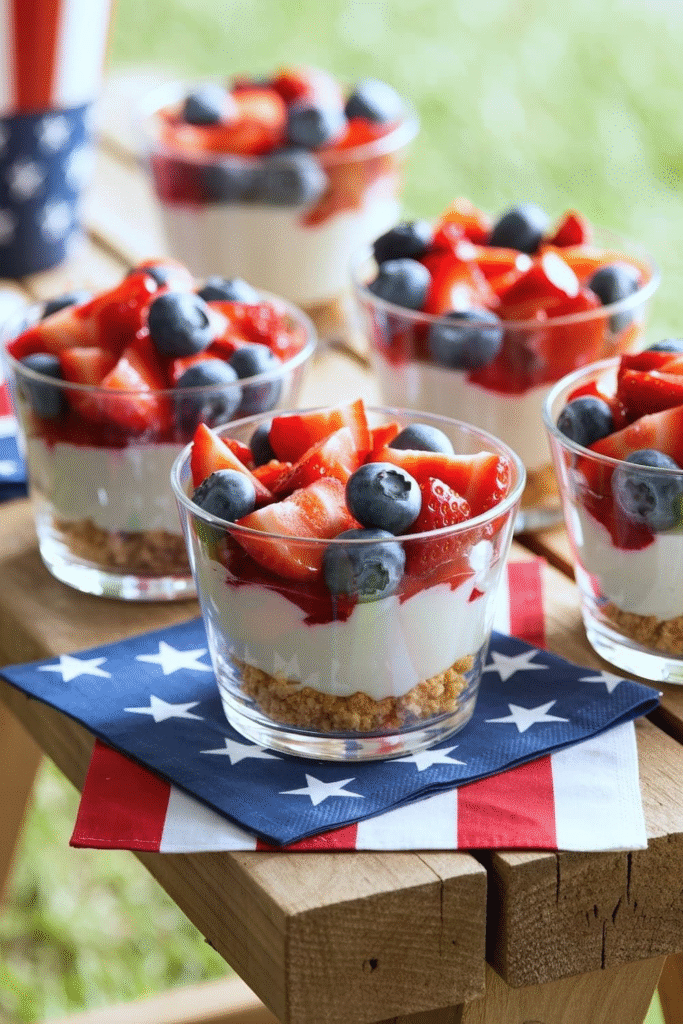
Cheesecake lovers, rejoice. These cups give you that tangy, creamy cheesecake vibe without turning your kitchen into a bake-a-thon.
- Crust idea: crushed graham crackers mixed with a little butter and sugar, pressed into the bottom.
- Cheesecake filling: cream cheese, sugar, vanilla, and a touch of lemon zest beaten until fluffy.
- Color pops: swirl in some red strawberry puree and blue blueberry compote, then swirl lightly to keep it marbled.
- Chill time: at least 2 hours to set up perfectly.
Texture balance
– Keep the cheesecake filling thick but scoopable so it holds its shape in the cup.
– Consider a crunchy top layer (crushed cookies or freeze-dried berries) for contrast.
Parfait-Style Cups: Make-Ahead Marvels
Parfaits are basically the multi-tasking superheroes of the dessert world. They travel well, look festive, and you can prep them in advance.
- Layer inspiration: red berry yogurt, white yogurt or yogurt-curd, and a blue-tinted granola or blueberry topping.
- Crunch factor: switch up textures with almond brittle shards or toasted coconut for that extra pop.
- Serve smart: keep toppings separate until serving to maintain crunchiness.
Make-ahead tips
– Prepare each component a day ahead and assemble right before serving to keep colors vibrant.
– Use clear cups so the layers stay visible and the party vibe stays strong.
Kid-Friendly and Crowd-Pleasing Fixes
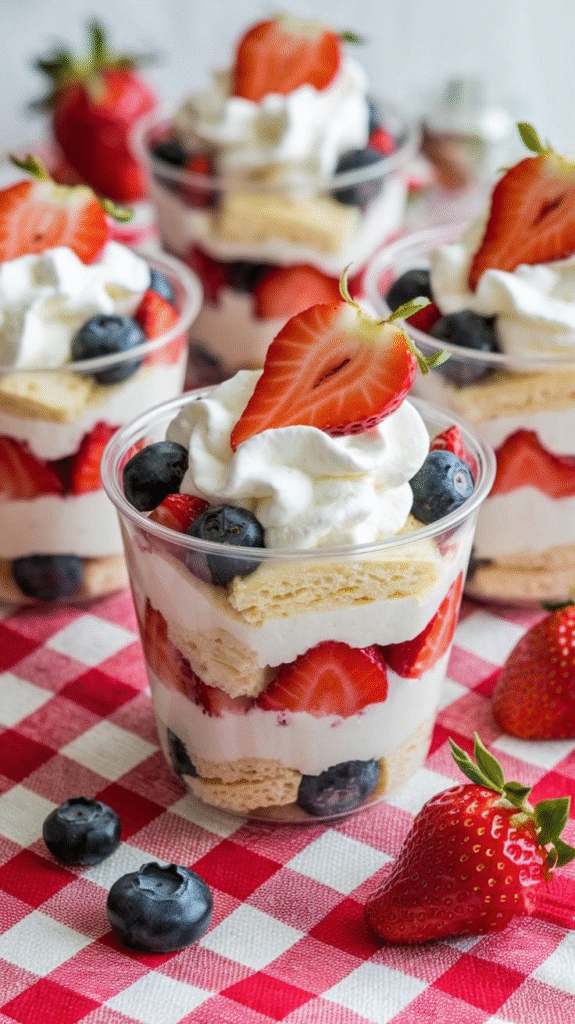
You don’t have to dumb down the flavors to win over the little ones. Just tune textures and sweetness so even the picky eaters walk away happy.
- Opt for yogurt-based layers with a touch of honey or maple for sweetness that’s not cloying.
- Involve the kids: let them pick their toppings from a mini toppings bar—berries, sprinkles, crushed graham crackers, tiny flags, you name it.
- Skip hard nuts for easier munching, or grind them fine so there’s still texture without the crunch hazard.
A Quick-Assembly Timeline for Stress-Free Prep
If you’re hosting, you want confidence, not chaos.
- Day before: prep fruit compotes or purees, whip creams, and set any gelatin layers. Chill well.
- Morning of: prep crusts or cookie crumbs, assemble components, and keep cups ready in the fridge.
- Before serving: do final assembly, add toppings, and pop a few flags in for photo ops.
Pro tips for a smooth party run
– Label cups or use color-coded lids so guests know which cup is theirs in a hurry.
– Have extra spoons and napkins on standby—nothing ruins a party faster than a wobbling cup.
Frequently Asked Questions
Find answers to common questions
Conclusion
Dessert cups are the unsung heroes of the 4th of July spread. They’re easy, festive, and endlessly adaptable. Whether you go classic red, white, and blue, or mix in mousse, cheesecake, or parfait vibes, you’ll set a table that looks as joyful as the day feels. So grab your cups, layer like a boss, and let the fireworks of flavor light up the dessert table. IMO, these cups turn any backyard bash into a full-on celebration with minimal effort and maximum swagger. Happy sipping, snacking, and sparkling this Independence Day.