
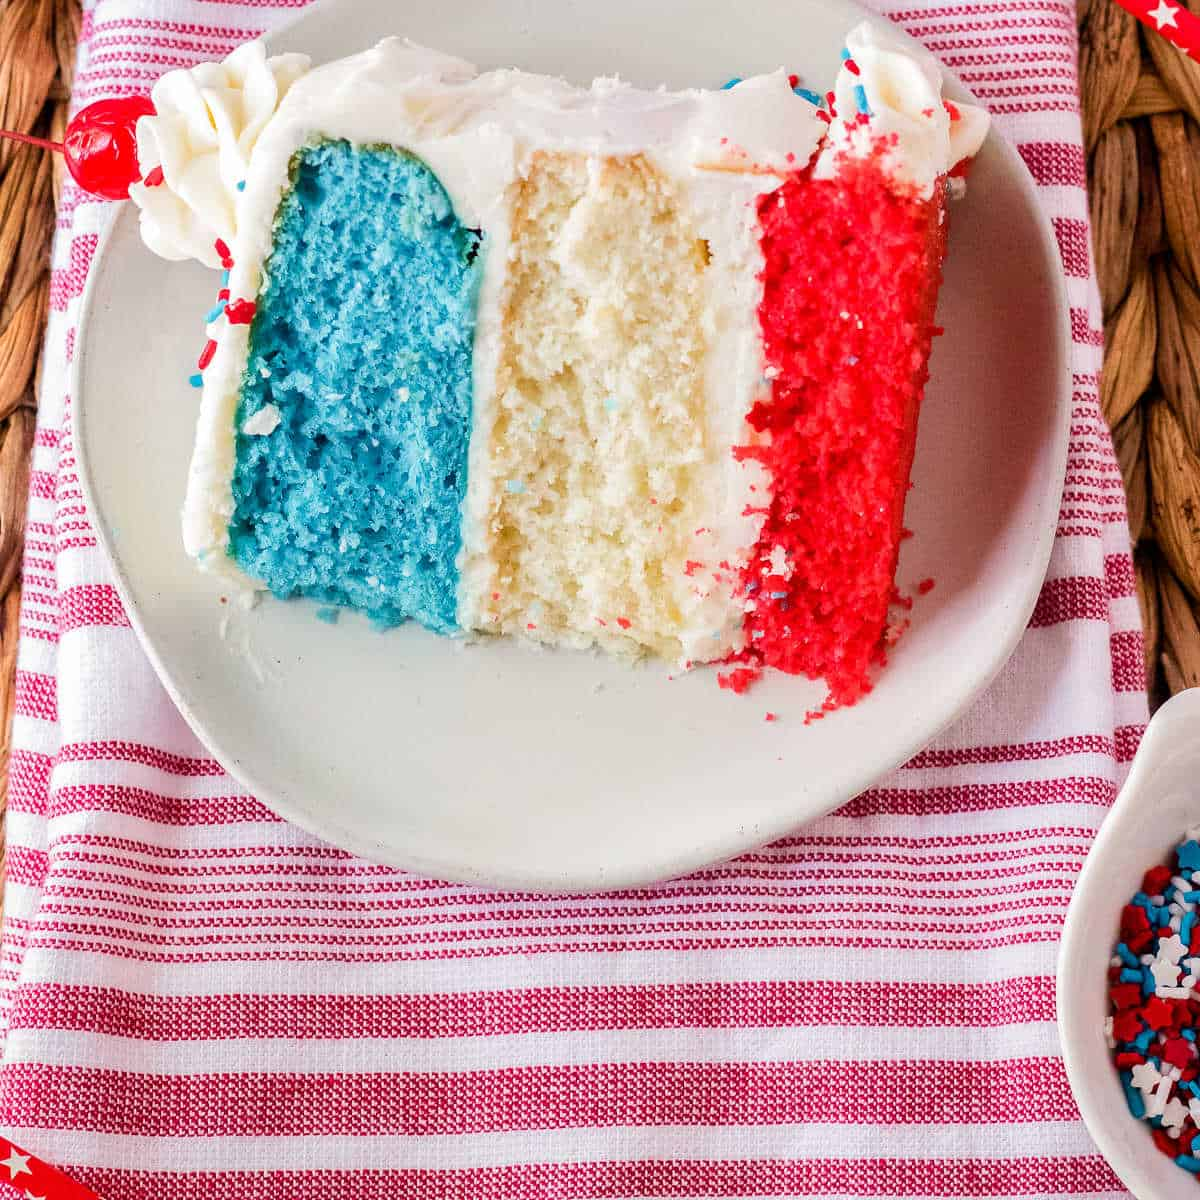
The 4th of July is basically a national personality test: can a dessert bring the country together without sparking a full-on food fight? Spoiler: a flag cake can absolutely do that, especially if you make it with a smile, a few bright colors, and zero drama in the kitchen. Ready to level up your barbecue game with a show-stopping, totally doable flag cake? Let’s dive in.
Why a Flag Cake? A Sweet Symbol of Summer
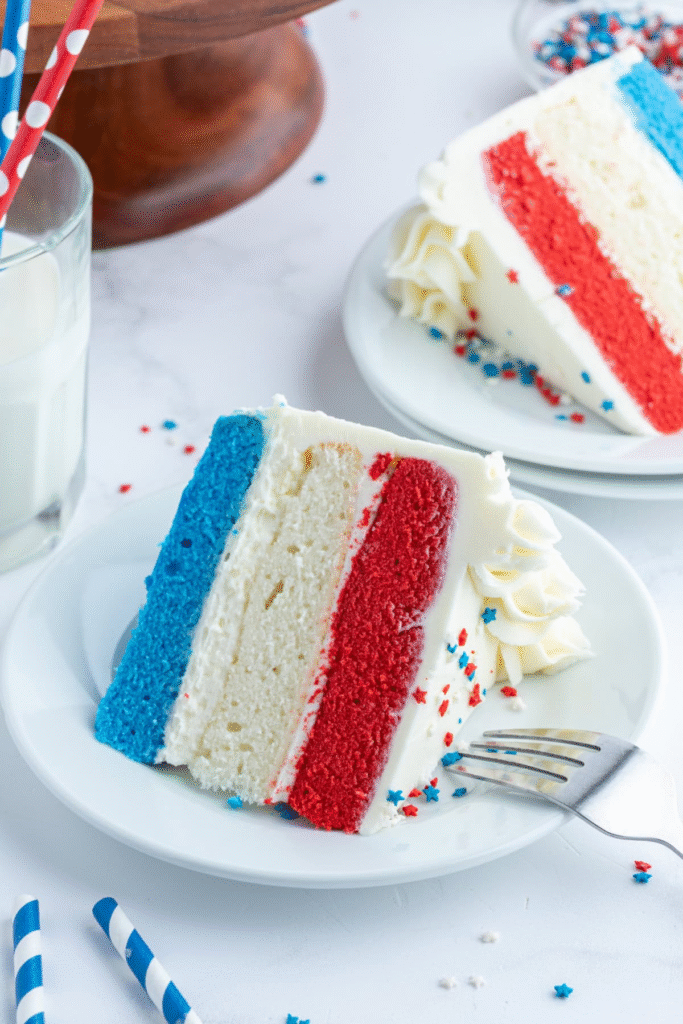
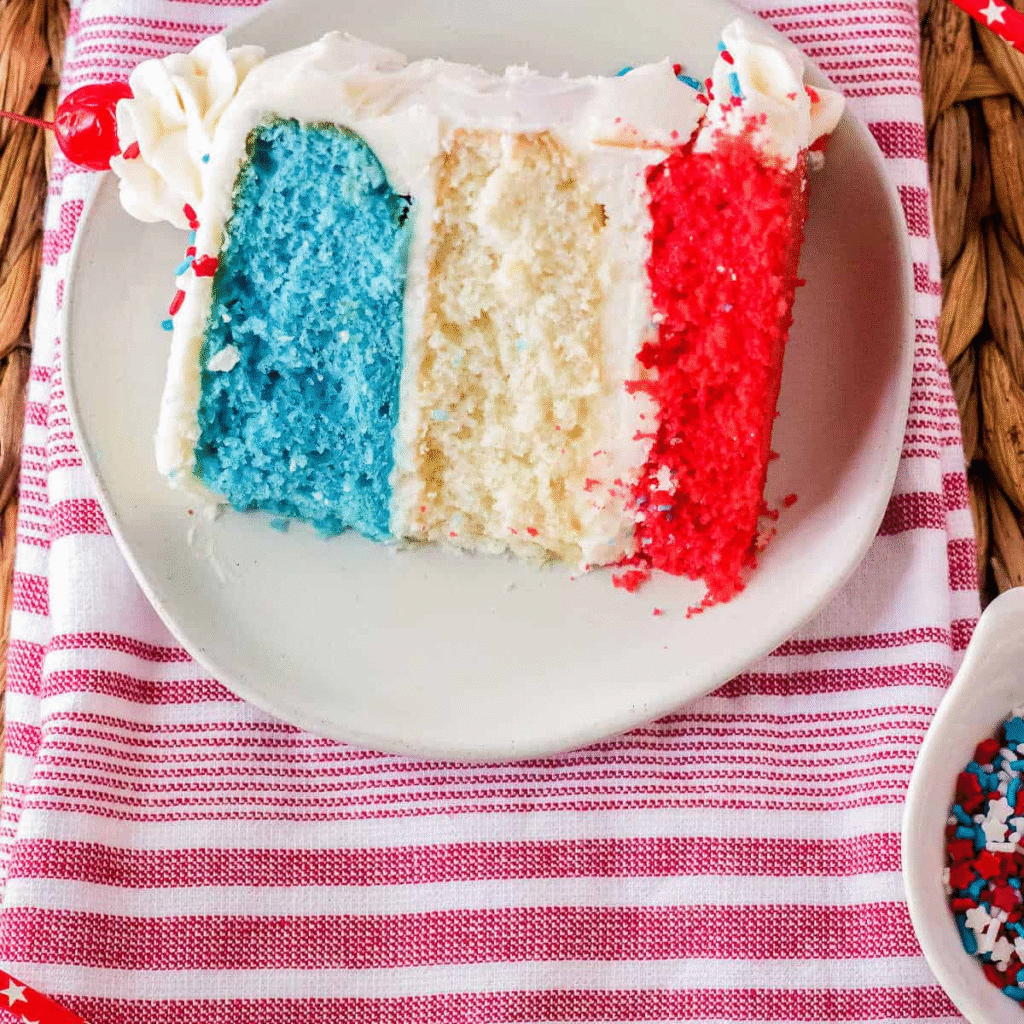
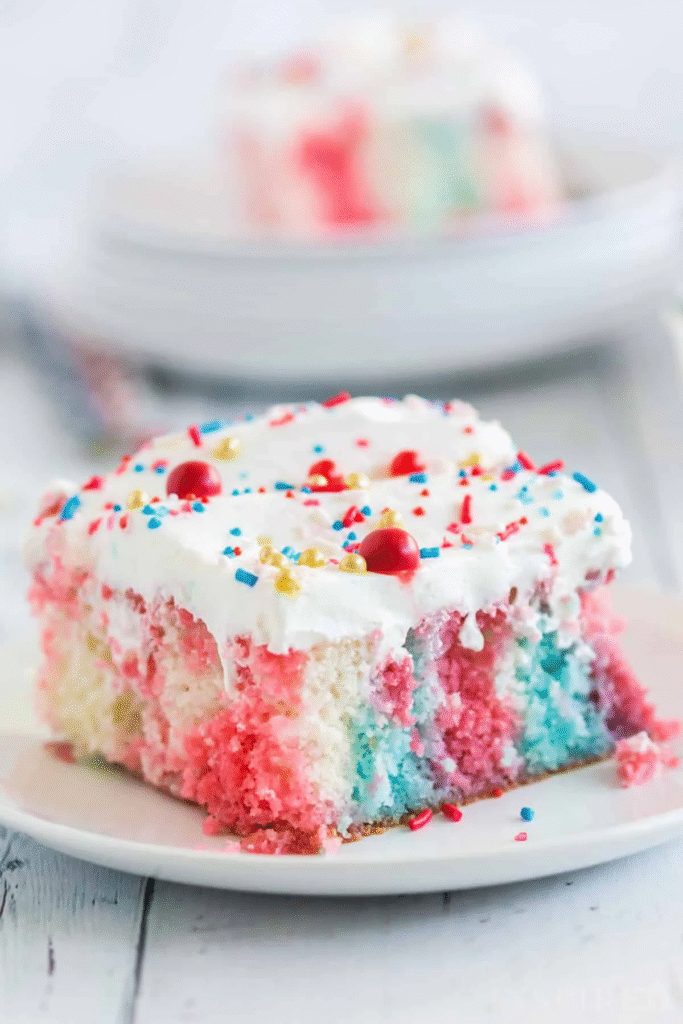
This isn’t your grandma’s boring dessert routine. A flag cake combines red, white, and blue in a single slice, and it screams celebration without shouting. It’s Instagram-worthy without being fussy, and it travels well to potlucks or backyard blitzes. FYI, you don’t need to be a pastry pro to pull this off—imperfect icing and cheerful vibes still win hearts. So yes, you can impress the crowd and keep it approachable at the same time.
What You’ll Need: Tools, Ingredients, and a Quick Mental Checklist
– Tools: a 9-inch round cake pan (or two 8-inch rounds), a spatula, a piping bag or zip-top bag, and a cake turntable if you’ve got one. If not, no shame—steady hands and a flat surface do wonders.
– Ingredients: classic vanilla or yellow cake mix (or your go-to homemade recipe), red and blue food coloring, white frosting (store-bought or homemade), and a simple filling like fruit jam or lemon curd if you want a tiny surprise.
– Decor: fresh berries for a pop of color and texture, optional star or circle cookie cutters for clean shapes, and a clean, dry workspace.
– Prep tip: bake a day ahead to let layers cool completely. This saves you from a melt-down (literally) when you stack the cake.
Step-by-Step: Building the Flag Cake That Won’t Fall Apart
1. Bake the cake layers and let them cool completely. You want crumbs that won’t crumble your vibe when you stack.
2. Level the tops. A straight, flat top makes the stripes look nice and crisp. If you’re feeling fancy, trim the domed bits with a serrated knife.
3. Frost a crumb coat. This is your primer—a thin layer that seals crumbs. Chill for 20 minutes, then apply a thicker top coat.
4. Create the stripes. You’ve got options:
– Layered look: Build the cake with alternating red, white, and blue horizontal layers, then frost over.
– Star-spangled top: Frost the entire cake white, smooth as you can, then pipe a blue field in the upper left and sprinkle white stars (or use mini marshmallows for a playful touch).
5. Add the flag elements. For a clean, classic vibe:
– Use a small round cutter to make white star shapes or dots on the blue area.
– Pipe a neat border along the edge with a star tip or a simple zigzag to keep it festive.
6. Finish with fruit or sprinkles. Raspberries, blueberries, or strawberries lined along the border add a fresh crunch and extra color pop.
7. Chill briefly before slicing. Cold cake slices cleanly and keeps the stripes sharp.
Flavor Tweaks: Keeping It Tasty Without Losing the Theme
– Classic vanilla with a twist: swap in a lemon zest in the batter for a bright zing that pairs beautifully with the berries.
– Red, white, and blueberry-licious: fold in a cup of fresh blueberries into the white frosting for speckled texture that still reads as “white.”
– Berry glaze drizzle: a light berry glaze over the top adds moisture and a glossy patriotic finish.
– Diet-friendly options: use a dairy-free frosting and a vegan cake mix to keep it inclusive for everyone at the party.
Decorating Details: Getting That Pinterest-Worthy Finish (Without the Panic)
– Keep it simple: you don’t need perfect stars or pristine lines. Wavy borders and a few bold stripes still look intentional.
– Texture tricks: use a spatula to create a light wave on the white frosting for extra dimension.
– Color care: don’t over-mix the red and blue to avoid muddy tones. Add a tiny bit of white to brighten if needed.
– Presentation: serve on a bright platter, sprinkle extra berries on the side, and use toothpicks with little flag toppers for a festive touch.
Subsection: Quick Troubleshooting — Common Pitfalls and Fixes
Crumbly cake after slicing
– Chill the cake after frosting for about 20 minutes. A cold cake holds together better when you cut neat slices.
Colors turning pink or purple
– Add red and blue gels gradually. Start with a drop at a time and mix well. If you see purple, back off the blue and add more white frosting to rebalance.
Frosting sliding off the sides
– Ensure the crumb coat is set before applying the final layer. A light touch with the spatula works wonders.
Serving and Party-Ready Tips
– Slice with a hot knife for clean edges. Run the blade under hot water, wipe dry, and slice in one confident motion.
– Serve with a scoop of vanilla ice cream or a dollop of whipped cream for extra indulgence.
– If you’re feeding a crowd, bake two thinner layers instead of one tall cake. It’s easier to manage and keeps the flag crisp-looking.
FAQ: Your Quick Flag Cake Answers
Do I need to bake from scratch to make this work?
– Not at all. A good store-bought cake mix and frosting can deliver a fantastic result. If you’re feeling confident, layering a homemade vanilla cake enhances the flavor and pride factor.
Can I use a sheet cake instead of layers?
– Absolutely. A sheet cake makes the color blocks easier to achieve with fewer seams. Just frost the top and a portion of the sides to keep the flag vibe intact.
What’s the best way to keep the red, white, and blue colors vibrant?
– Use gel food coloring rather than liquid. Gel colors give intense saturation without thinning the batter or frosting.
How far in advance can I assemble this cake?
– You can bake the layers a day ahead, store them wrapped in plastic, and assemble the next day. If you’re short on time, you can frost the cake a few hours ahead and refrigerate to set.
Is it okay to use fresh fruit on the cake?
– Yes, fresh berries look gorgeous and taste great. Just dry them well before placing them on the frosting to avoid sogginess.
4th July Flag Cake Recipe for a Show-Stopping Treat
Ingredients
– Tools: a 9-inch round cake pan (or two 8-inch rounds), a spatula, a piping bag or zip-top bag, and a cake turntable if you’ve got one. If not, no shame—steady hands and a flat surface do wonders.
– Ingredients: classic vanilla or yellow cake mix (or your go-to homemade recipe), red and blue food coloring, white frosting (store-bought or homemade), and a simple filling like fruit jam or lemon curd if you want a tiny surprise.
– Decor: fresh berries for a pop of color and texture, optional star or circle cookie cutters for clean shapes, and a clean, dry workspace.
– Prep tip: bake a day ahead to let layers cool completely. This saves you from a melt-down (literally) when you stack the cake.
Instructions
1. Bake the cake layers and let them cool completely. You want crumbs that won’t crumble your vibe when you stack.
2. Level the tops. A straight, flat top makes the stripes look nice and crisp. If you’re feeling fancy, trim the domed bits with a serrated knife.
3. Frost a crumb coat. This is your primer—a thin layer that seals crumbs. Chill for 20 minutes, then apply a thicker top coat.
4. Create the stripes. You’ve got options:
– Layered look: Build the cake with alternating red, white, and blue horizontal layers, then frost over.
– Star-spangled top: Frost the entire cake white, smooth as you can, then pipe a blue field in the upper left and sprinkle white stars (or use mini marshmallows for a playful touch).
5. Add the flag elements. For a clean, classic vibe:
– Use a small round cutter to make white star shapes or dots on the blue area.
– Pipe a neat border along the edge with a star tip or a simple zigzag to keep it festive.
6. Finish with fruit or sprinkles. Raspberries, blueberries, or strawberries lined along the border add a fresh crunch and extra color pop.
7. Chill briefly before slicing. Cold cake slices cleanly and keeps the stripes sharp.
Recipe from
Conclusion
So there you have it—a flag cake that’s festive, doable, and a little bit cheeky in the best way. It’s not about perfection; it’s about celebration, color, and a dessert that brings people together with smiles and maybe a friendly debate about which stripe is the best. IMO, the secret sauce is keeping it approachable: a crumb coat, bold stripes, and a generous handful of berries.
If you’re planning a 4th of July bash or a casual family gathering, this cake hits the sweet spot between showmanship and simplicity. FYI, once you nail the technique, you’ll want to replicate variations for other holidays too. Enjoy the making, enjoy the taste, and enjoy the high-five you’ll get from guests who can’t believe it’s this easy.
Want a printable PDF version?