
Cannoli Cookies: The Perfect Fusion of Cookie and Classic Italian Dessert
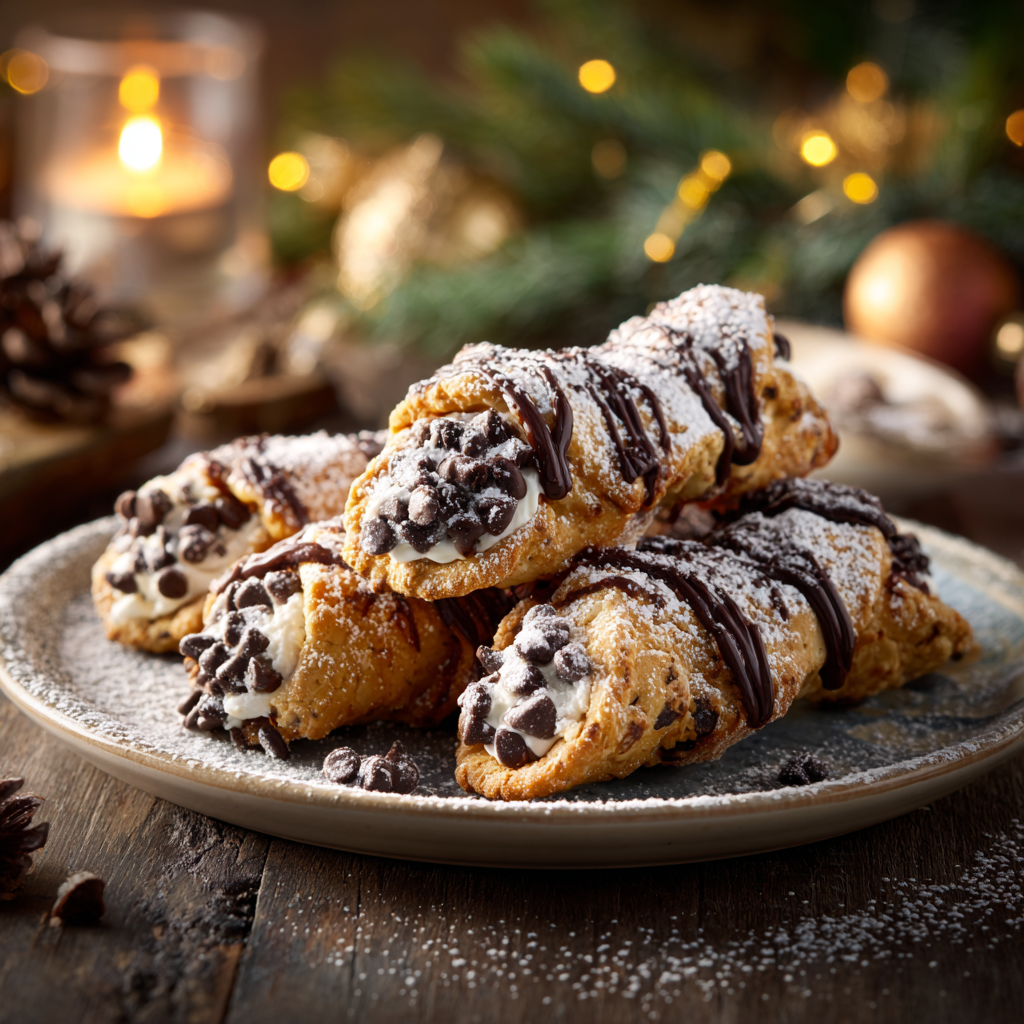
Imagine all the irresistible flavors of a traditional cannoli creamy ricotta filling, subtle citrus notes, and delicate crunch transformed into an easy-to-make, handheld cookie. These cannoli cookies are about to become your new favorite Italian-inspired treat. They capture the essence of the classic dessert while being infinitely easier to prepare and serve. No deep-frying, no fragile shells just pure deliciousness in every bite.
What makes these cannoli cookies so special is their perfect textural contrast. The crisp, buttery cookie shells give way to a light, creamy ricotta-based filling that’s bursting with authentic cannoli flavor. Whether you’re a cannoli purist or just someone who appreciates amazing desserts, these cookies will win you over with their sophisticated taste and stunning presentation. Let’s create these little pieces of Italian heaven together!
Why These Cannoli Cookies Are Better Than Traditional Cannoli
While we love traditional cannoli, these cookies offer several advantages that make them perfect for modern baking. They’re make-ahead friendly, easily portable, and maintain their texture beautifully. Unlike traditional cannoli that can become soggy if filled too early, these cannoli cookies can be assembled hours before serving. Plus, they’re less messy to eat no shattered shells or dripping filling. They offer all the flavor with none of the fuss!
Cannoli Cookies Recipe: Better Than the Bakery
Ingredients
For the Cookie Shells:
- 2 cups all-purpose flour
- 1/2 cup granulated sugar
- 1/2 cup unsalted butter, cold and cubed
- 1 large egg
- 1 teaspoon vanilla extract
- 1/2 teaspoon baking powder
- 1/4 teaspoon salt
- 2 tablespoons milk
For the Cannoli Filling:
- 1 cup whole milk ricotta, drained
- 4 ounces cream cheese, softened
- 1 cup powdered sugar
- 1 teaspoon vanilla extract
- 1/2 teaspoon orange zest
- 1/4 cup mini chocolate chips
- 2 tablespoons chopped pistachios
For Assembly:
- Additional powdered sugar for dusting
- Extra mini chocolate chips and pistachios for garnish
Step-by-Step Instructions
Step 1: Prepare the Cookie Dough
In a food processor, combine the flour, sugar, baking powder, and salt. Pulse a few times to mix. Add the cold, cubed butter and pulse until the mixture resembles coarse crumbs. Add the egg, vanilla extract, and milk. Pulse until the dough comes together. Be careful not to overmix.
Step 2: Roll and Cut the Cookies
Turn the dough out onto a lightly floured surface and knead gently until smooth. Roll the dough to about 1/8-inch thickness. Using a round cookie cutter (2-3 inches in diameter), cut out circles. Place them on a parchment-lined baking sheet. Re-roll scraps and continue cutting until all dough is used.
Step 3: Bake to Perfection
Preheat your oven to 350°F (175°C). Bake the cookies for 10-12 minutes, or until the edges are lightly golden. The cookies should be firm to the touch. Let them cool on the baking sheet for 5 minutes before transferring to a wire rack to cool completely.
Step 4: Prepare the Cannoli Filling
While the cookies cool, make the filling. In a medium bowl, beat the drained ricotta and softened cream cheese until smooth and creamy. Add the powdered sugar, vanilla extract, and orange zest. Beat until well combined and fluffy. Gently fold in the mini chocolate chips and chopped pistachios.
Step 5: Drain the Ricotta (Crucial Step)
For the best texture, place the ricotta in a fine-mesh strainer over a bowl. Refrigerate for at least 30 minutes to drain excess liquid. This step ensures your filling isn’t watery and holds its shape perfectly.
Step 6: Assemble the Cannoli Cookies
Once cookies are completely cool, match them up in pairs of similar size. Pipe or spoon the cannoli filling onto the flat side of one cookie, then gently press the matching cookie on top to create a sandwich. Don’t press too hard you want the filling to be visible around the edges.
Step 7: Add the Finishing Touches
Lightly dust the assembled cookies with powdered sugar. You can also dip the exposed edges of the filling in additional mini chocolate chips or chopped pistachios for that authentic cannoli look.
Step 8: Chill and Serve
Refrigerate the assembled cookies for at least 30 minutes to allow the filling to set. This makes them easier to handle and enhances the flavors. Serve chilled or at room temperature.
Expert Tips for Perfect Cannoli Cookies Every Time
- Always drain ricotta – this is the secret to non-watery filling
- Use cold butter for the cookie dough for the best texture
- Don’t overbake the cookies – they should be light golden, not brown
- Let cookies cool completely before filling to prevent sogginess
- Chill the filling for 15-30 minutes before piping for better control
- Add a pinch of cinnamon to the filling for authentic cannoli flavor
Frequently Asked Questions (FAQ)
Q1: Can I make cannoli cookies ahead of time?
A: Absolutely! You can bake the cookie shells up to 3 days in advance and store them in an airtight container. The filling can be made 2 days ahead and stored in the refrigerator. Assemble no more than 4-6 hours before serving for the best texture.
Q2: How long do cannoli cookies last?
A: Assembled cookies will keep in the refrigerator for 2-3 days. The cookie shells may soften slightly over time, but they’ll still be delicious. For longer storage, freeze unassembled components.
Q3: Can I use store-bought cookie shells?
A: While homemade shells are recommended for the best flavor and texture, you can use store-bought shortbread or sugar cookies in a pinch. Look for plain, crisp cookies that will provide good textural contrast to the creamy filling.
Q4: My filling is too runny – how can I fix it?
A: If your filling is too runny, you can add more powdered sugar (1-2 tablespoons at a time) or refrigerate it longer to firm up. Make sure you properly drained the ricotta—this is usually the culprit for runny filling.
Q5: Can I make these cookies vegan?
A: Yes! Use vegan butter in the cookies, and for the filling, blend firm tofu with vegan cream cheese, powdered sugar, and vanilla. Use vegan chocolate chips and omit the pistachios or ensure they’re processed in a vegan facility.
Q6: What’s the best way to pipe the filling?
A: Use a piping bag with a star tip for beautiful, professional-looking cookies. If you don’t have a piping bag, you can use a zip-top bag with the corner snipped off, or simply spread the filling with a small spoon or knife.
Creative Variations to Try
- Chocolate Cannoli Cookies: Add 2 tablespoons cocoa powder to the cookie dough
- Lemon Cannoli Cookies: Substitute lemon zest for orange zest in the filling
- Amaretto Cannoli Cookies: Add 1 teaspoon amaretto liqueur to the filling
- Double Chocolate Cannoli: Add cocoa powder to the filling and use chocolate cookies
- Mini Cannoli Cookies: Use a 1-inch cutter for bite-sized treats perfect for parties
Why Our Cannoli Cookies Recipe Stands Out
Unlike other recipes, our cannoli cookies achieve the perfect balance of authentic flavor and practical preparation. The combination of ricotta and cream cheese creates a filling that’s stable yet light, while the orange zest adds that authentic Italian touch. Our cookie recipe produces shells that are sturdy enough to hold the filling but delicate enough to melt in your mouth.
The attention to detail like draining the ricotta and the specific baking time ensures consistent, professional results every time. These aren’t just cookies with cannoli flavor; they’re a true homage to the classic dessert in a more accessible form.
Conclusion: Your New Go-To Italian Treat
These cannoli cookies successfully bridge the gap between traditional Italian pastry and modern cookie convenience. They offer all the sophisticated flavors of cannoli without the technical challenges of working with fried shells. Whether you’re serving them at a dinner party, bringing them to a potluck, or just treating yourself, they’re guaranteed to impress.
The combination of crisp cookie, creamy filling, and delightful garnishes creates a dessert experience that’s both familiar and excitingly new. So preheat your oven, drain that ricotta, and get ready to create the most delicious cannoli cookies you’ve ever tasted—they might just become better than the original!
Want a printable PDF version?