
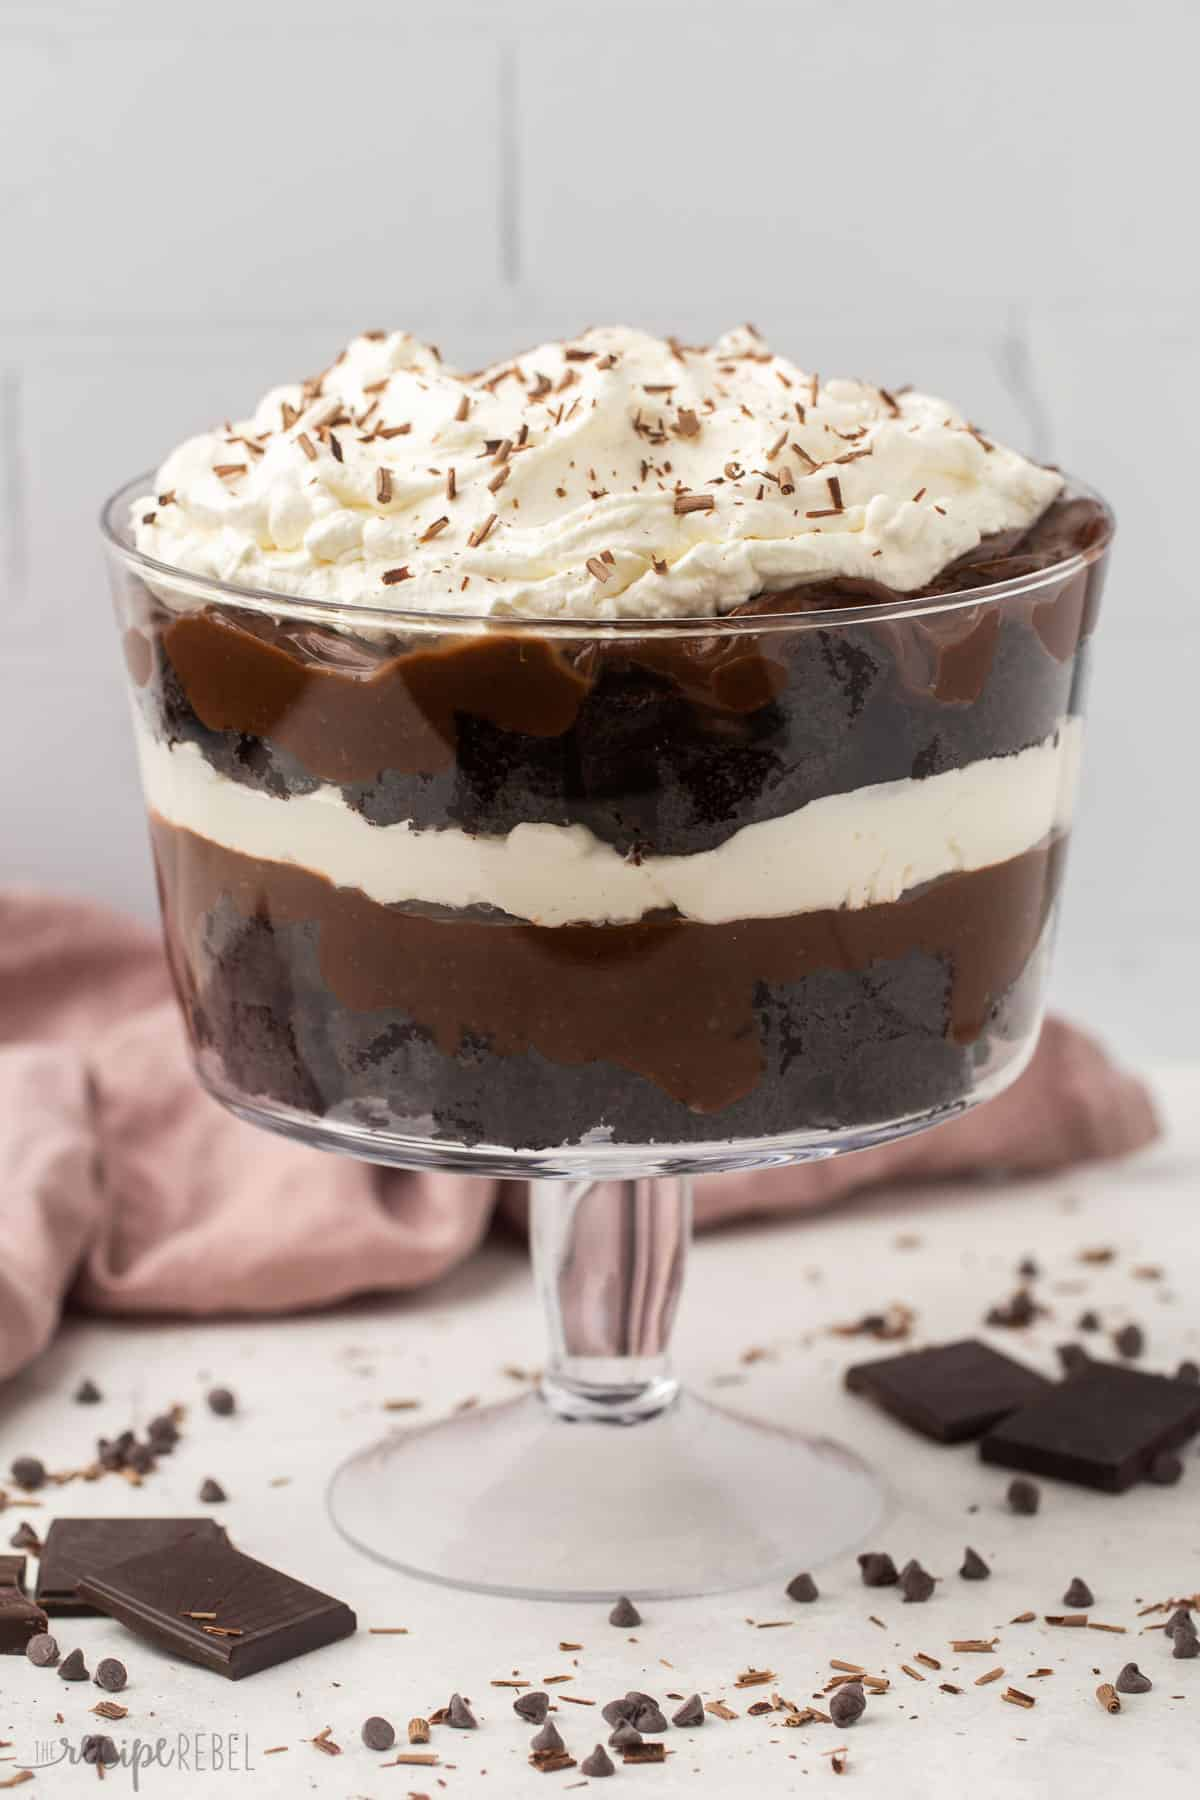
I’ll level with you: easy chocolate trifle dessert is basically frosting, cake, and vibes all in one glorious bowl. If you want something fancy without the fuss, this is your jam. No exotic ingredients required—just chocolatey goodness and a confidence boost.
What makes an easy chocolate trifle so tempting
Trifle is the stacking magic of desserts—layers, textures, and a little drama. You get cake that soaks up creamy goodness, fluffy whipped topping, and silky chocolate pudding all in one spoonful. It’s a crowd-pleaser, and you can customize it like a mini, edible mood board.
– Simple ingredients go a long way
– Make-ahead friendly, thanks to chilling time
– Looks impressive with minimal effort
Ready to dive in? Let’s break down the plan so you can whip this up without breaking a sweat.
Base components you’ll need
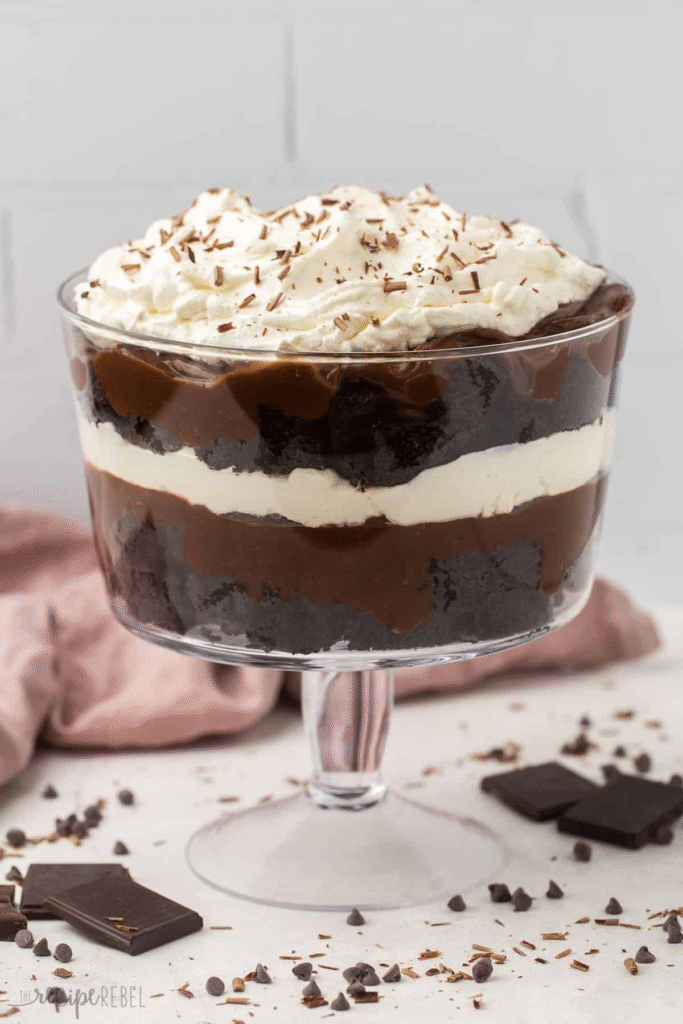
Before you start tossing stuff into a bowl, here’s the core lineup. You’ll see where you can swap in a shortcut or two if you’re short on time.
- Chocolate cake or brownie layer: store-bought works, or bake a quick sheet cake. Cut into cubes for that perfect bite.
- Chocolate pudding or ganache: if you’re short on time, instant pudding with extra cocoa powder and a splash of milk does the trick. Ganache brings the velvety, glossy vibe.
- Whipped cream or stabilized whipped topping: you’ll want something light to balance richness. Stabilize if you’re planning to layer and chill overnight.
- Fruit or extra toppings: berries, cherries, or a dusting of chocolate shavings add contrast and brightness.
Step-by-step layering like a pro
This is where the magic happens. Don’t overthink it—just stack and chill. Pro tip: assemble in a glass trifle bowl if you’ve got one; it makes jaws drop without extra effort.
- Start with a light layer of cake to form a base.
- Spread a generous dollop of pudding or ganache over the cake.
- Add a layer of whipped cream for balance and airiness.
- Repeat the layers until you hit near the rim, finishing with whipped cream on top.
- Shave some chocolate or dust with cocoa for a speedy, elegant finish.
Flavor twists that stay on the easy side
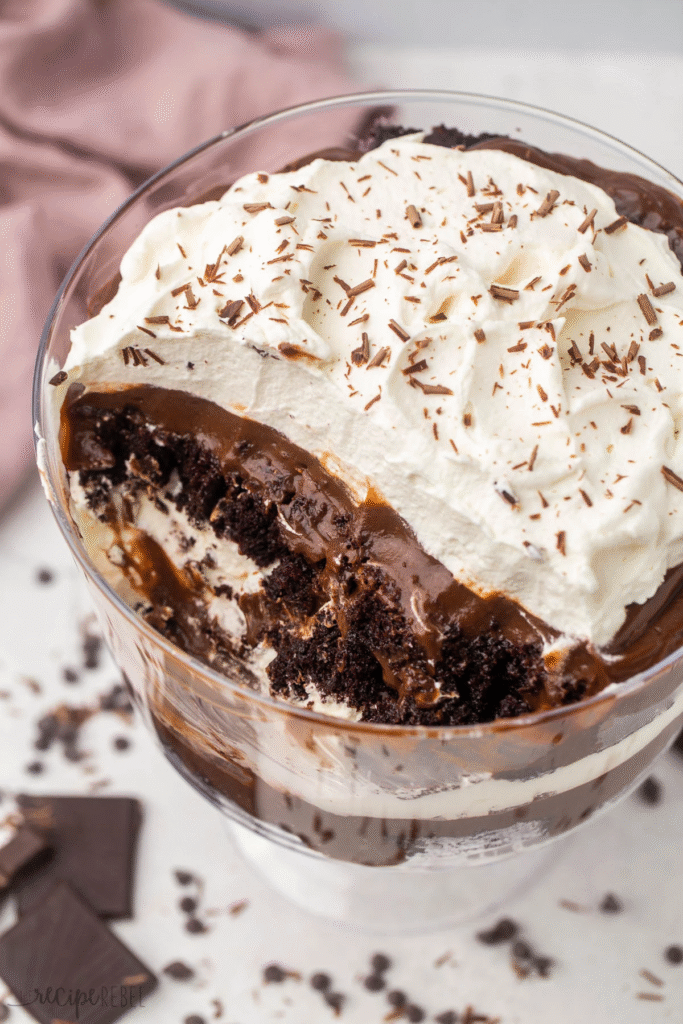
If you want to put your own stamp on it without complicating things, here are some foolproof twists that still feel fancy.
1. Salted caramel drizzle
A quick, glossy touch that elevates the entire dessert. Drizzle lightly so you don’t drown the layers. FYI, a tiny pinch of flaky salt on top hits the sweet spot.
2. Coffee or espresso kick
Add a teaspoon of strong coffee or a splash of espresso to the pudding. It amplifies chocolate flavor without tasting “coffee flavored.” IMO, it’s a game changer.
3. Raspberry or cherry accents
Tart fruit pairs beautifully with chocolate. Layer a few pieces between strata or sweep a light fruit compote across the top.
Make-ahead magic: when and how to chill
This dessert builds confidence if you can plan a little ahead. Chilling time lets flavors mingle and the layers set, so don’t skip it.
– Chill for at least 2 hours for clean slices
– Overnight is ideal for maximum flavor fusion
– Keep it covered to prevent fridge odors from creeping in
A quick note: if you’re using a whipped topping, add it right before serving if you’re short on chilling time. Otherwise, it can weep a bit.
Texture and contrast: nailing the mouthfeel
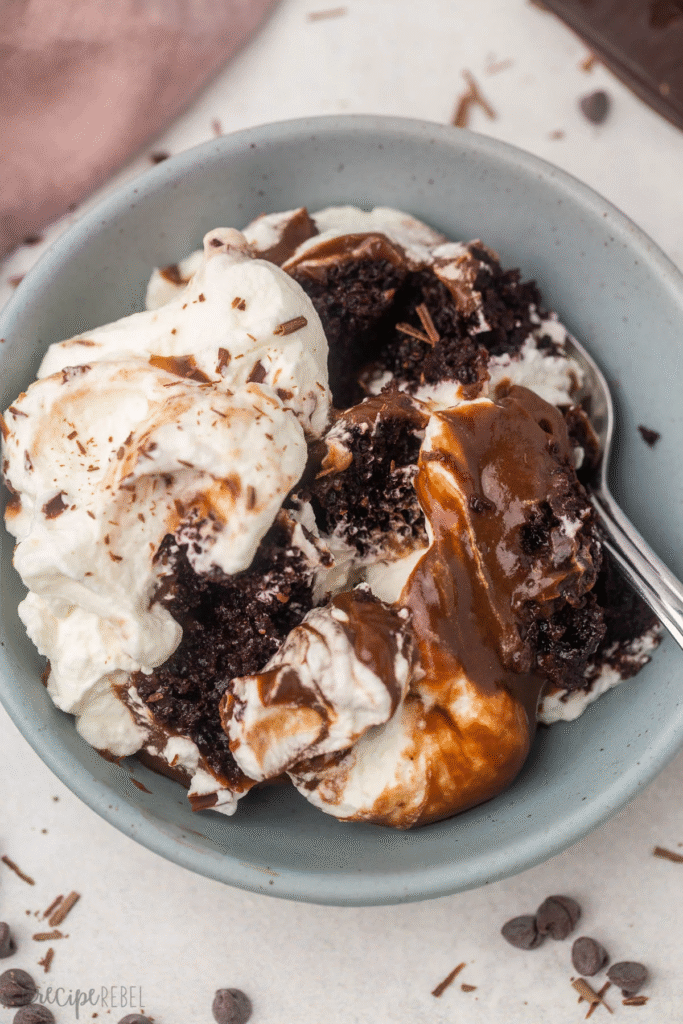
The charm of trifle lies in the mix: soft cake, creamy filling, and a little bite from crisp toppings. Here are easy ways to get it right.
– Use slightly dense cake so it soaks without turning mushy
– Chill layers to keep textures distinct
– Shaved chocolate or cocoa dusting adds a delicate crunch
Troubleshooting: common hiccups and fixes
Even simple desserts can bug you if you hit a snag. Here are quick fixes you can lean on.
My layers are soggy. Help!
Short answer: chill longer, or use a thicker pudding. You want the cake to soak but not dissolve.
The whipped topping is runny after assembly
Solutions: stabilize the whipped cream (cream of tartar or a bit of gelatin) or skip dairy-free whipped toppings that don’t hold up as well. Refrigerate as soon as you’re done assembling.
I want a lighter version
Swap in a low-fat whipped topping and a lighter cake; you’ll keep the structure with a friendlier calorie count. It’s all about balance, not guilt.
Equipment and shortcuts: what actually helps
You don’t need a kitchen army to pull this off. A few handy tools make it a breeze.
– Glass trifle dish or a large clear bowl for the wow-factor
– Spatula for tidy layers
– Whisk or hand mixer for quick whipped cream
– Sharp knife for clean cake cubes
If you don’t have a trifle dish, a large glass baking dish or even mason jars work nicely for individual portions. FYI, presentation matters—people will judge the dessert by its first glance.
Frequently Asked Questions
Find answers to common questions
Conclusion
There you have it: a chocolate trifle that feels indulgent but isn’t a chaos project. The beauty is in the balance—soft cake, silky chocolate, and a cloud of whipped cream. It’s the kind of dessert you can assemble in stages, then reveal like a mini edible showpiece. IMO, it’s the perfect crowd-pleaser for potlucks, family gatherings, or a cozy night in.
If you want to tweak it, go ahead and experiment with fruits, different chocolates, or a quick coffee twist. FYI, the simplest version often wins—especially when you serve it with a wink and a smile. Enjoy the delicious chaos, friend.
Want a printable PDF version?