
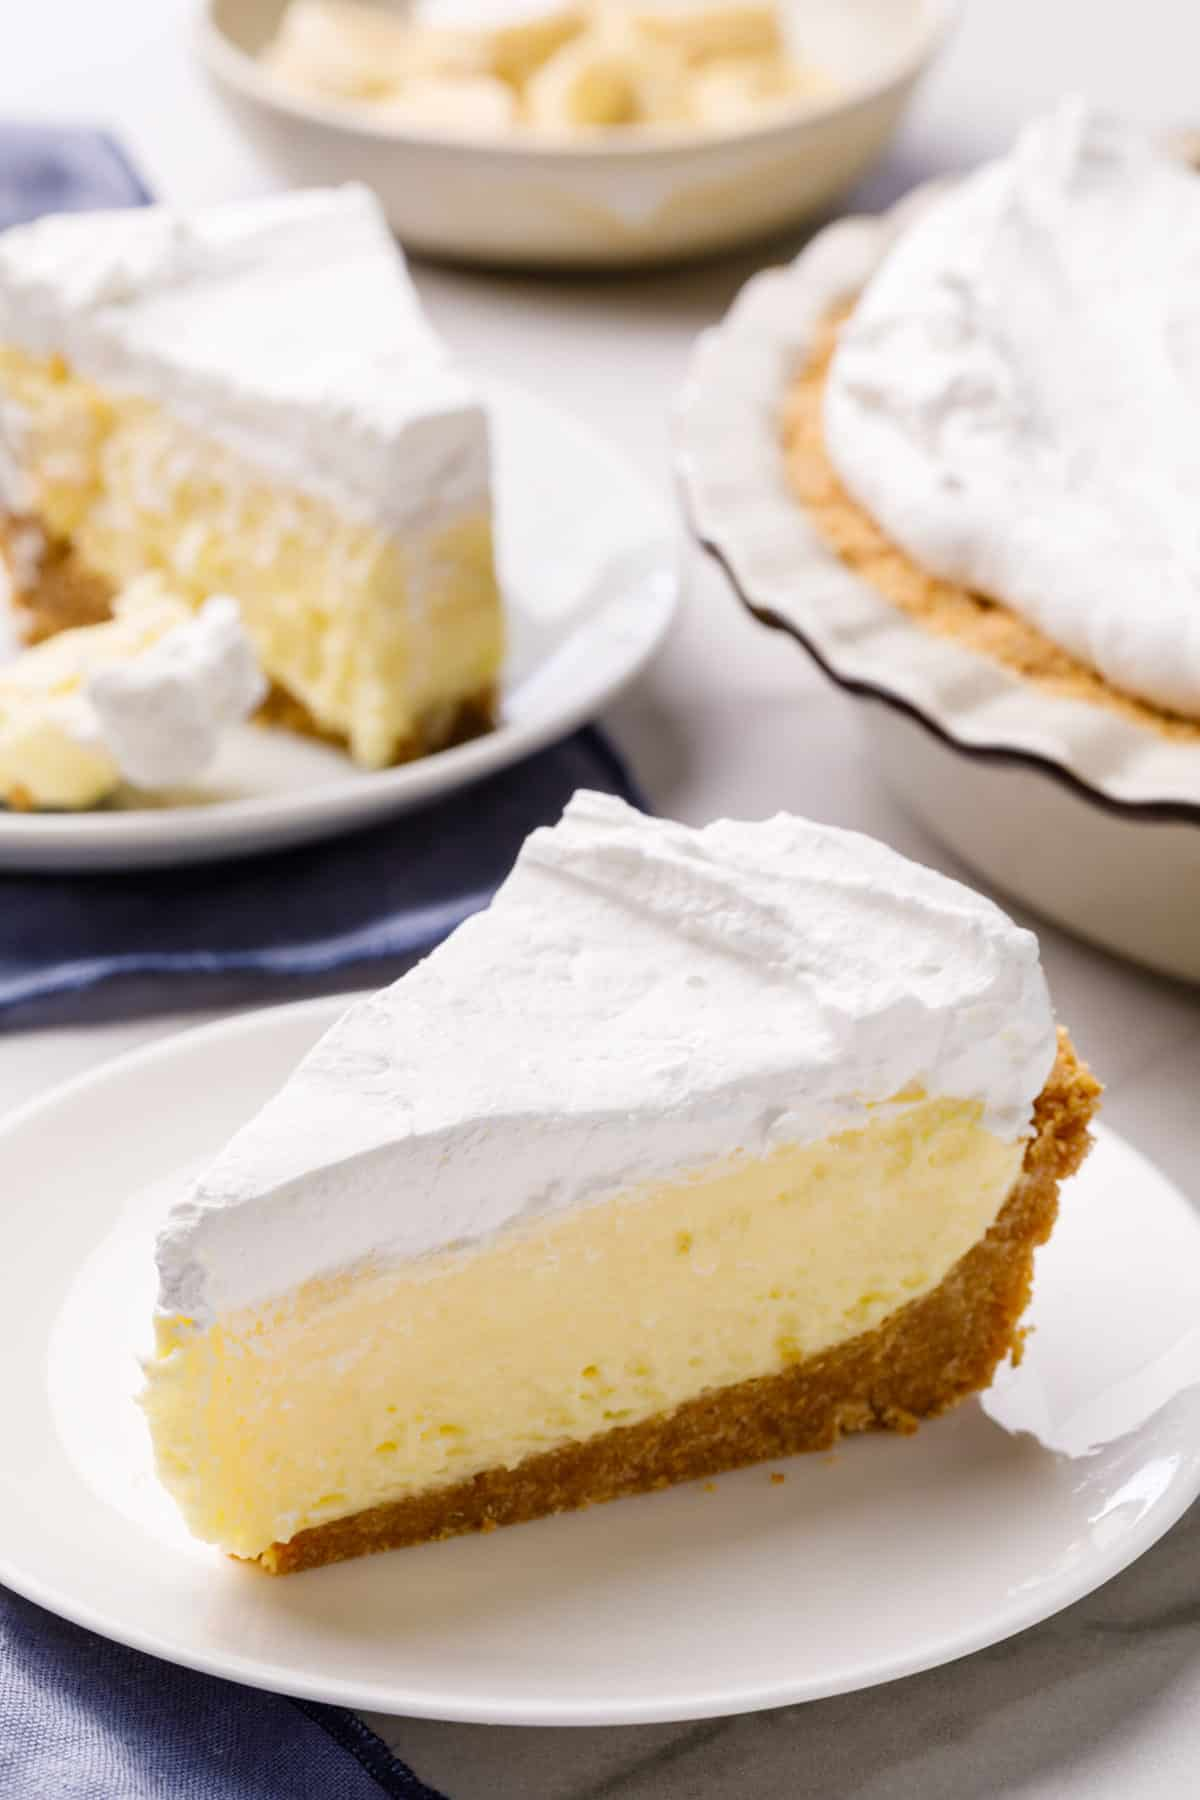
The moment you bite into a frozen cheesecake bar, you’ll know dessert bliss lives in a single square. Creamy, tangy, and somehow refreshingly chill, these little bites vanish faster than you can say “Let me grab another one.” FYI, you don’t need a fancy freezer setup to pull this off—just a couple of ingredients and a bit of patience.
The Beach-Ready Cheesecake: Why Freeze It?
Freezing changes the game. The texture goes from silky to utterly scoopable in every bite, minus the risk of an oversized slice melting everywhere. Plus, you can make a big batch and portion it out like you’re running a tiny, delicious bakery out of your kitchen. Want a summer treat that won’t meltdown on a hot day? This is your calling.
What You’ll Need: Simple Pantry Staples

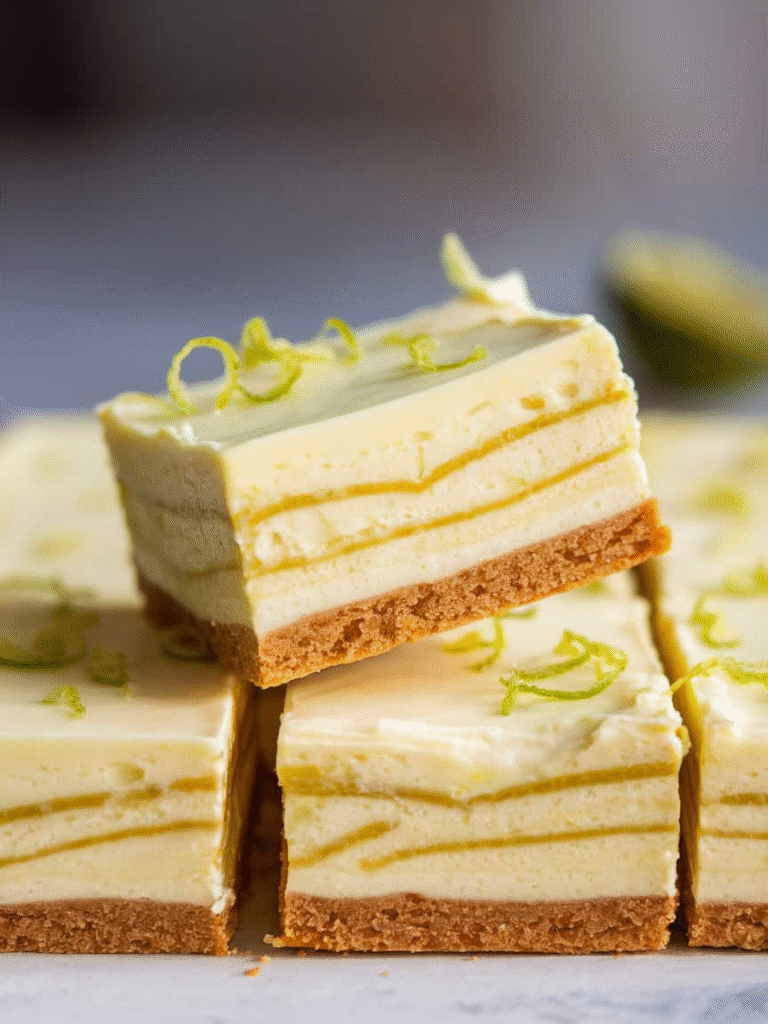
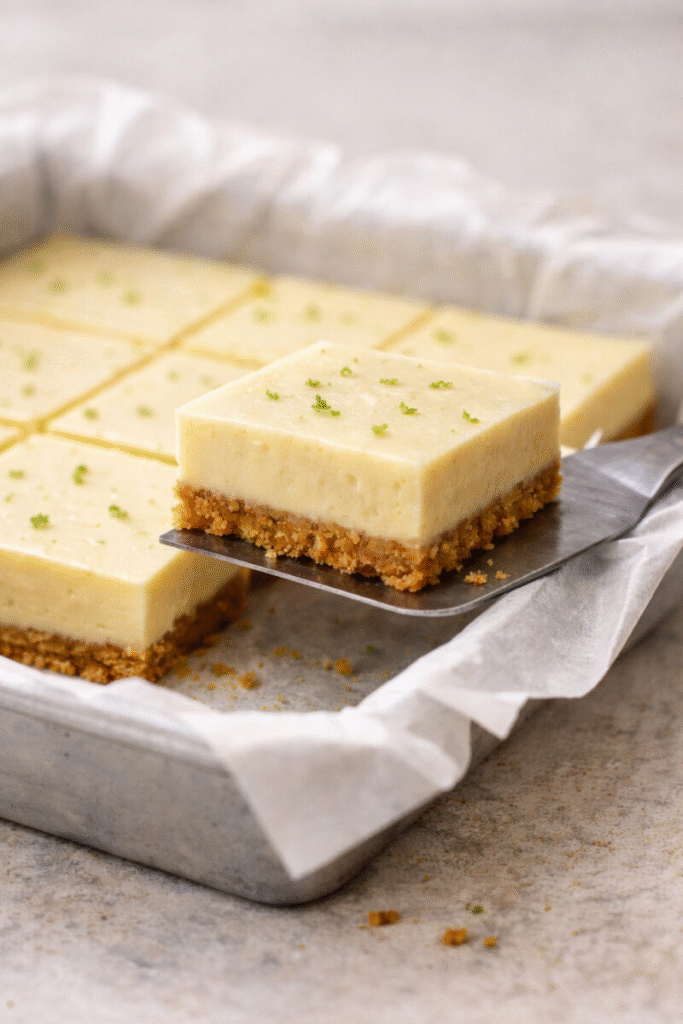
– Crust: graham crackers or digestive biscuits, melted butter, a pinch of sugar. No rocket science here.
– Filling: cream cheese, sugar, vanilla, and a splash of lemon juice for brightness. Optional: a little sour cream or heavy cream for extra creaminess.
– Flavor boosters: chocolate chips, crushed cookies, berries, or a swirl of fruit jam. Think mix-and-match like a DJ of desserts.
– Finish: a quick glaze or a dusting of cocoa, if you’re feeling fancy.
- Equipment note: you’ll need a shallow pan for the base and a freezer-friendly container for slicing later.
- Tip: softened cream cheese just makes life easier. Don’t fight the fridge—let it come to room temp for a smoother filling.
Step-by-Step: Build Your Bars Like a Pro
1. Make the crust: Crush the crackers until you’ve got fine crumbs. Stir in melted butter and a touch of sugar. Press firmly into a lined pan to create a sturdy base. Chill for 10 minutes to set.
2. Create the filling: Beat cream cheese with sugar until silky. Add vanilla and lemon juice. If you want extra silkiness, fold in a little whipped cream or sour cream. Don’t overwork it—air bubbles are not your friends here.
3. Assemble and flavor: Spread the filling over the crust. If you’re into swirls, dollop in jam or melted chocolate and use a knife to swirl. You can also sprinkle chips between layers for crunch.
4. Freeze: Chill in the freezer for at least 4 hours (overnight is ideal). The longer they freeze, the cleaner the slice.
5. Slice and serve: Lift out using parchment, slice into bars, and serve straight from the freezer. They’ll be perfect bite-sized chill bombs.
Flavor Experiments: Sweet and Savory Twists
– Berry blast: Fold in crushed raspberries or blueberries into the filling for a tangy pop. FYI, raspberries can turn the filling pink—cute and tasty.
– Chocolate lovers: Add mini chocolate chips to the crust or mix chocolate into the filling. Double chocolate crunch gets gobbled up in seconds.
– Citrus zing: A little lemon or orange zest brightens everything. It’s like a tiny sunshine cube in bar form.
– Skip the crust drama: If you’re crunched for time, press a thin crust and use a parchment sleeve to lift the bars. No one will judge your efficiency.
– Caramel swirl: A ribbon of caramel before freezing gives you a gooey surprise in every bite. Don’t overdo it—balance is key.
Texture Talk: What You’re Really Chasing
– You want a crust that holds up, not crumbly chaos. If it’s too dry, add a spoonful of water or a touch more butter and press again.
– The filling should be creamy but not jiggly like jelly. If it’s too stiff, whip in a little cream a tablespoon at a time.
– Freezer time helps set everything; don’t rush this. A quick chill won’t score you the same sleek bar you want in photos.
Storage and Servicing: Keeping It Fresh
– In the freezer: Keep bars in a single layer, then wrap tightly or store in an airtight container. They’ll keep for up to 2 weeks, no drama.
– In the fridge: If you’re planning a brunch spread, you can move a batch to the fridge a few hours before serving. They’ll soften to the perfect bite.
– Serving tips: Let them sit at room temp for 5–10 minutes before cutting if you want cleaner slices. Otherwise, straight from the freezer works too if you like a frosty bite.
Tips for Foolproof Success
– Temperature matters: Softened cream cheese is your best friend. Cold cheese fights you every step.
– Avoid air pockets: Tap the crust pan gently after pressing to remove air and ensure a firm base.
– Line everything: Use parchment or foil to lift bars out for clean cuts. It saves you from a messy cleanup and sad, crumbly edges.
– Make ahead: These bars are the perfect make-ahead dessert. Bake, chill, slice, and bag. Then you’re done for the week—boss move.
Flavorful FAQ
Can I use a different crust base besides graham crackers?
Yes! You can use crushed cookies, like Oreos (for cookies and cream vibes) or shortbread. Swap in equal amounts of melted butter to keep the base cohesive. If you’re feeling fancy, even a nutty crust works—pistachio or almond crumbs give a nice bite.
What if the filling cracks when sliced?
Chill longer. If it still cracks, run a warm knife along the edge to smooth it out. You can also briefly warm the blade under hot water, wipe it dry, and slice again for cleaner cuts.
Can I freeze the bars with fruit toppings?
You can, but some fruits may release juice during freezing, which can make the surface a bit slick. If you want fruit, swirl a small amount into the filling, or add berries after slicing as a fresh topping.
How long do these last in the freezer?
Typically up to 2 weeks for best texture. After that, they’re still edible but the creaminess can fade and ice crystals might form. If you’re stocking for a party, I’d aim to finish within 10 days.
Do I need an oven for this?
No oven necessary. This recipe shines with no-bake vibes. If you want a slightly baked crust for extra sturdiness, bake the crust for 8–10 minutes before filling and chill before assembling.
Conclusion: A Chill Secret Gun for Dessert Nights
If you’re after a dessert that’s easy to customize, easy to transport, and impossible to mess up, frozen cheesecake bars are your new best friend. They satisfy that craving for something creamy without babysitting a hot oven all evening. IMO, you can whip up a batch on a lazy Sunday, stash them in the freezer, and become the hero of any gathering with minimal effort. So grab your favorite flavors, press, swirl, freeze, and prepare for the chorus of “What did you put in these?!”—in a good way, of course.
Want a printable PDF version?