
It’s the kind of cake that makes you look like a genius without breaking a sweat. Chocolate ice cream cake easy? Oh yes. It’s the dream combo: rich chocolate, creamy ice cream, and a texture you can slice cleanly instead of chipping away at a frozen brick. Ready to become the party hero without burner-hours in the kitchen? Let’s dive in.
Why this particular chocolate ice cream cake rocks
You want something that tastes indulgent but feels approachable. This cake nails it with a simple build, flexible flavors, and a texture that stays creamy even after you slice. No fancy equipment required—just a little chill time and some smart layering. FYI, it’s practically made for drop-ins, weekend celebrations, or those “I deserve dessert” moments that sneak up mid-week.
What you’ll need to get started
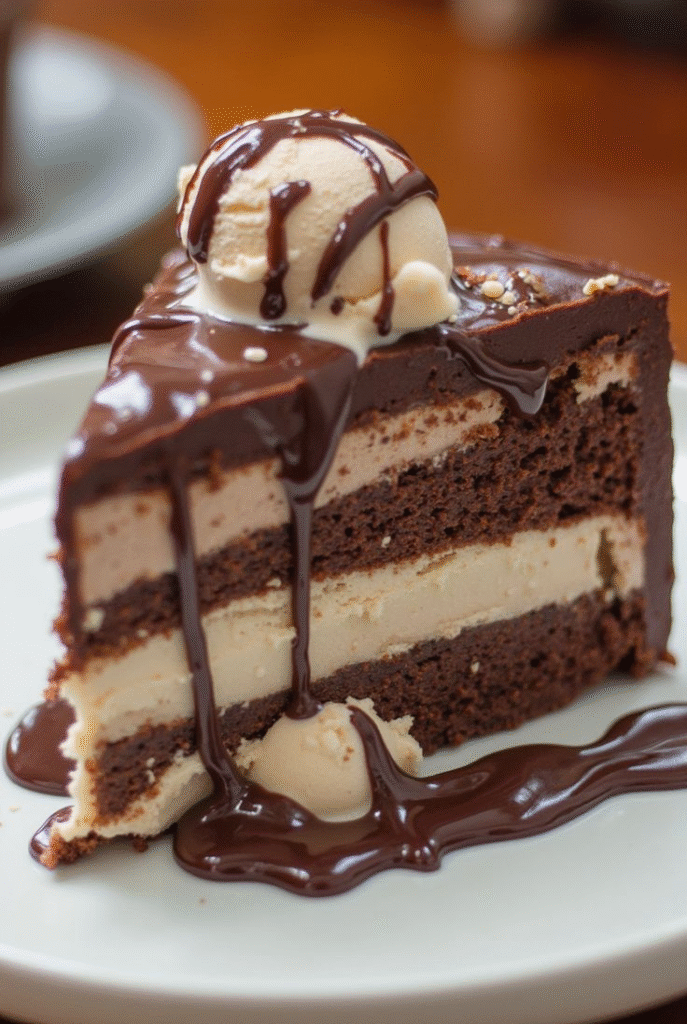
Before you grab the bowl, here’s the short shopping list. You’ll thank me when you don’t have to improvise with substitutes.
- Chocolate ice cream (softened slightly for easy spreading) — about 1.5 quarts
- Chocolate cookies or brownie pieces for the base and/or layers
- Chocolate sauce or fudge for extra “wow”
- Whipped cream or whipped topping for topping
- Optional mix-ins: crushed almonds, mini chocolate chips, or chips of candy bars
- Optional glaze: melted chocolate or ganache
- 16-cm or 9-inch springform pan for easy unmolding
Step-by-step: the easy assembly you can do in your sleep
The key is to keep it simple and cold. No need to overthink layers—this approach gives you a solid, delicious result every time.
1) Prep the pan: line with parchment or give the inner sides a light spray. This helps you pop the cake out without a wrestling match with the ice cream.
2) Create a base layer: crush cookies or brownies and press them into the bottom. A quick press with the back of a spoon works wonders.
3) Layer ice cream: scoop softened chocolate ice cream on top and smooth. If you like, swirl in a little fudge for ribbons of gooey goodness.
4) Add a middle or top texture: sprinkle in mini chocolate chips or crushed nuts for crunch, or add another cookie layer if you’re feeling fancy.
5) Freeze: chill for at least 4 hours, preferably overnight. Patience pays here—this is the part where it becomes sliceable magic.
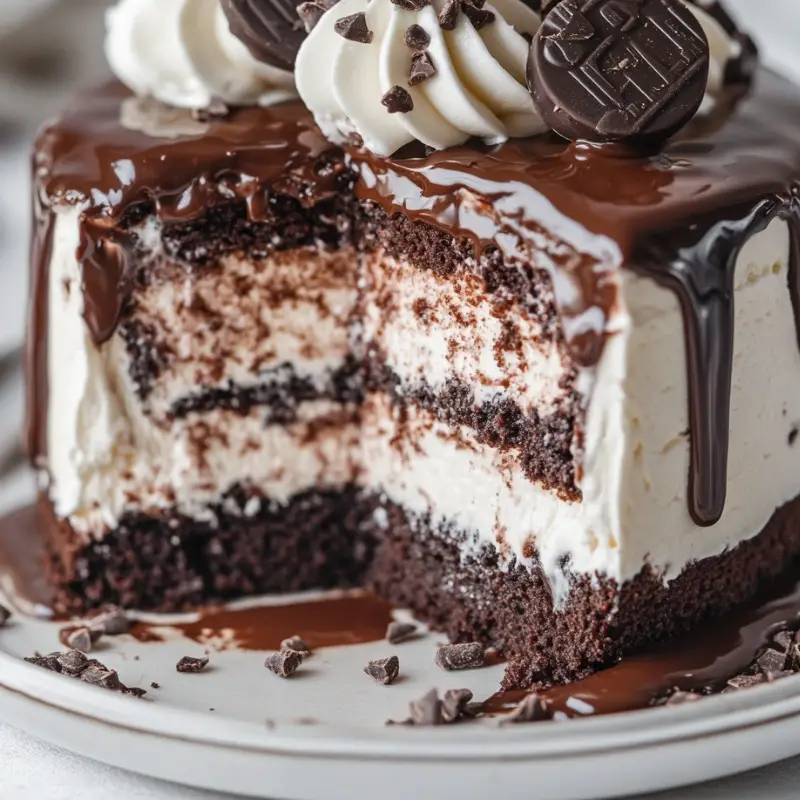
If plain chocolate feels a touch too predictable, spice it up with subtle add-ins that don’t overpower the ice cream’s creamy vibe.
Make it minty, but not too much
Swap in a drizzle of mint chocolate chips or a few drops of peppermint extract. Start with 1/4 teaspoon and taste as you go. You’ll get a breath of fresh air without turning the whole thing green and weird.
Go mocha for a cafe vibe
Stir a spoonful of strong coffee or espresso powder into the softened ice cream before layering. FYI, you’ll smell amazing aromas as it thaws.
Crunch with caramel popcorn
Add some caramel popcorn pieces between layers for a salty-sweet surprise. It’s a texture moment you didn’t know you needed.
Texture tips: getting that perfect slice
Your frozen masterpiece deserves to look as good as it tastes. Here are tricks to keep it pristine.
- Let it sit at room temperature for 5–10 minutes before slicing. It makes clean cuts without mangling the chocolatey surface.
- Dip the knife in hot water and wipe between slices for extra-clean edges.
- Use a gentle, saw-like motion rather than forcing a straight cut through rock-solid ice cream.
Decoration ideas that wow without the stress
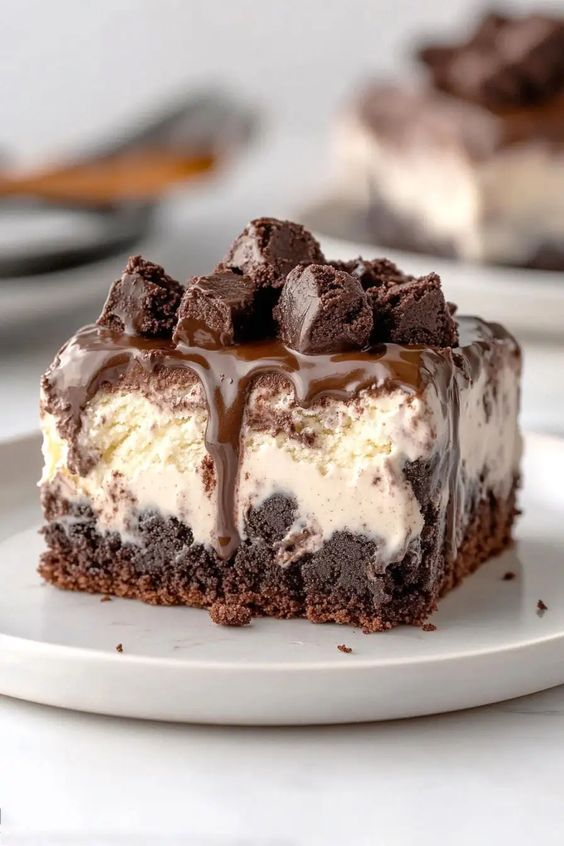
You don’t need a pastry chef’s toolkit to make this look festive.
- Whipped topping rosettes around the edge with a dusting of cocoa or shaved chocolate.
- A drizzle of warm chocolate ganache over the top for that glossy finish.
- Sprinkles, crushed cookies, or candy pieces for color and texture on top.
Make-ahead tricks: planning for parties
This cake shines in advance, which is perfect for hosting.
Prep the day before
Assemble the base and middle layers, then freeze. You’ll save time on the big day and avoid last-minute melting chaos.
Make it scoop-and-serve ready
Let the cake sit at room temperature briefly before serving, then scoop. Guests get soft, scoopable portions rather than chunks of frozen rock.
Frequently Asked Questions
Find answers to common questions
Chocolate Ice Cream Cake Easy: Party-Ready in Minutes
Ingredients
- Let it sit at room temperature for 5–10 minutes before slicing. It makes clean cuts without mangling the chocolatey surface.
- Dip the knife in hot water and wipe between slices for extra-clean edges.
- Use a gentle, saw-like motion rather than forcing a straight cut through rock-solid ice cream.
Instructions
The key is to keep it simple and cold. No need to overthink layers—this approach gives you a solid, delicious result every time.
1) Prep the pan: line with parchment or give the inner sides a light spray. This helps you pop the cake out without a wrestling match with the ice cream.
2) Create a base layer: crush cookies or brownies and press them into the bottom. A quick press with the back of a spoon works wonders.
3) Layer ice cream: scoop softened chocolate ice cream on top and smooth. If you like, swirl in a little fudge for ribbons of gooey goodness.
4) Add a middle or top texture: sprinkle in mini chocolate chips or crushed nuts for crunch, or add another cookie layer if you’re feeling fancy.
5) Freeze: chill for at least 4 hours, preferably overnight. Patience pays here—this is the part where it becomes sliceable magic.
If plain chocolate feels a touch too predictable, spice it up with subtle add-ins that don’t overpower the ice cream’s creamy vibe.
Make it minty, but not too much
Swap in a drizzle of mint chocolate chips or a few drops of peppermint extract. Start with 1/4 teaspoon and taste as you go. You’ll get a breath of fresh air without turning the whole thing green and weird.
Go mocha for a cafe vibe
Stir a spoonful of strong coffee or espresso powder into the softened ice cream before layering. FYI, you’ll smell amazing aromas as it thaws.
Crunch with caramel popcorn
Add some caramel popcorn pieces between layers for a salty-sweet surprise. It’s a texture moment you didn’t know you needed.
Recipe from
Final thoughts: you, a spoon, and a crowd-pleasing slice
This chocolate ice cream cake is the kind of dessert that proves you don’t need a fancy pastry studio to make something memorable. It’s flexible, forgiving, and seriously satisfying. IMO, the simpler you keep the process, the better the outcome. FAQ thought: the best part is that no one has to wait hours for a complex bake to finish—this is cold creativity on a platter.
If you’re feeling bold, DM your friends with a photo of your creation and a quick caption: “Chocolate ice cream cake easy, but don’t tell them how easy it was.” They’ll think you hacked dessert magic, and you’ll smile because you know the truth: you kept it chill, literally and figuratively. Enjoy the party, enjoy the cake, and enjoy that you didn’t burn the kitchen down in the process.
Want a printable PDF version?