
It only takes a couple of ingredients and a little patience to make ice cream cake feel like a big, joyful celebration. No fancy equipment required, just a vibe and a craving for something chilly and delicious. Ready to freeze your worries away with a slice of dessert bliss? Let’s dive in.
What makes an easy ice cream cake so irresistible
Who can resist a treat that blends the best of two worlds—ice cream and cake? It’s basically a party in a pan. You get the creaminess of ice cream with the comforting structure of cake, plus you can customize it to your mood, season, or whatever’s in your freezer. FYI, the trick is layering and a quick chill that turns soft scoops into solid, sliceable goodness.
Base ideas that actually work
There are two surprisingly simple routes that yield crowd-pleasing results.
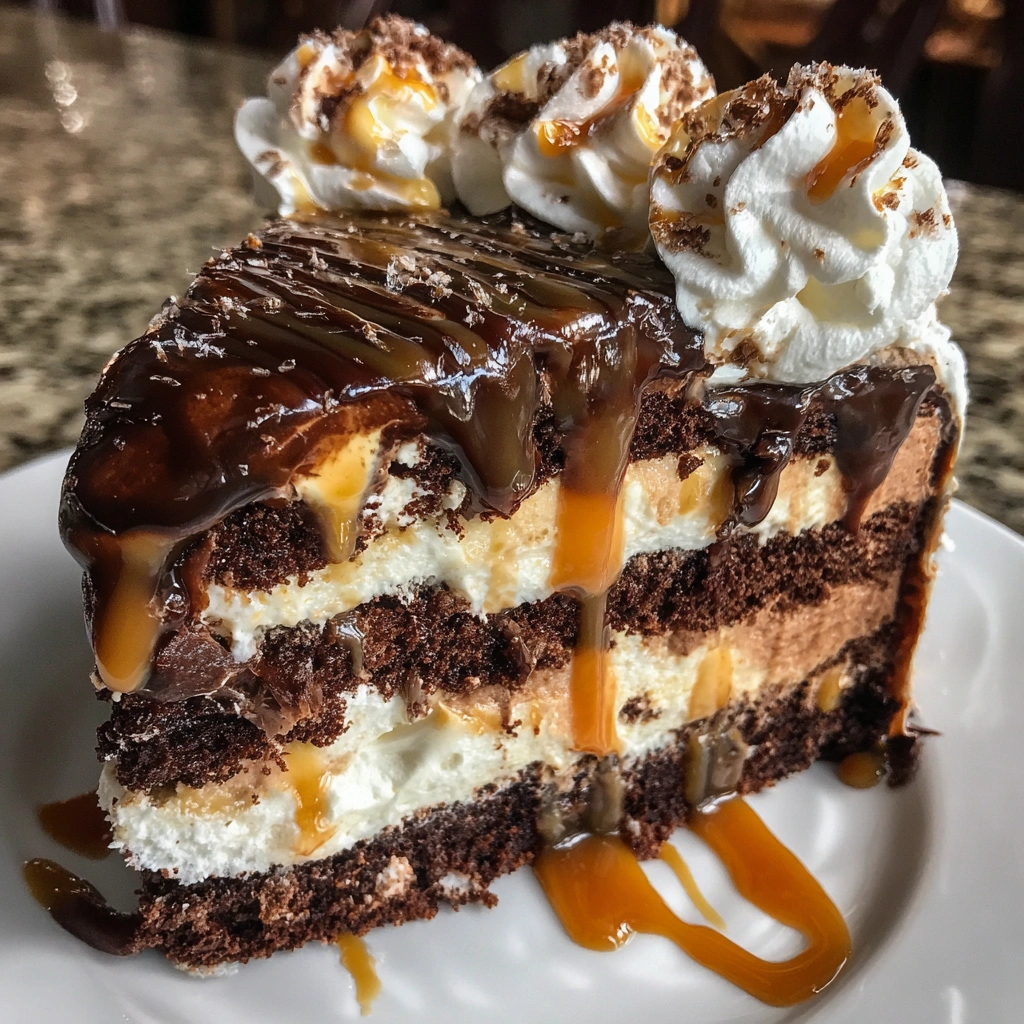
Option A: Classic chocolate cake + vanilla ice cream
– Bake or buy a simple chocolate cake layer. It anchors the dessert with a familiar, fudgy contrast.
– Let the cake cool completely before layering. You don’t want a melted mess.
– Soften vanilla ice cream just enough to scoop and press into the pan. You’ll thank yourself later for not fighting with rock-solid ice cream.
– Freeze until firm, then top with creamy ganache or whipped cream if you’re feeling extra.
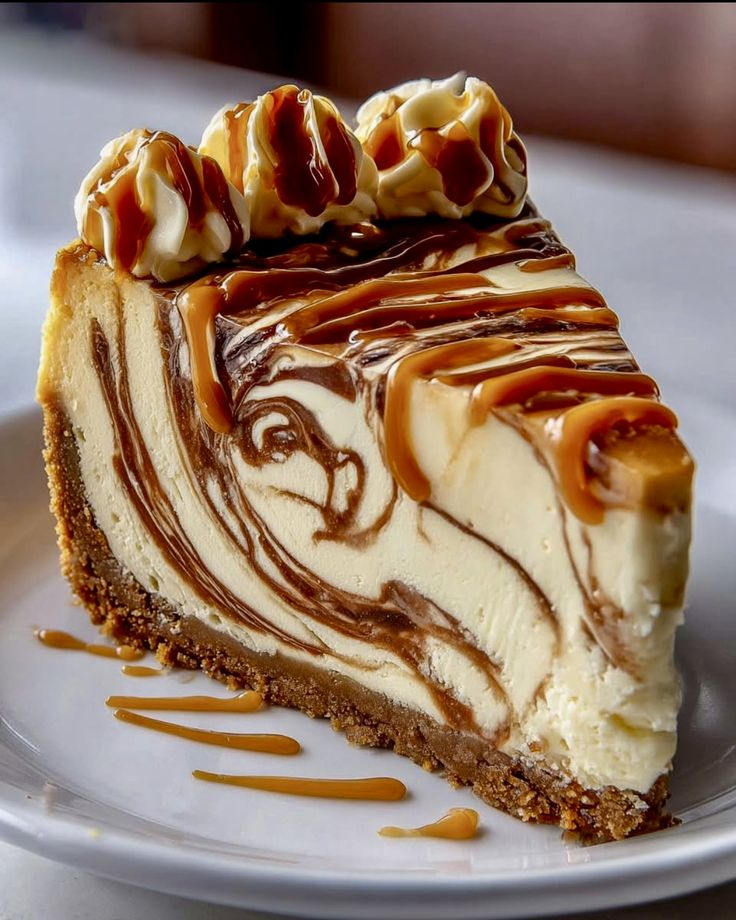
Option B: Cookie crust or crumble bed
– Crush your favorite cookies (OREO, chocolate wafer, or shortbread all work) and mix with a little melted butter to form a firm crust.
– Press into a lined pan and freeze briefly.
– Add a thick layer of softened ice cream, press flat, and freeze again. The cookie base adds texture and flavor without baking.
Tools and tricks that keep things sane
You don’t need a fancy setup to nail this. A few basics and a dash of technique do the trick.
- Loaf pan or springform pan: Easy to unmold and slice; line with parchment for clean edges.
- Ice cream scoop + spatula: A scoop starts the journey, a spatula smooths the surface.
- Paring knife or warm cloth: Warming the knife helps cleanly cut through the frozen layers.
- Patience: Chill times are important. Don’t rush the freeze; it pays off in clean slices.
Layering like a pro: step-by-step guide
Perfect layering gives you that polished, bakery-worthy look.
- Line your pan with parchment or plastic wrap. It makes removing the cake a breeze.
- Spread a thin base layer of ice cream to create a smooth foundation. Freeze for 15–20 minutes.
- Add your chosen layer (cake, cookies, fudge, fruit, or another ice cream flavor). Press gently to compact.
- Repeat with two to three layers total. The more you stack, the taller your cake will be.
- Finish with a final ice cream layer and a shiny top. Smooth with a warmed spoon for a mirror-finish look.
- Wrap tightly and freeze at least 4 hours, or overnight for best slicing.
Flavor ideas to spark your imagination
If you like playing in the sandbox of sweets, you’ll love these combos.
- Peanut butter cup base with chocolate ice cream and a peanut butter swirl.
- Cookies and cream with crushed cookies layered in for crunch.
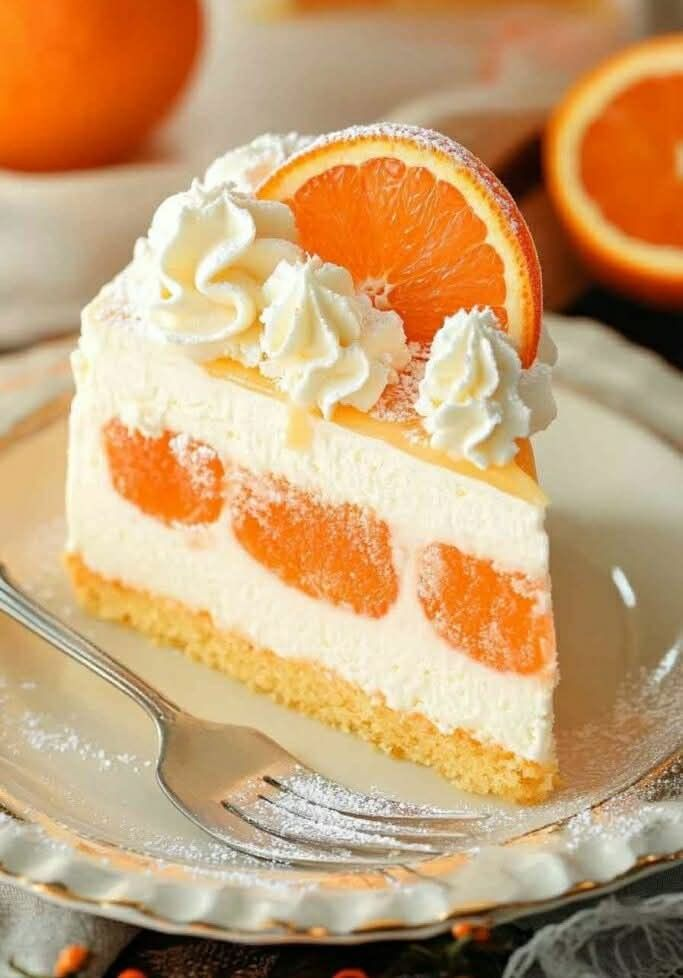
- Berry cheesecake using a graham crust, vanilla ice cream, and swirls of strawberry sauce.
- Salted caramel pretzel for a sweet-salty party in every bite.
- Mint chocolate chip with a brownie crumb layer for a festive vibe.
Topping ideas that don’t ruin the texture
The toppings should enhance, not weigh down.
- Drizzle with caramel, chocolate, or strawberry sauce in a pretty zigzag.
- Whipped cream and a few fresh berries add color and freshness.
- Chopped nuts for crunch and a toasty note.
- Crumbled cookies or brownie bites give extra texture without melting the magic.
Make it dairy-friendly or vegan without losing the vibe
No dairy? No problem. Use coconut milk-based or almond milk-based ice creams. Some brands are surprisingly creamy and behave well in layers. For crusts or toppings, you can swap butter for coconut oil or vegan margarine. FYI, texture might vary a touch, but taste stays just as delightful.
Storage and serving tips: how to keep it scoop-worthy
You want it to stay nice and firm for serving, right?
- Keep it in the freezer, tightly wrapped, when not slicing. Exposure to air = ice crystals. No thanks.
- If it gets a little soft, give it 10–15 minutes on the counter or a quick 30-second nudge in the microwave in 5-second bursts. Don’t melt it into a puddle, hero.
- Cut with a warm knife for clean slices. Wipe the blade between cuts for neat edges.
Helpful troubleshooting: common hiccups and fixes
– Ice cream layers won’t set? Make sure each layer is properly frozen before adding the next one. It’s the layering that holds everything together.
– Edges come out icy? Use parchment and a quick warm knife pass. It smooths the surface in a snap.
– Tastes too sweet? Balance with a tangy sauce or a pinch of sea salt on top. Contrast is your friend.
Flavor experiments to try next time
If you’re feeling adventurous, here are play-around ideas without freaking out your taste buds.
- Matcha ice cream with white chocolate chips and a crunch layer of almond cookies.
- Coffee ice cream with chocolate-covered espresso beans and crushed biscotti.
- Mango sorbet with a coconut cream swirl for a tropical twist.
Frequently Asked Questions
Find answers to common questions
Easy Ice Cream Cake Recipe for Sweet Summer Magic
Ingredients
- Loaf pan or springform pan: Easy to unmold and slice; line with parchment for clean edges.
- Ice cream scoop + spatula: A scoop starts the journey, a spatula smooths the surface.
- Paring knife or warm cloth: Warming the knife helps cleanly cut through the frozen layers.
- Patience: Chill times are important. Don’t rush the freeze; it pays off in clean slices.
Instructions
Perfect layering gives you that polished, bakery-worthy look.
- Line your pan with parchment or plastic wrap. It makes removing the cake a breeze.
- Spread a thin base layer of ice cream to create a smooth foundation. Freeze for 15–20 minutes.
- Add your chosen layer (cake, cookies, fudge, fruit, or another ice cream flavor). Press gently to compact.
- Repeat with two to three layers total. The more you stack, the taller your cake will be.
- Finish with a final ice cream layer and a shiny top. Smooth with a warmed spoon for a mirror-finish look.
- Wrap tightly and freeze at least 4 hours, or overnight for best slicing.
Recipe from
Conclusion
There you have it—a fun, foolproof way to make an ice cream cake that looks impressive but stays wonderfully approachable. The beauty of this dessert lies in its simplicity: layer what you love, freeze hard, slice clean, and serve with a smile. IMO, this is the kind of treat that earns you extra high-fives at gatherings and maybe even a “you’re a wizard” from your own inner pastry nerd. FYI, the most important step is to have fun with it—your future self will thank you when you pull out a perfectly sliceable masterpiece on a sunny afternoon.
Want a printable PDF version?