
If you crave something sweet without turning on the oven, you’re in the right place. No bake Oreo dessert easy is about to become your new favorite go-to. Quick, simple, and ridiculous-yummy—the kind of dessert you can whip up in a hurry and still feel like a kitchen genius.
What makes a no-bake Oreo dessert easy
No-bake desserts thrive on two things: texture and flavor that deliver without heat. The crust stays crisp, the filling stays indulgent, and you barely sweat in the process. The magic? A handful of pantry staples, a few minutes of mixing, and a fridge that does the hard work for you.
The basic structure you can rely on
- Crunchy base: crushed Oreos and butter or a butter substitute form a sturdy foundation.
- Creamy filling: a whisked, whipped, or blended center that holds everything together.
- Chill time: patience is part of the recipe, so don’t skip the fridge moment.
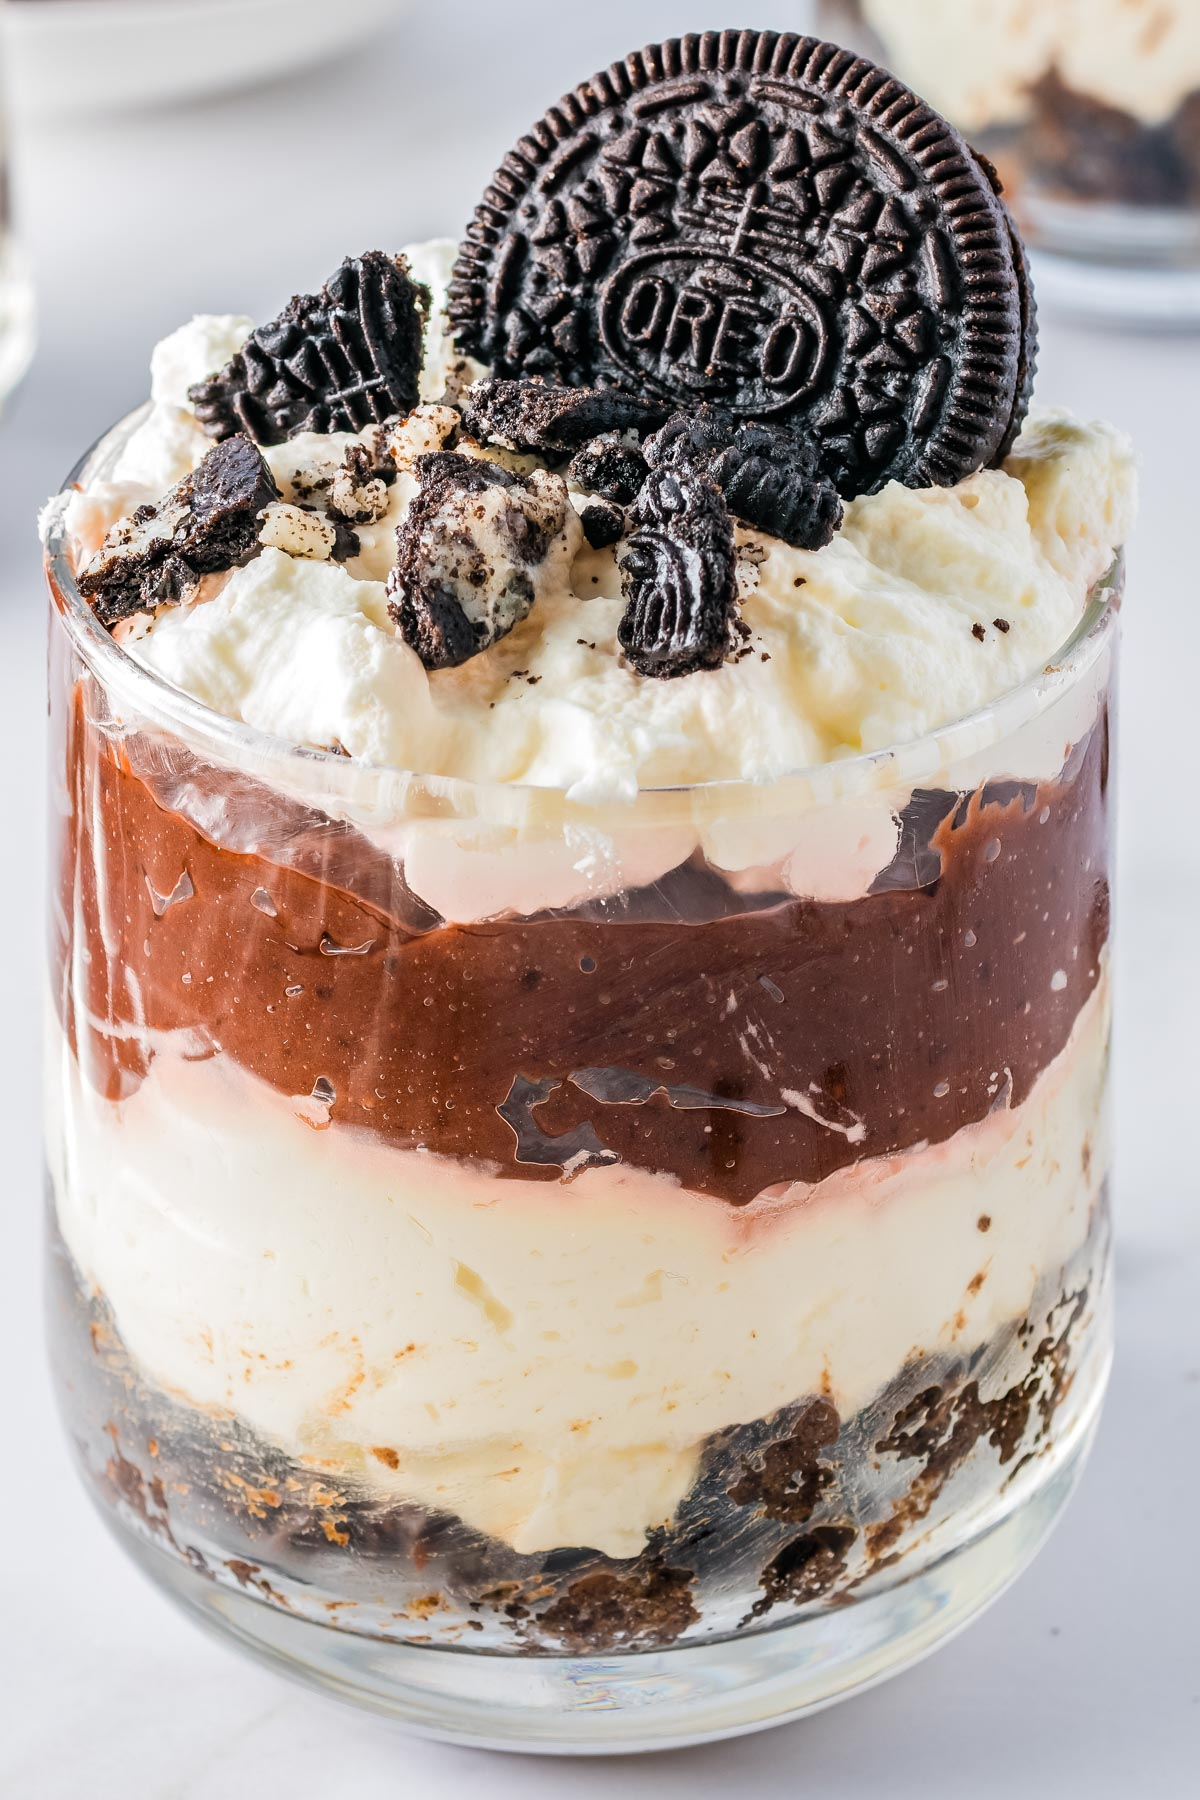
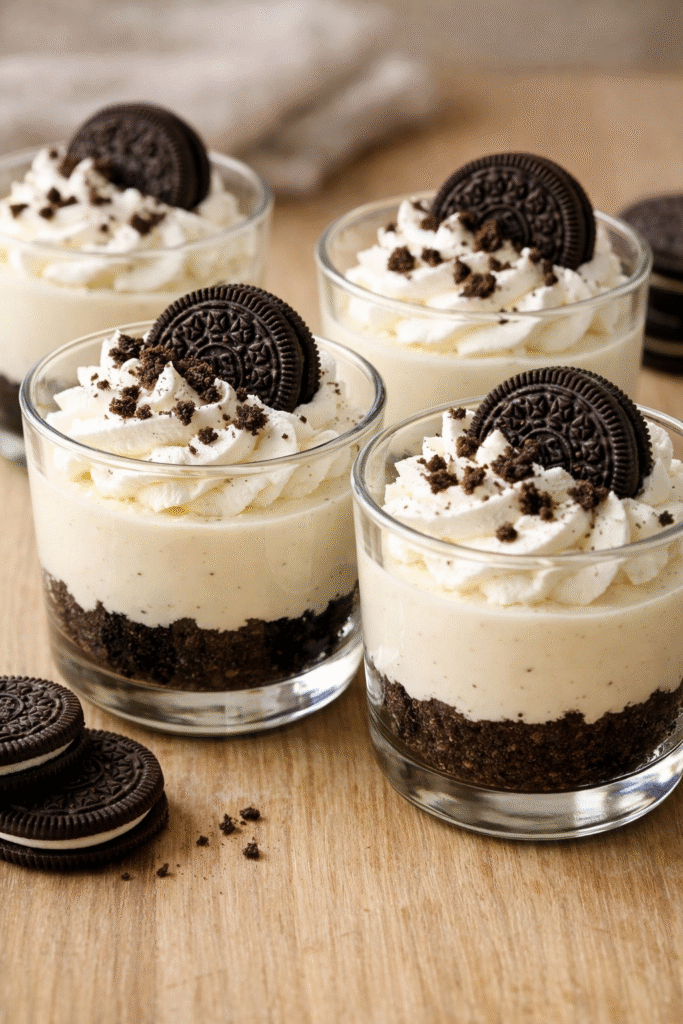
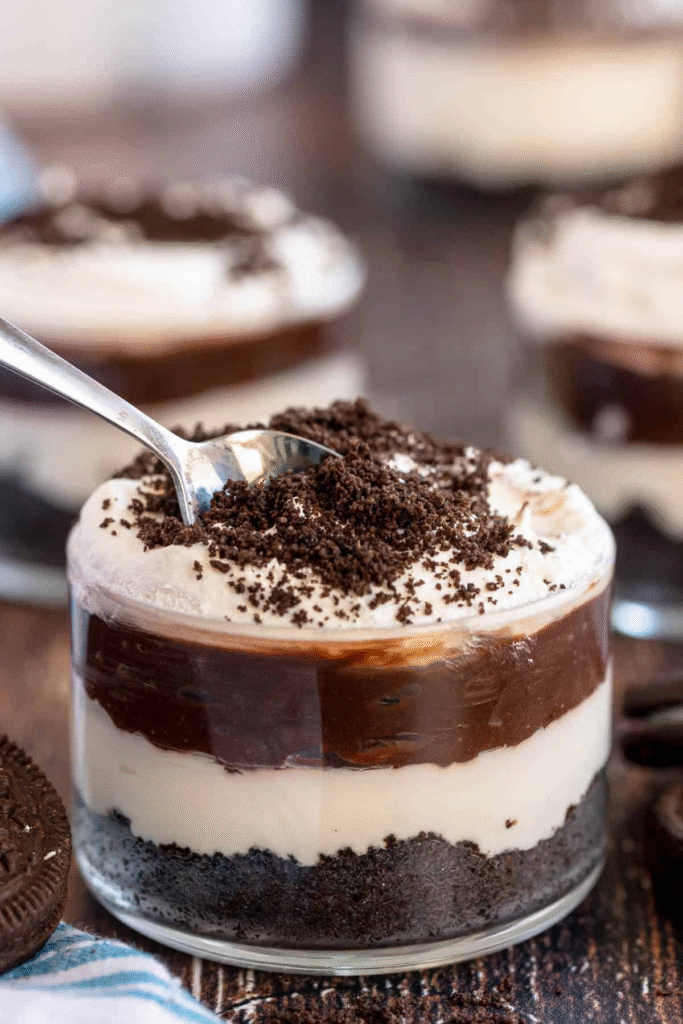
Classic no-bake Oreo cheesecake cup idea
Think mini cheesecakes in a jar, but easier and way more adorable. You get the tang from cream cheese, the chocolatey punch from Oreos, and a silky finish that doesn’t require oven magic.
What you’ll need (roughly):
- Oreos (divided: some crushed for crust, some left whole for texture)
- Butter, melted
- Cream cheese, softened
- Sugar
- Vanilla extract
- Sour cream or heavy cream (optional for extra creaminess)
Steps in quick bullets:
- Mix crushed Oreos with melted butter. Press into cups or a small pan.
- Beat cream cheese, sugar, and vanilla until smooth. Fold in sour cream or whipped cream if you like extra fluff.
- Layer filling over crust, finish with crushed Oreos on top.
- Chill for at least 2 hours. FYI, overnight is even better.
Pro tip for super smooth filling
If your cream cheese lumps scare you, let it soften a bit longer and beat on medium speed. A splash of lemon juice helps cut richness if you’re feeling fancy.
No-bake Oreo bars you can slice and share
Bars win at potlucks and movie nights. They’re sturdy, slice cleanly, and look impressive without trying too hard.
Ingredients you’ll likely have on hand:
- Oreos, crushed into fine crumbs
- Butter
- Sweetened condensed milk
- Optional add-ins: peanut butter, chocolate chips, marshmallows
Basic method:
- Mix crumbs with melted butter as the base. Press into a lined pan.
- Heat condensed milk with a bit of butter and a dash of salt for a glossy, fudgy layer. Stir in add-ins if you’re feeling bold.
- Pour over the crust, smooth, and top with more crushed Oreos. Chill until firm.
Texture tricks for bars
If you want extra bite, reserve a portion of the crust for a crunchy top layer right before chilling. It’s like having two textures in one bite—crunchy and creamy without trying too hard.
Oreo fluff and mousse hybrids
If you want something light and airy, mousse-ify your Oreo obsession. This version feels fancy but stays embarrassingly simple.
What you need:
- Oreos, roughly crushed
- Whipped cream or whipped topping
- Cream cheese (optional, for stability)
- Powdered sugar
How to assemble:
- Whip cream with a bit of sugar until stiff peaks form.
- Fold in crushed Oreos and, if you like, a few spoonfuls of softened cream cheese for extra body.
- Spoon into serving dishes and chill briefly to set. Light, fluffy, and ridiculously satisfying.
Flavor play: add-ins that don’t derail the base
– Peanut butter swirls for a salty-sweet punch
– Mini chocolate chips for surprise crunch
– A drizzle of caramel or hot fudge before serving
Make it your own: flavors, toppings, and textures

No-bake desserts thrive on customization. Here are a few easy twists that still keep things simple.
- Minty Oreo twist: add a drop of peppermint extract to the filling and finish with crushed Oreos that have a hint of green.
- Peanut butter cup vibes: drop in chunks of peanut butter cups or swirl in creamy peanut butter before chilling.
- Caramel salted crunch: a thin salted caramel layer on top or sea salt flakes for a grown-up finish.
Texture balance: soft center, crisp edges
If you notice your bars look a little soft in the middle, refrigerate longer or add a thin coat of melted chocolate on top to set the surface—it helps.
Makeahead tips so you actually have something to bring
No-bake desserts shine on planning. They benefit from chilling time, so bake a mental note to start early.
- Chill time: give it at least 2 hours; overnight is ideal for easy slicing.
- Storage: keep covered in the fridge for up to 5 days. Freezer option? Freeze individual bars for quick future sweets.
- Transport-friendly: tray or jars? Jars win for events—no plate needed, just a spoon.
Prep like a pro: mise en place
Measure everything first, especially when you’re dealing with soft ingredients. It keeps you from chaos in the fridge and helps you finish faster.
Frequently Asked Questions
Find answers to common questions
Conclusion
So there you have it: no bake oreo dessert easy, built for speed, flavor, and a little bit of bragging rights at your next hangout. Whether you go with a cheesecake cup, fudgy bars, or a fluffy mousse, you can pull this off with minimal effort and maximum yum. IMO, the best part is that you control the vibes—creamy, crunchy, chocolatey, or a bit of all of the above.
If you’re worried about overthinking it, FYI: keep it simple, taste as you go, and trust the fridge. The no-bake magic will do the heavy lifting, and you’ll be the hero who brought dessert to life without firing up the oven. Now go grab some Oreos, a fridge, and a spoon—your crowd is ready for a delicious, easy victory.
Want a printable PDF version?