
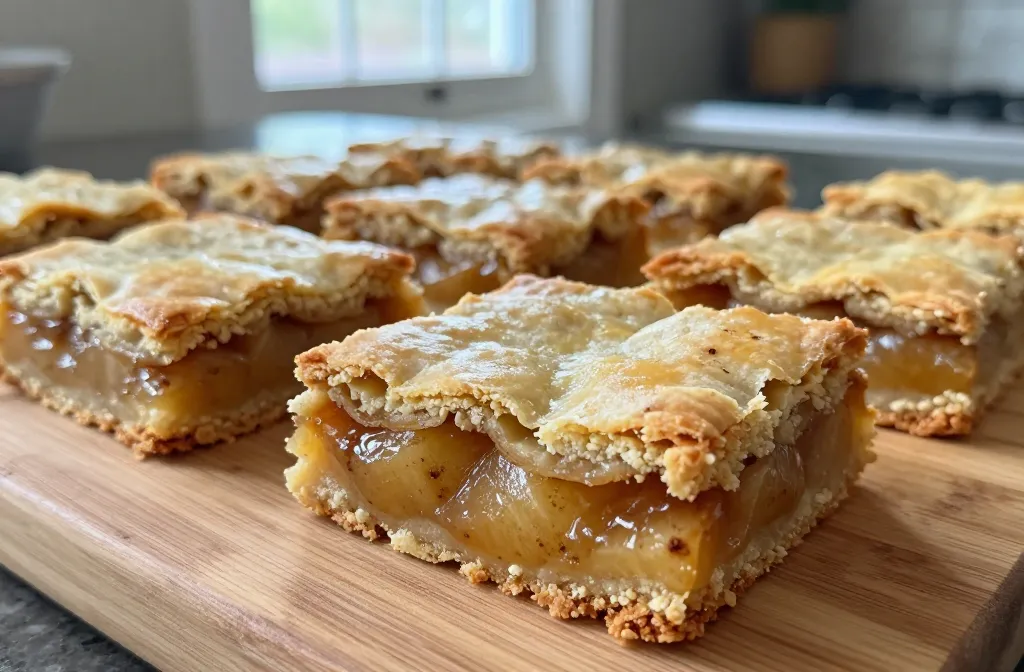
I snagbed a few apples from the farmer’s market, the kitchen smells already hint at cinnamon, and I’m thinking: apple pie bars, not pie. Because flaky crust, chewy filling, and clean cuts? Yes please. If you want dessert that travels from oven to sharing platter without a circus, you’re in the right lane.
Why apple pie bars are secretly the MVP of dessert trays
You get all the comfort of apple pie with a fraction of the drama. No pie pan gymnastics, no soggy edges, and you can slice them without waking the entire house. FYI, these bars hit different when you’re sharing with friends who claim they don’t like pie but will devour a bar. It’s science, obviously.
The backbone: a crust that doesn’t quit
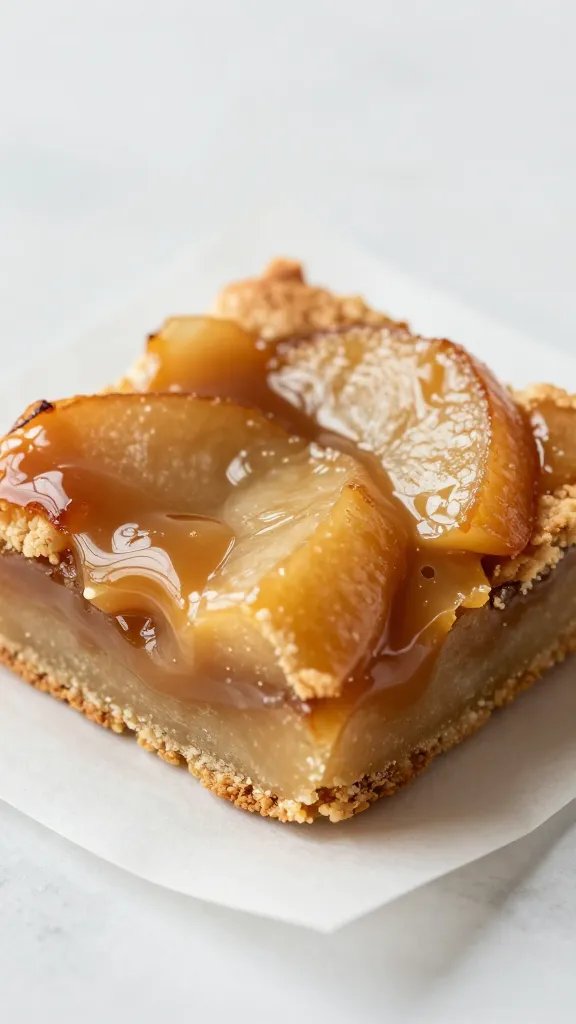
The crust is the foundation, so we treat it with respect. You want something sturdy enough to hold the apple filling, but not so tough it turns into a hockey puck.
- Simple shortcrust vibes: butter, flour, a pinch of salt, a little sugar. That’s all you need if you’re optimizing for flavor.
- Chill time is prime time: refrigerate the dough for 20–30 minutes to keep things flaky and easy to cut.
- Thickness matters: aim for about 1/4 inch on the bottom and a little more for the top layer. You want structure, not a cracker crumb mess.
Pro tip: the “tug test” for dough elasticity
If you poke the dough and it springs back, you’re golden. If it stubbornly resists, give it another chill. Cold dough = clean edges and fewer tears when you slice.
The apple filling: crisp, sweet, a little tart
The filling makes or breaks the bar. You want apples that hold their shape and a punch of cinnamon that doesn’t shout.
- Best apples: a mix works wonders—Granny Smith for tartness, Fuji or Honeycrisp for sweetness and bite.
- Binder: a touch of lemon juice to keep color bright, a whisper of cornstarch or flour to thicken without turning gluey.
- Flavor boosters: a dash of vanilla, a pinch of nutmeg, and if you’re feeling fancy, a splash of apple cider.
Texture balance: bite, bite, then melt
You want a little chew from the filling, and a juicy center that doesn’t run away when you bite. Don’t overcook the apples; you’re aiming for softened, not mush.
Layering it right: assembly and baking
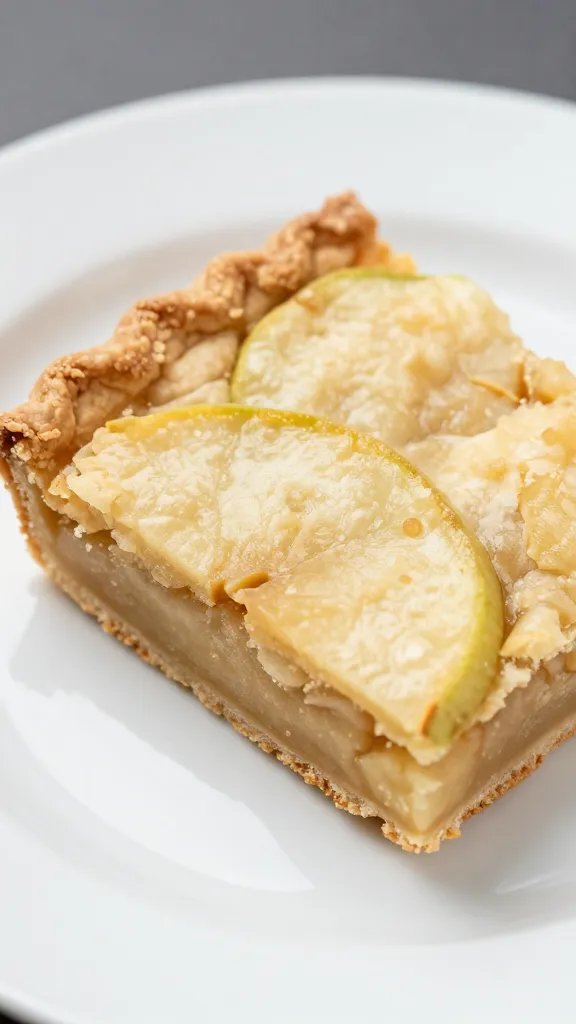
This is where the magic happens—like pastry alchemy with a comfy twist.
- Lay down the crust, press evenly, and bake it a few minutes before adding filling. This keeps the bottom from soaking up too much juice.
- Spread the filling evenly—no islands of apple chaos. A spatula helps even out the surface for clean slices.
- Top with a crumble or a second crust, depending on your vibe. Crumble topping = extra crunch; top crust = tidy, store-bready goodness.
Crumbly topping or smooth finish?
– Crumble topping: butter, flour, sugar, and a pinch of oats if you’ve got them. It creates that rustic, bakery-ish crunch. Bold choice, but it’s worth it.
– Top crust: brush with a little milk or egg for shine. This version looks store-bought and feels fancy without the effort.
Baking tips that save your bake from a rookie mistake
We’ve all been there: the edges burn, the middle stays soft, or the pan sticks like crazy. Let’s dodge the drama.
- Line your pan: parchment is your best friend. It makes lifting bars out clean and easy.
- Temperature matters: bake at a steady 350°F (175°C). Too hot and you scorch; too cool and the center stays goopy.
- Check doneness: the filling should bubble gently at the edges, the top should look set, and the center should spring back when you press lightly.
Handling a sticky situation
If the bar feels sticky when you try to cut, give it a 15-minute rest after cooling. It firms up and slices like a dream.
Serving suggestions: turning slices into moments
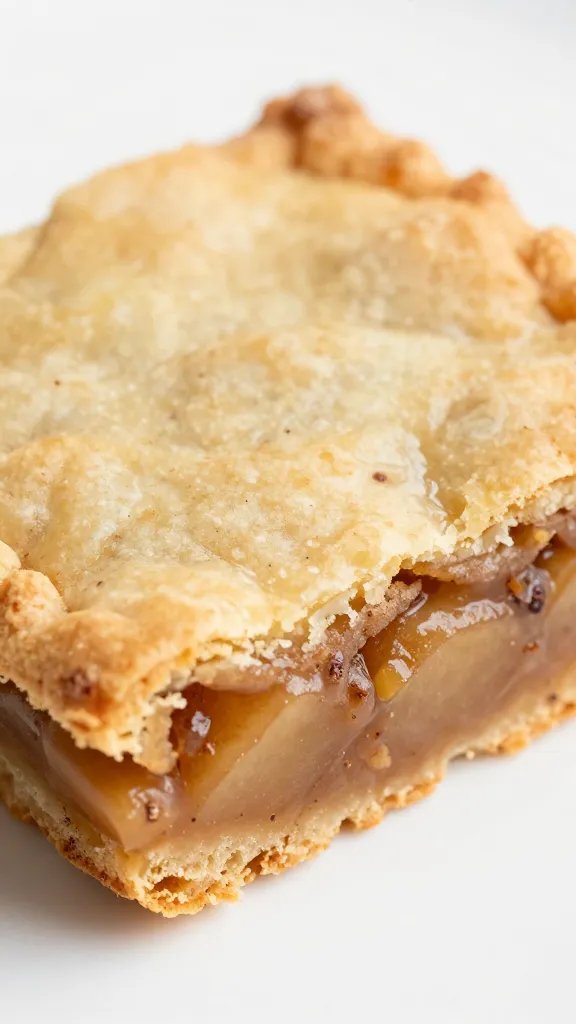
The best part about apple pie bars is the excuses they give you to be a dessert dork.
- Serve warm with vanilla ice cream for a classic duo. The heat softens the apples and the cold cream sings.
- Dust with a little powdered sugar or cinnamon for that wow-factor at a casual get-together.
- Pair with coffee or chai—these bars don’t judge your caffeine choices.
Make-ahead magic
Assemble the crust and filling, but bake the bars a day ahead. Chill overnight, then finish with a quick bake before serving. The flavors deepen, and you’ll thank yourself for the extra planning.
Flavor twists you’ll actually want to try
Want to riff without wrecking the classic vibe? Here are some friendly twists that still feel like apple pie.
- Caramel swirl: dot the filling with ribbons of caramel sauce before baking. FYI, it turns every bite into a cozy hug.
- Spiced punch: swap a portion of cinnamon for cardamom and a pinch of cloves for an unexpected warmth.
- Nutty crunch: sprinkle toasted pecans or walnuts on top for textural contrast. Bonus: they taste like fall in a bite.
Frequently Asked Questions
Find answers to common questions
Conclusion
There you have it: apple pie bars that feel homey and celebratory at the same time. They’re simple enough to make on a weeknight, but special enough to bring to a crowd. IMO, the best part is that you get all the joy of apple pie with far less fuss and far fewer plate juggling moments. So grab some apples, roll out that crust, and slice into a batch that tastes like cozy autumn afternoons and a little baking victory. Happy baking, friend!