
It happens to the best of us: a craving for something sweet, quick, and not entirely terrifying to bake. Easy dessert bars to the rescue. No fuss, just gooey corners and that perfect, shareable texture. You bring the appetite; I’ll bring the recipe magic.
What makes dessert bars so irresistible
Dessert bars are the comfort food of the baking world. They’re basically a bakery in a pan: simple crust, dreamy filling, and a clean slice every time. They travel well, feed a crowd, and don’t demand a PhD in pastry techniques. FYI, the magic comes from balancing a sturdy base with a luscious center. If you want a dessert you can make on a weeknight with minimal clean-up, bars are your best friend.
Crust on point: the foundation you actually want to bite into
A good bar starts with a crust that crinkles, cracks, or melts in the right places. You want something sturdy enough to support the filling, but not so hard you need a chisel to get through it.
- Shortcut crusts: store-bought shortbread crumbs or crushed wafers work wonders. Mix with a little butter and press into the pan.
- Oat-based crusts: oats, brown sugar, butter, and a pinch of salt create a rustic, chewy base that pairs beautifully with fruit fillings.
- Grainy goodness: graham crackers or digestive biscuits with melted butter make a classic, crowd-pleasing base.
Filling flavors that get the party started
Now for the personality. The filling is where you tell your dessert’s story. Do you want lemon brightness, chocolate decadence, or berry orchard vibes? The beauty of easy bars is you can switch flavors without reinventing the wheel.
- Fruit-forward: lemon, strawberry, or blueberry fillings feel fresh and summery. A splash of vanilla helps round the acidity.
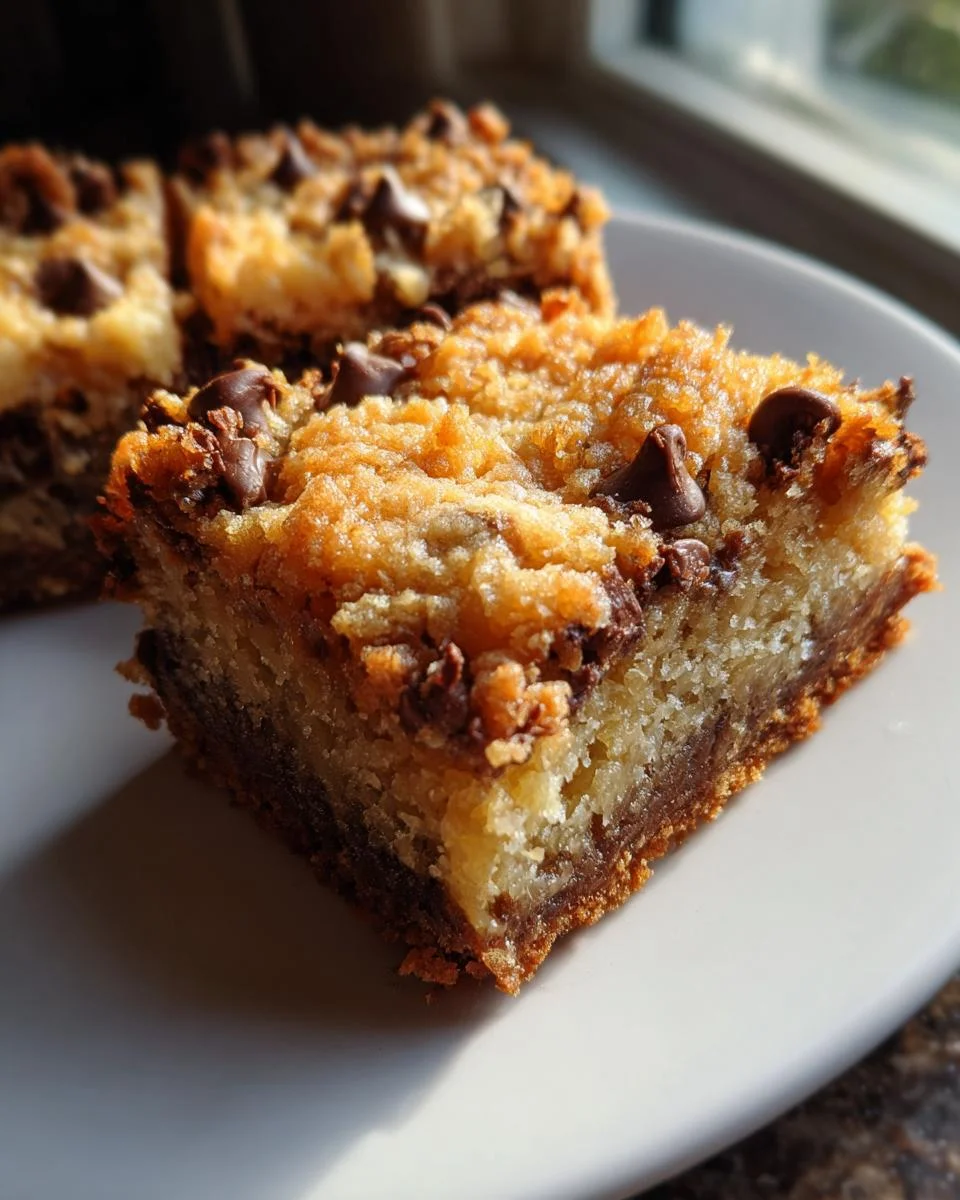
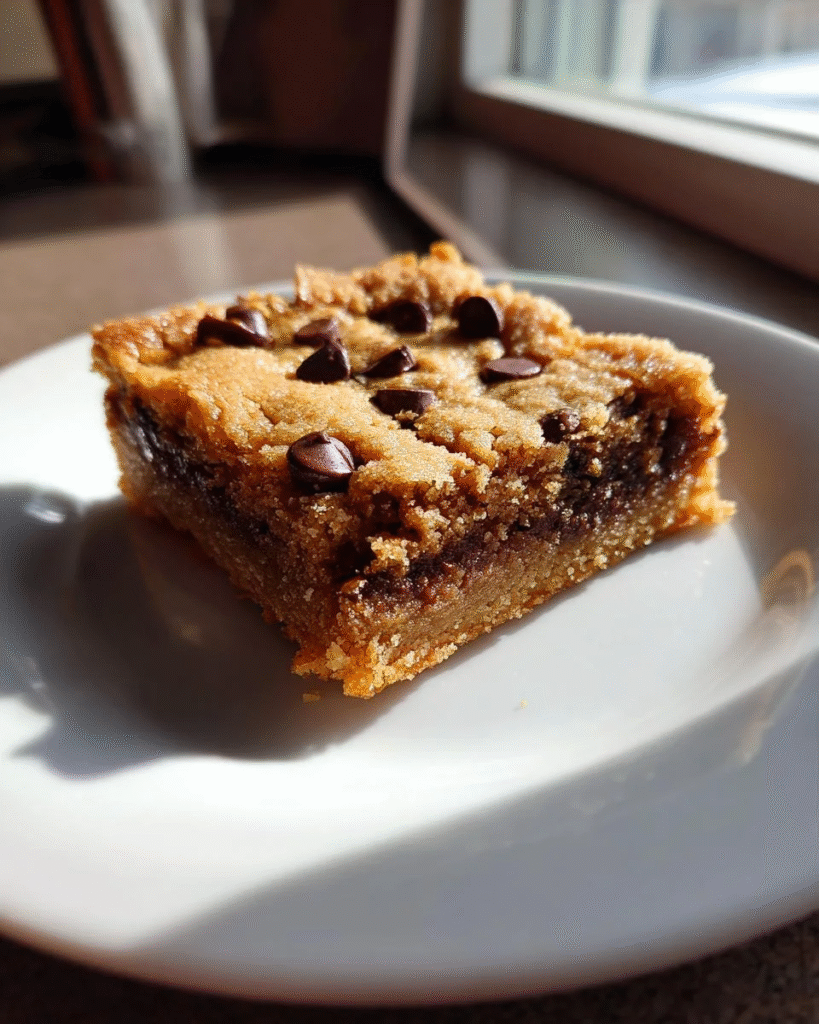
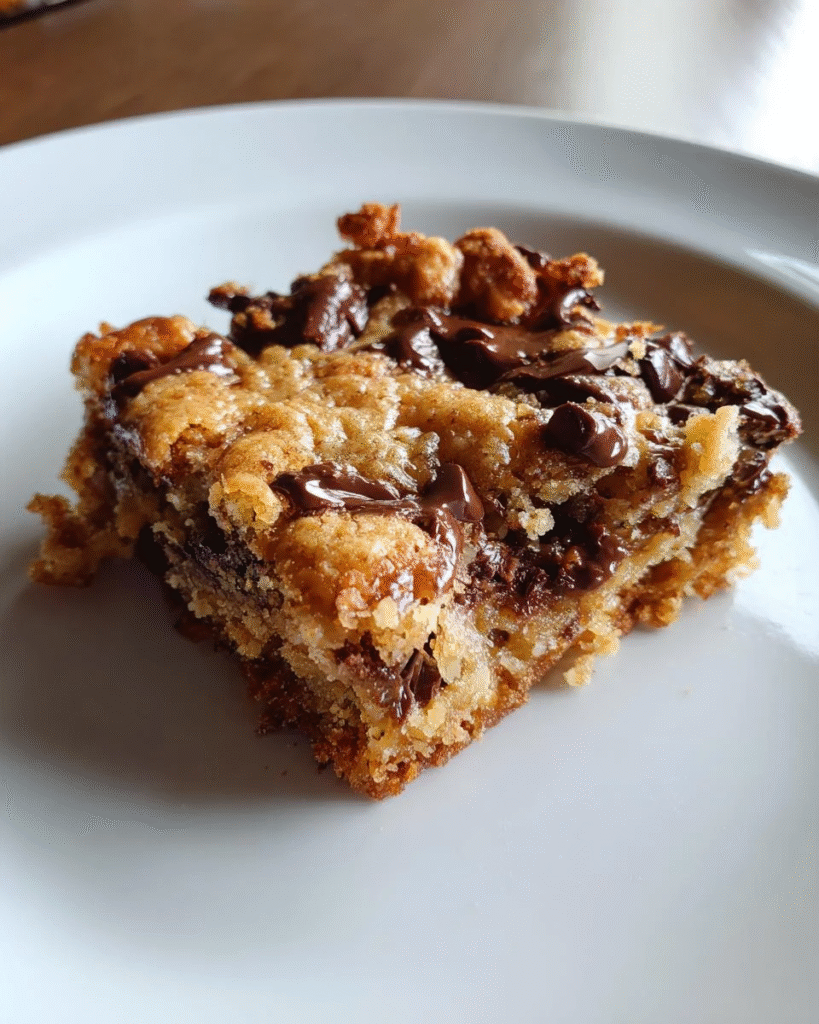
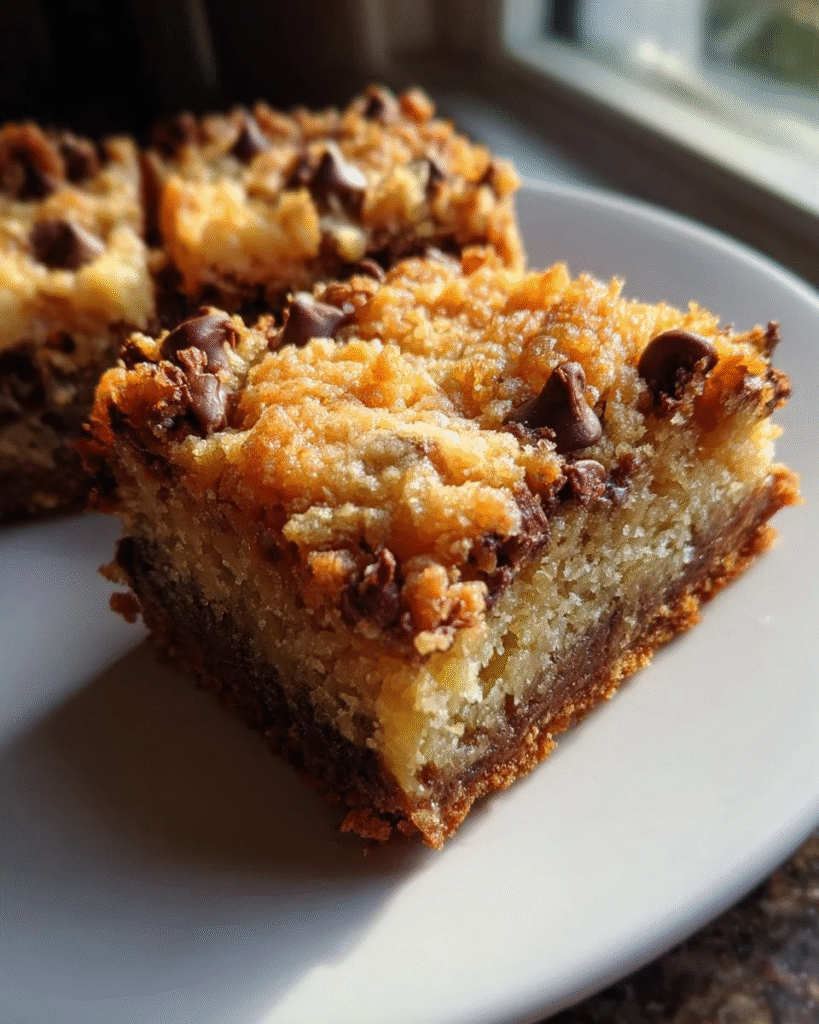
- Chocolate dream: a fudgy, ganache-like center or a simple chocolate chip swirl makes every bite feel indulgent.
- Creamy citrus: think cream cheese with a touch of sugar and vanilla for a tangy, silky center.
Texture tricks: getting that perfect bite
Texture makes or breaks a bar. You want a crisp crust, a creamy middle, and a clean cut.
How to avoid a gummy middle
– Chill the baked crust before pouring in the filling. It helps the crust set up and keeps the filling from seeping in.
– Don’t overmix the filling; air bubbles = odd holes in your slice. Stir until just combined.
How to slice without the drama
– Run a knife under hot water, wipe clean, then slice. The heat helps glide through the bar and gives neat edges.
One-pan miracles: a practical guide to making bars fast
You want easy, you want fast, you want minimal cleanup. Welcome to the one-pan wonder zone.
- Line the pan with parchment or upgrade to a silicone liner for easy removal.
- Even layer: press crust evenly, not too thick around the edges. A flat surface ensures uniform baking.
- Time management: bake crust first, then add filling. It saves you from a soggy base.
Flavor combos that actually work
If you’re feeling stuck, here are crowd-pleasing pairings that stay balanced and bake beautifully.
- Lemon-Raspberry Swirl Bars
- Peanut Butter Chocolate Chip Bars
- Blueberry Cream Cheese Bars
- Caramel Apple Cinnamon Bars
Sweet fixes for common hiccups
Baking is a little science, a lot of luck, and a pinch of improvisation.
My bar looks sunken in the middle—what happened?
Most likely you poured too much filling or the crust wasn’t baked long enough. If you notice air pockets, test with a toothpick: it should come out with a few crumbs, not wet batter.
The edges bake faster than the center—how to fix?
Tweak the oven heat or shield the edges with foil halfway through baking. If you’re using a glass pan, reduce the heat a touch; glass conducts heat differently.
I don’t want a cake-shadowed layer—how do I avoid that?
Keep the crust crisp by baking it just until lightly golden before adding filling. A thicker crust means more structure and less risk of sogginess.
Testing and adjusting: make it your own
The best thing about easy bars is you can customize without drama.
- Swap fillings: you can mix fruit purée with cream cheese for tang and creaminess.
- Add texture: toss in chopped nuts, chips, or oats for extra crunch.
- Make it lighter: use light cream cheese or yogurt in creamy fillings to cut richness without sacrificing flavor.
Storage and make-ahead tips
– Store bars in an airtight container at room temperature for 2–3 days or refrigerate for up to a week.
– Freeze individually and reheat a slice in the microwave for a quick treat later. FYI, they still taste great after freezing.
Frequently Asked Questions
Find answers to common questions
Conclusion
Easy dessert bars are the unsung heroes of the bake sale and the weeknight dinner table. They’re quick, forgiving, and endlessly adaptable, which means you can remix flavors until you find your signature bar. So next time you crave something sweet but don’t want to risk a full-on bake-a-thon, reach for a pan, line it, pile in a crowd-pleasing filling, and bake. You’ll get that perfect slice, every time. IMO, there’s nothing easier or more satisfying. Ready to bake your first batch? Let’s grab the pan and get messy—in the best way possible.