
I’m not crying, you’re crying—these Easy Lemon Cheesecake Bars are just too good to keep to myself. Bright, zingy, and ridiculously simple, they somehow manage to feel fancy without requiring a pastry degree. FYI, you’ll want seconds, possibly thirds, and you’ll convince everyone you baked them from scratch in a dream kitchen.
Why These Bars Are Your New Besties
You want dessert that’s quick, reliable, and not a full-on bake-a-thon. These lemon cheesecake bars hit all three. They’ve got that tangy lemon pop, that creamy cheesecake lusciousness, and a crust that holds everything together like a champ. No fancy equipment needed, no drama, just pure citrusy goodness in bar form. Sounds like a win, right?
What You’ll Need (No Spirit of Adventure Required)
– Crust: graham crackers or crushed vanilla cookies, melted butter, a pinch of salt
– Filling: cream cheese, sugar, eggs, lemon zest, lemon juice, vanilla
– Optional extras: a dusting of powdered sugar, a swirl of lemon curd, or a zest finish for extra brightness
Want to keep it simple? Grab a store-bought crust and you’re basically there. You’re allowed to whisper “I did not just bake this” while you slice.
Step-By-Step: From Pantry to Pan
- Make the crust: mix crust crumbs with melted butter and salt until it clumps. Press into a parchment-lined pan. Chill while you prep the filling.
- Whip the filling: beat softened cream cheese with sugar until smooth, then beat in eggs one at a time. Stir in lemon zest, lemon juice, and vanilla. Don’t overmix or you’ll get a cheesecake wiggle you didn’t sign up for.
- Pour and bake: pour the filling over the crust and bake until just set. A gentle jiggle in the center means you’ll have that dreamy cheesecake texture. FYI, you’re aiming for a clean edge, not a lava flow.
- Cool and chill: let them cool on the countertop, then chill in the fridge for at least a couple of hours. The chill time = flavor time. Don’t skip it, captain.
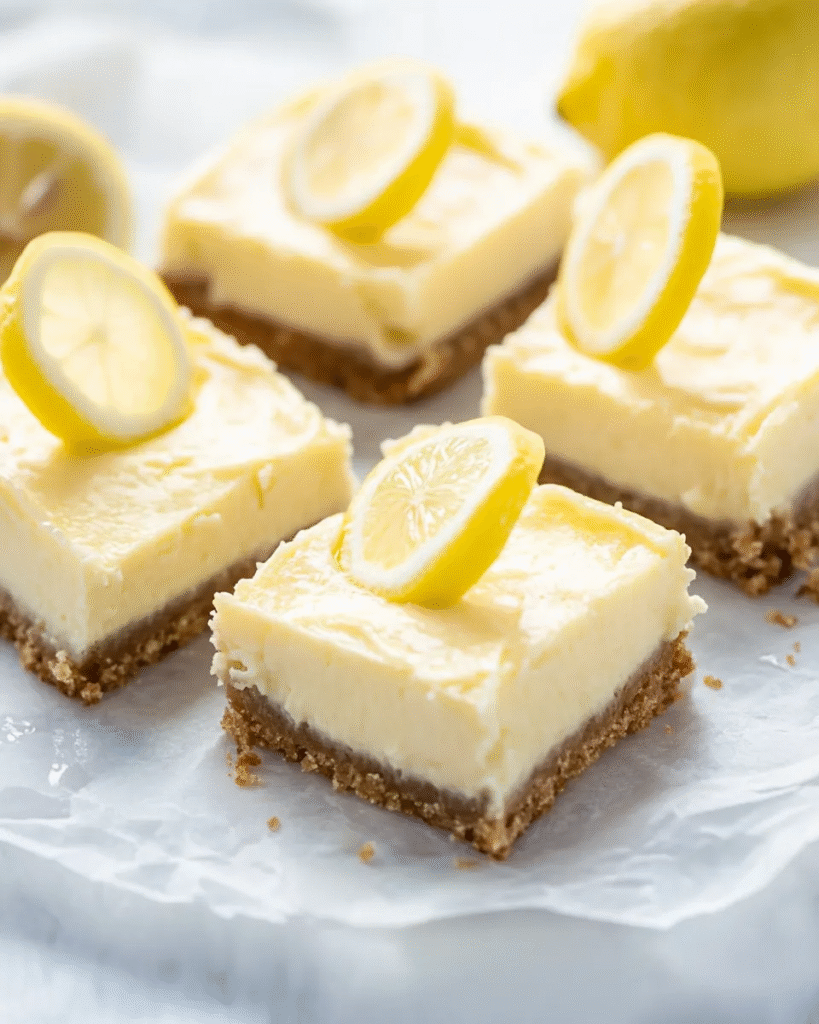
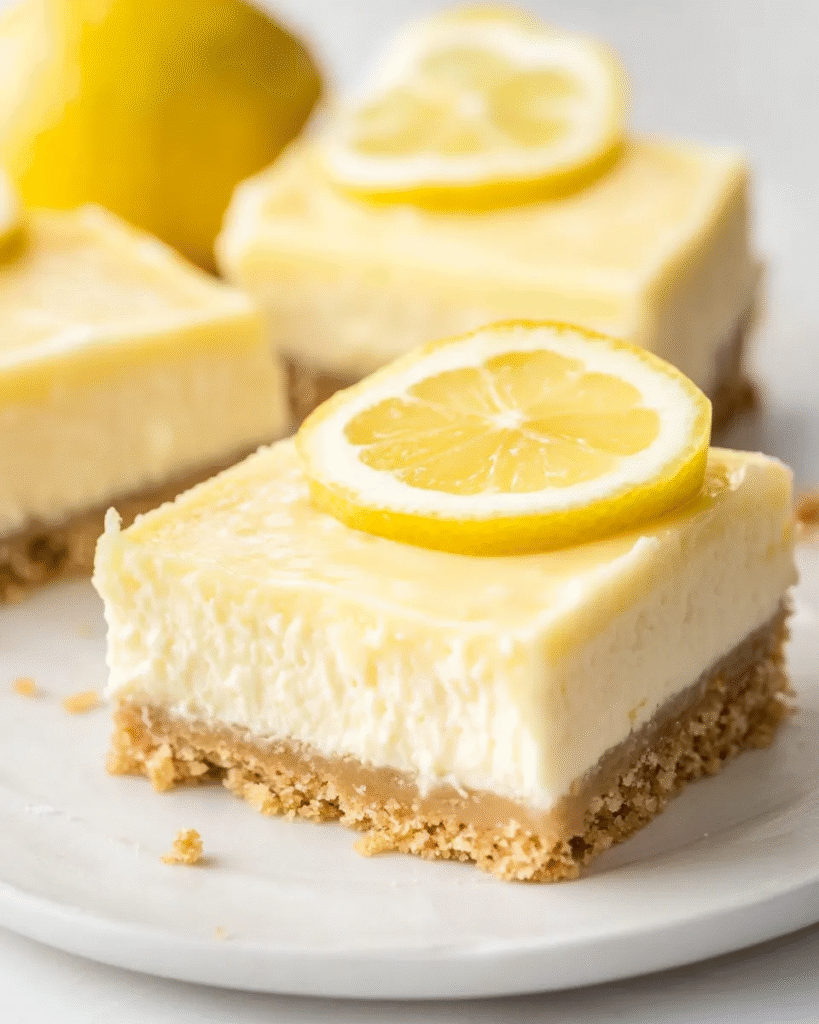
- Slice and enjoy: cut into bars, dust with powdered sugar if you’re feeling dramatic, and serve with a wedge of lemon on the side for drama.
Tips to Nail it Every Time
- Room temperature matters: soften cream cheese and eggs so everything blends smoothly. No one wants lumps in their life—or their lemon cheesecake.
- Don’t overmix after eggs: a few streaks are okay, but overbeating can lead to cracks and a dense texture. You want creamy, not cheesecake science fair project.
- Watch the bake time: ovens vary. Start checking around 25 minutes; the center should be just-set but still a tad wobbly. It firms up as it cools.
- Leveled pan, friends: use a springform or a lined 8×8 pan for easy removal and neat edges. Crumbs are not your friends in this moment.
- Upgrade ideas: a lemon curd swirl, a shortbread crust, or a fresh berry topping can transform the vibe without complicating the process.
Flavors and Variations Worth Trying
Imagination is your friend here. If lemon is your spirit fruit, you’ve got options:
- Sunshine burst: add extra lemon zest to the filling for a brighter bite.
- Berry tang: top with a handful of fresh berries or a berry coulis after chilling.
- Herbal hint: a pinch of thyme or basil in the crust or a lemon-thyme garnish for a surprising twist.
- Toasty crust: add a spoonful of brown sugar to the crust for a caramelized edge.
Common Hurdles (And How to Surf Right Over Them)
Cracks in the Cheesecake?
Totally normal if you’re not sure what you’re doing. Cracks usually mean overbaking or rapid temperature changes. Keep the oven door closed, bake until just set, and give the pan a slow, cool exit from the heat. FYI, cracks don’t kill flavor—they just add character.
Gummy Crust or Crumbly Edges?
Both are solvable. If your crust is too crumbly, add a touch more butter and press firmly. If you kept it too dry, a light mist of water before pressing helps. You’re shaping destiny, one crust at a time.
Too Soft Center?
That means you’re undercooking. Give it a few more minutes, then test again. Don’t fear the jiggle; a slight wobble in the center is exactly what you want. It sets up as it cools.
Make-Ahead and Storage Hacks
These bars are brunch-friendly, party-ready, and perfect for meal-prep snack sessions. They travel well and taste even better the next day. Here’s how to keep them happy:
- Refrigerate in an airtight container for up to 5 days. They won’t steal your lunch—promise.
- Freeze for up to 2 months. Slice first, then seal. Thaw overnight in the fridge for best texture.
- Prep-ahead tip: make the crust and filling separately, then assemble and bake the day you want them. It’s like a mini kitchen hack, but sweeter.
Serving Ideas That Impress Without the Fuss
- Dust with powdered sugar and lemon zest for a simple, classy look.
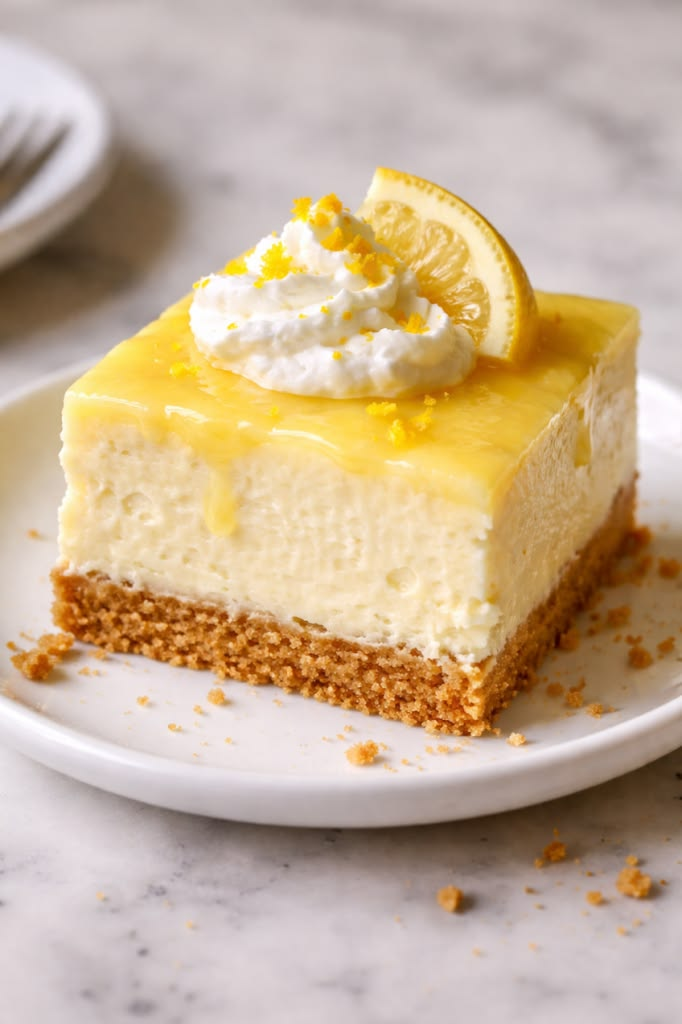
- Serve with a dollop of whipped cream and a few fresh berries to balance tartness.
- Create a lemon glaze drizzle for a glossy finish that screams “I planned this.”
Frequently Asked Questions
Find answers to common questions
Conclusion
Easy Lemon Cheesecake Bars are the kind of dessert that makes you feel like a genius without the stress. They’re bright, creamy, and forgiving enough to not traumatize your kitchen. So bake a batch, slice into confident squares, and tell friends it took you all afternoon—with zero guilt. IMO, they’ll ask for the recipe, and you’ll smile while handing over the pan like a casual hero. Enjoy!
Want a printable PDF version?