
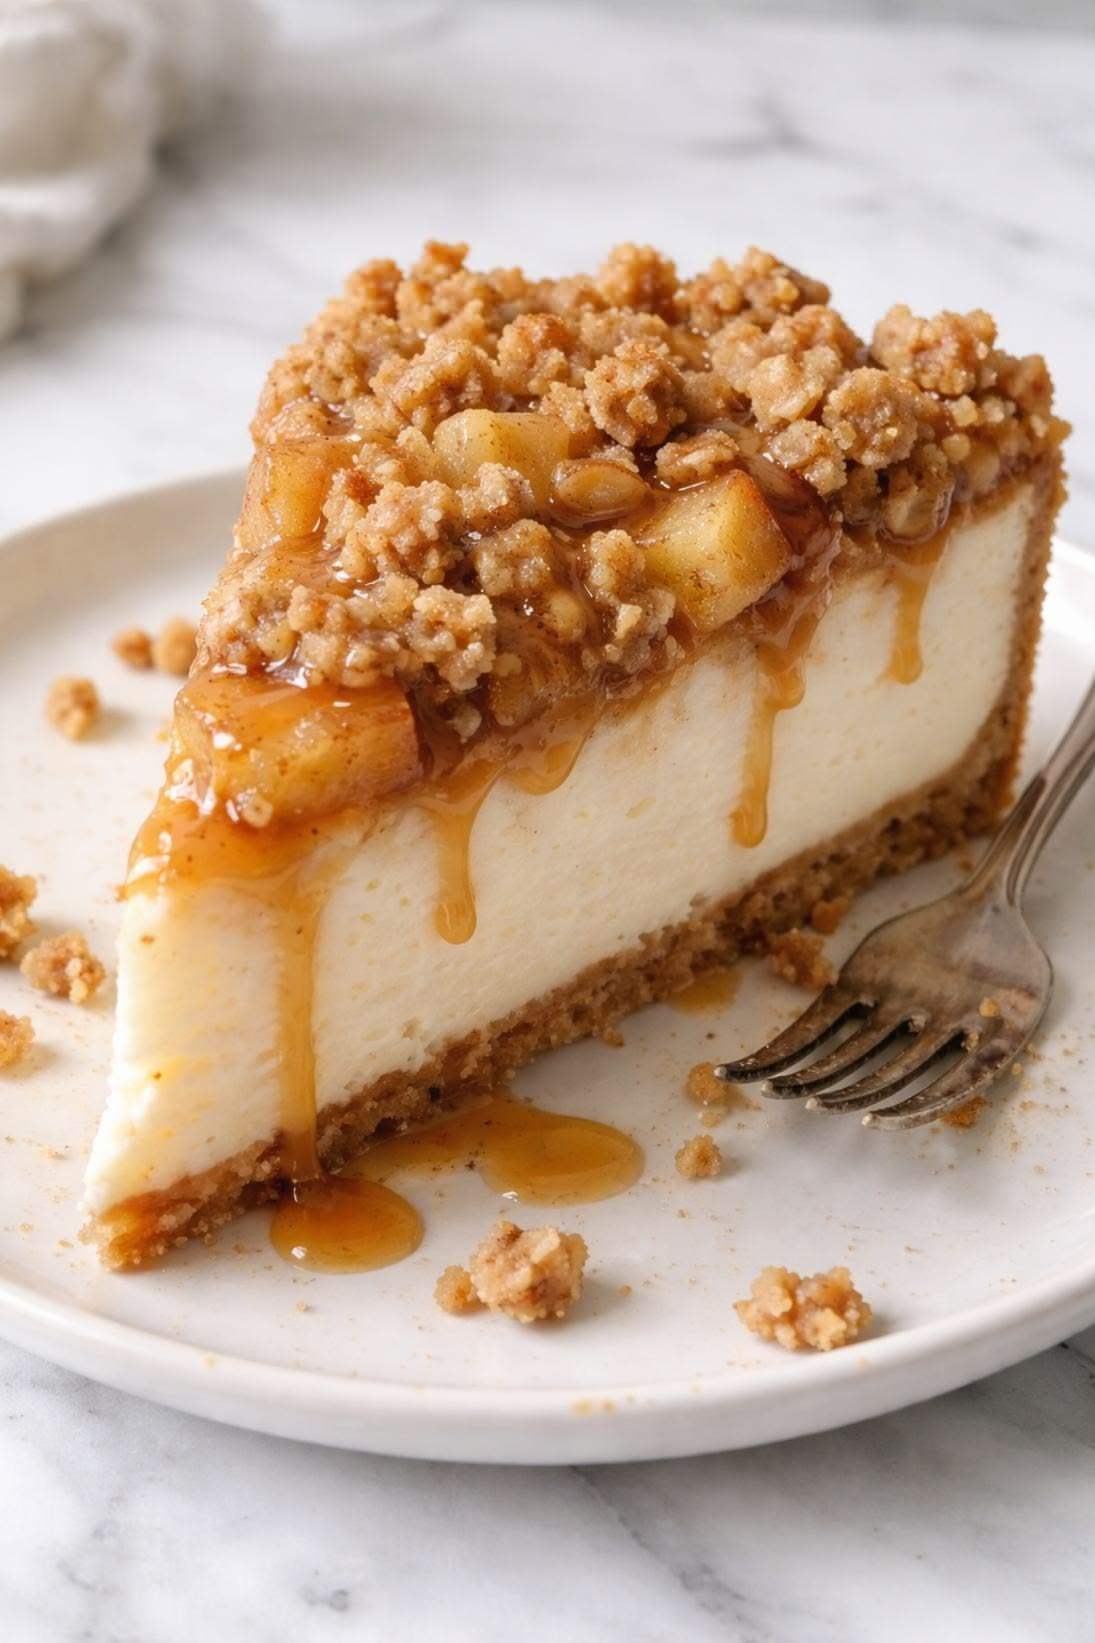
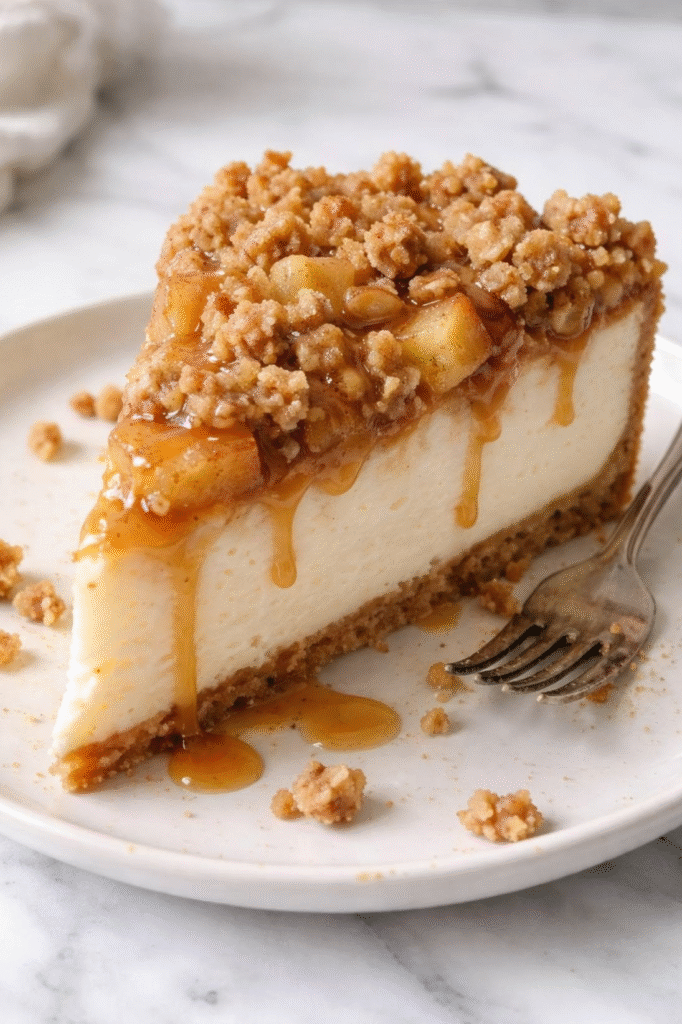
The holidays are begging for something cozy, festive, and a little cheeky to snack on. Enter Holiday Cheesecake Bars: creamy, crumbly, and surprisingly portable. They’re the kind of treat you can slice into perfect bite-sized squares and pretend you cooked for hours. Spoiler: you didn’t. You whipped this up in record time, and that counts as culinary magic.
Why Cheesecake Bars over a Whole Cake (aka the smart holiday move)
Cheesecake bars are the adult version of a party trick: a fancy dessert that travels well and stays pretty during transport. No delicate wedges or plate-snapping drama. They slice cleanly, stay moist, and come with a built-in excuse for seconds: “I’m just spreading the joy.” FYI, you can jazz them up with holiday flavors like cinnamon, lemon zest, or cranberries without turning your kitchen into a culinary lab.
The flavor lineup: classic cozy, with a wink
There’s something about holiday flavors that says “care and cookies and time with family.” Here are some go-to combos that taste like a warm hug.
- Cranberry Orange Cream: tart berries meet bright citrus and a silky cheesecake swirl.
- Peppermint Mocha: a peppermint kick with a hint of cocoa—adult peppermint bark in bar form.
- Gingerbread Swirl: molasses and spice that somehow tastes like Christmas in a pan.
- Holiday Lemon Poppy: lemony tang with a pop of poppy seeds for texture and whimsy.
- Brown Butter Cinnamon: toasty, nutty, and warmly spiced—like a cozy sweater for your taste buds.
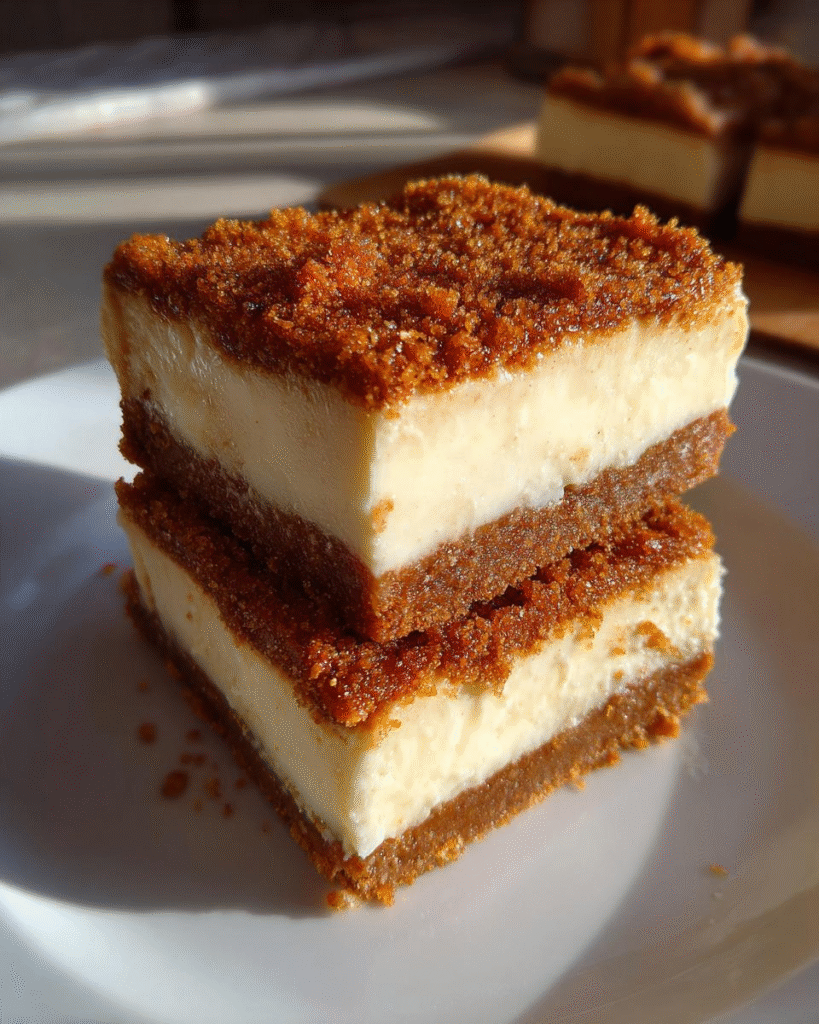
Crust vs. filling: balance is everything
The crust should be sturdy enough to hold a bar, but not so thick that it steals the show. Think cookie crumb base with a whisper of butter—retreats enough to let the creamy center shine.
Crust basics you can count on
- Use graham crackers or shortbread for sweetness and snap.
- Pulse until fine; press firmly into the pan for clean edges.
- Bake just until set, then let cool. This prevents a soggy middle later.
Filling finesse
The filling should be lush and silky, not dense like a brick. Beat the cream cheese with sugar until smooth, fold in eggs one at a time, and finish with a splash of vanilla. For an extra glossy finish, a touch of sour cream at the end gives it that professional look.
Texture tricks: where the magic hides
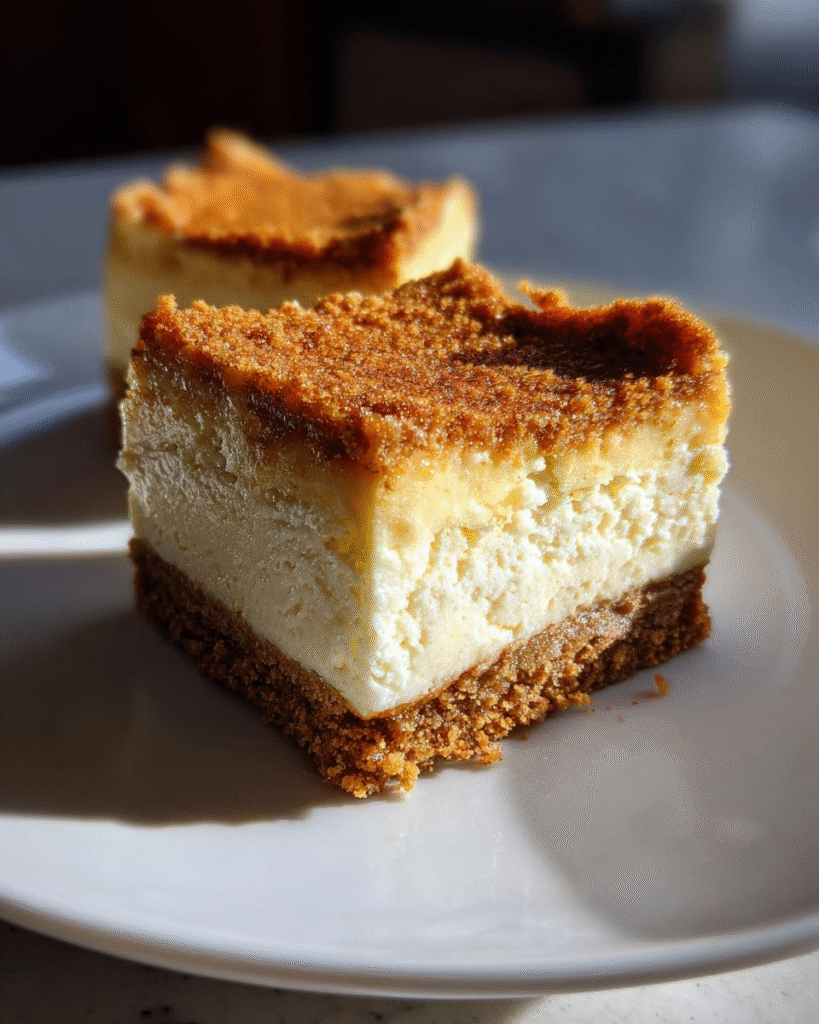
Texture is everything in a good cheesecake bar. You want that creamy center, a chewy crust, and little bursts of texture for contrast.
- Swirls: add your flavor in ribbons rather than a single dump. Marble it for a pretty finish.
- Chill time: overnight isn’t a myth. Cold helps the bars slice better and hold their shape.
- Chill the plate too: warm hands + warm knife = messy edges. A cold knife makes clean cuts.
Step-by-step: quick blueprint for perfect bars
Imagine you’re assembling a tiny, delicious Christmas present.
- Preheat to 325°F (163°C). Line a 9×13 inch pan with parchment for easy removal.
- Make the crust: mix finely crushed cookies with melted butter, press into the pan, bake 8-10 minutes.
- Prepare the filling: beat cream cheese with sugar until silky, beat in eggs one at a time, add vanilla and your flavoring if you’re using one.
- Swirl (optional): drop spoonfuls of cranberry sauce or lemon curd and swirl with a knife.
- Bake until the center barely jiggles—usually 25-35 minutes, depending on your oven. Don’t overbake!
- Cool completely, then chill for at least 4 hours or overnight. Slice and serve.
Make-ahead magic: saving you holiday time
If your calendar is a mess of gift exchanges and family photos, these bars are your best friends.
- In the fridge: store already sliced bars in an airtight container for up to 5 days.
- In the freezer: wrap tightly and freeze for up to 2 months. Thaw in the fridge, then cut for clean edges.
- You can partially bake and freeze the crust, then finish with filling later. FYI, this is perfect for last-minute hosting.
Top decorating ideas to wow without stress
You don’t need fondant mastery to impress. A few simple touches go a long way.
- Dust with powdered sugar and a drizzle of melted chocolate for a classic look.
- Scatter frozen cranberries on top before chilling for a festive pop of color.
- Make peppermint shards by crushing candy canes and sprinkling them on top after a light glaze.
- Swirl in white chocolate ribbons or a berry coulis for a gallery-worthy finish.
Subsection: dairy-free and gluten-friendly twists
Not everyone can or wants to eat dairy or gluten, but you can still enjoy holiday cheesecakes in bar form.
Dairy-free swap ideas
- Use full-fat coconut milk yogurt or cashew cream to replace some dairy richness.
- Use dairy-free cream cheese alternatives if you need a gluten- and dairy-free option; just watch the texture and sweetness.
Gluten-friendly crust options
- Use gluten-free cookies or a blend that you trust, with the same butter ratio.
- Or switch to a crumbly oat crumble for a different texture while keeping gluten out of the equation.
Frequently Asked Questions
Find answers to common questions
Conclusion
Holiday Cheesecake Bars are your easiest, most impressive crowd-pleaser this season. They combine the elegance of cheesecake with the grab-and-go practicality of bars, so you can share something fancy without sacrificing your sanity. They’re creamy, festive, and forgiving enough to adapt to your favorite holiday flavors. IMO, they’re the snack you didn’t know you needed but now can’t live without. So bake, slice, and enjoy the compliments rolling in—your sweet tooth and your calendar will thank you.