
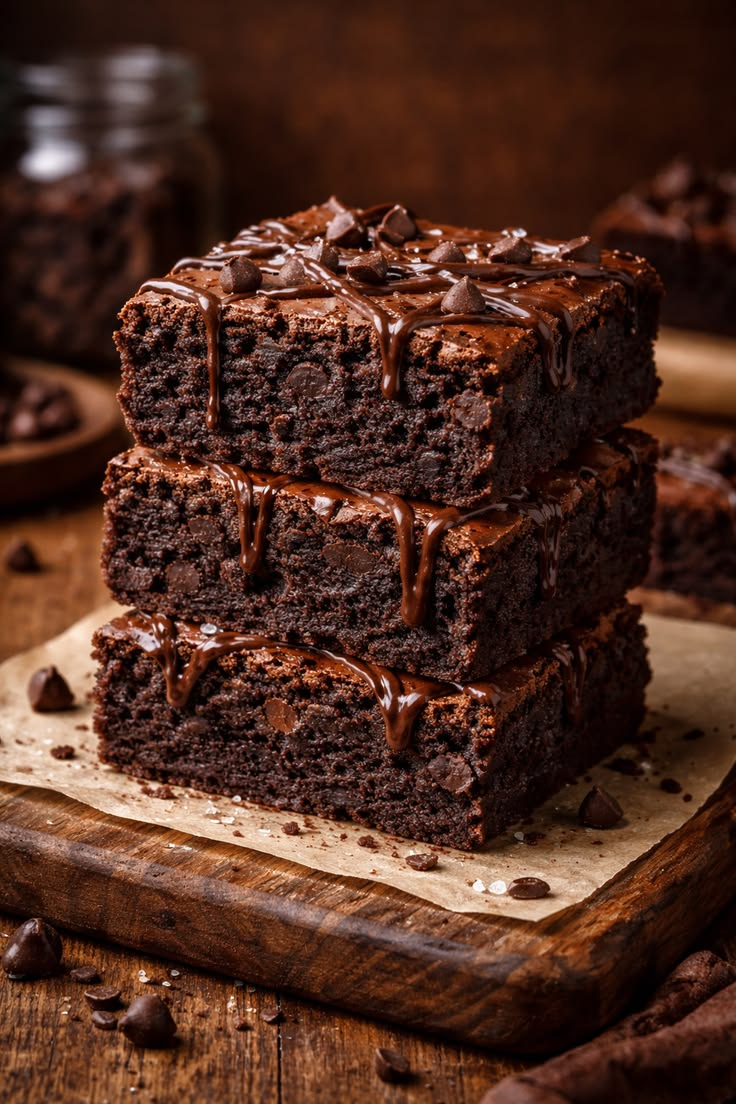
Every kid in the lunchroom should be excited to open a lunchbox just to find this brownie. No snacking sneaks here—these lunchbox brownies are easy, portable, and basically foolproof. If you’ve got a craving and a microwave (or a little oven), you’re in the right place.
Why lunchbox brownies are the MVP of snacks
You want something that travels well, stays soft, and doesn’t crumble into a chocolatey mess. Enter lunchbox brownies: dense, fudgy, and sturdy enough to survive a backpack tumble or a desk drawer raid. They’re the kind of treat that makes you sound like a kitchen wizard without needing a culinary degree.
– They stay moist longer than your average sheet-pan brownie.
– They cut cleanly into perfect little squares for sharing (or arguably not sharing).
– They’re flexible: mix-ins, toppings, and even add-ins can rotate with your mood.
FYI, these aren’t the kind of brownies that crumble into a pile of crumbs when you bite into them. They hold together like a champ.
Classic base that actually works
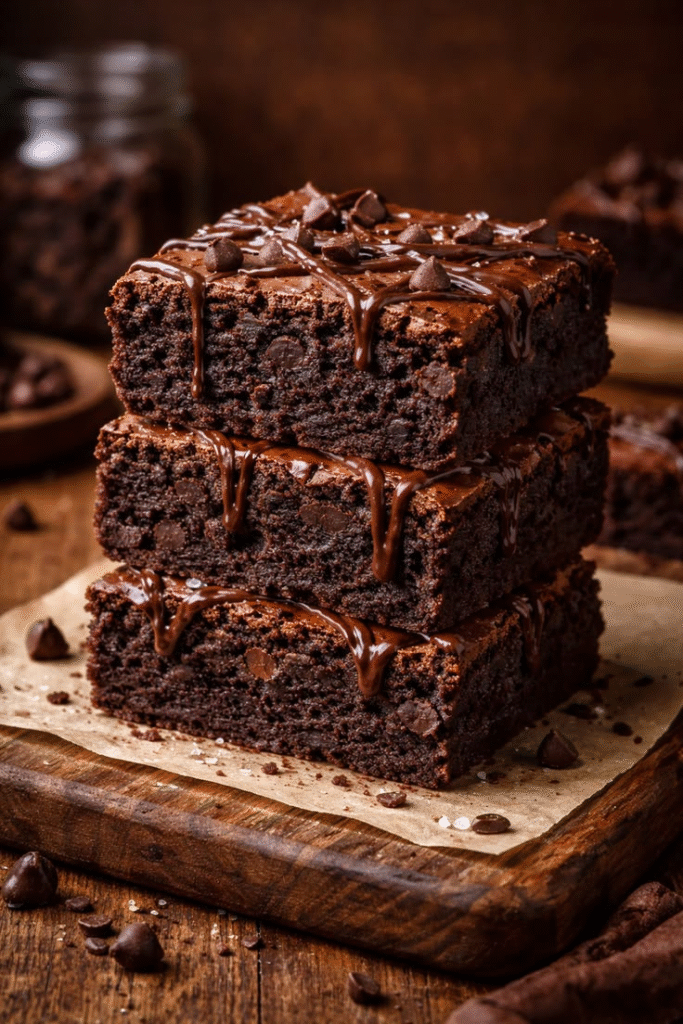
Let’s talk the foundation. You want a batter that’s rich, a touch dense, and super forgiving. The classic is simple: cocoa powder, melted butter, sugar, eggs, a little flour, and a pinch of salt. Optional vanilla locks in the flavor, and a splash of espresso powder deepens that chocolate vibe without turning the brownies into coffee bombs.
– Use melted butter for shine and moisture.
– Don’t overbeat after the flour goes in; you want a tight batter, not a springy one.
– If you don’t have all-purpose flour, sub with a bit of almond flour for a nuttier edge (just know it changes texture a touch).
Core idea: you want that glossy, fudgy batter, not a cakey disaster. If you’ve ever baked a brownie that felt like a brick, you know what I’m avoiding here.
Mix-ins and twists for personality
The beauty of brownies is how easily they accept add-ins. Nuts, chips, swirls, swirls, swirls. Here are some crowd-pleasers, plus a few quirky ideas if you’re feeling adventurous.
– Classic: chocolate chips or chopped walnuts.
– Peanut butter swirl: dollop spoonfuls of peanut butter and swirl with a knife.
– Mint or orange zing: a teaspoon of extract plus a handful of chips.
– Butterscotch or caramel pockets: drop a few caramel bits into the batter.
– Oreo crumble or pretzel bits for a salty-sweet punch.
Subsection: swirls for drama
Swirl techniques that actually work
– Drop half the batter, dollop in your swirl, then top with the rest. Use a knife to pull through in a figure-eight pattern for marble-y magic.
– If you want a dense, shiny top, don’t over-nestle the swirl; keep it light and almost floating on the surface.
Subsection: texture tips
Texture tricks you’ll thank me for
– For extra fudgy vibes, reduce flour by a tablespoon or two.
– If you crave crunch, toss some almonds or roasted peanuts into the batter right before the final stir.
Baking like a pro (without the drama)
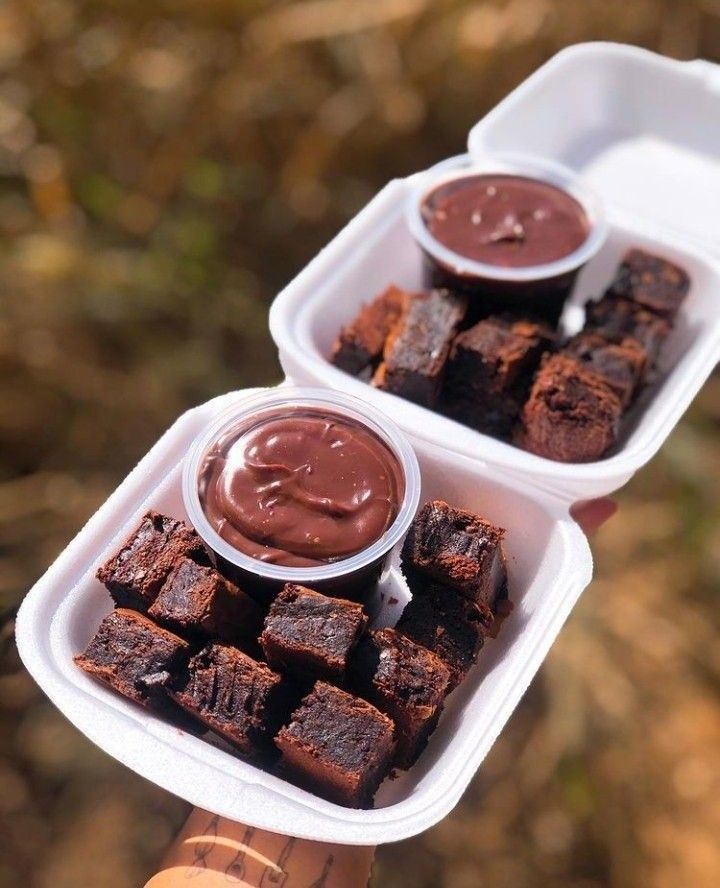
Now that your batter is ready, let’s talk baking and timing. The goal: a brownie that’s fudgy in the middle with a just-set crust on top. Temperature and bake time can make or break this.
– Preheat to 350°F (175°C). Line your pan with parchment for easy removal.
– Bake for 18–25 minutes depending on pan size and thickness. The toothpick test should come out with a few moist crumbs, not wet batter.
– Cool completely before cutting. This prevents the slices from sagging or tearing.
If you’re bringing these to work or school, consider a mini-pan or a square that travels well. A sturdy container helps them keep shape, and a silicone liner makes cleanup a breeze.
Size, shape, and packing fresh
You want brownie bites that fit in a lunchbox, right? Here are the practicals for packing a batch that stays tasty from morning to afternoon.
– Cut into uniform squares (or bars) so they stack neatly without wobbling.
– Store in an airtight container at room temperature for up to 3 days, or freeze for longer storage.
– If you’re concerned about sticking, dust the top with a touch of cocoa powder or powdered sugar just before packing.
Pro tip: for school or work mornings, you can bake them the night before, wrap individual squares in parchment, and tuck them into a lunchbox. They firm up overnight and still taste amazing.
Gluten-free or vegan options without losing the joy
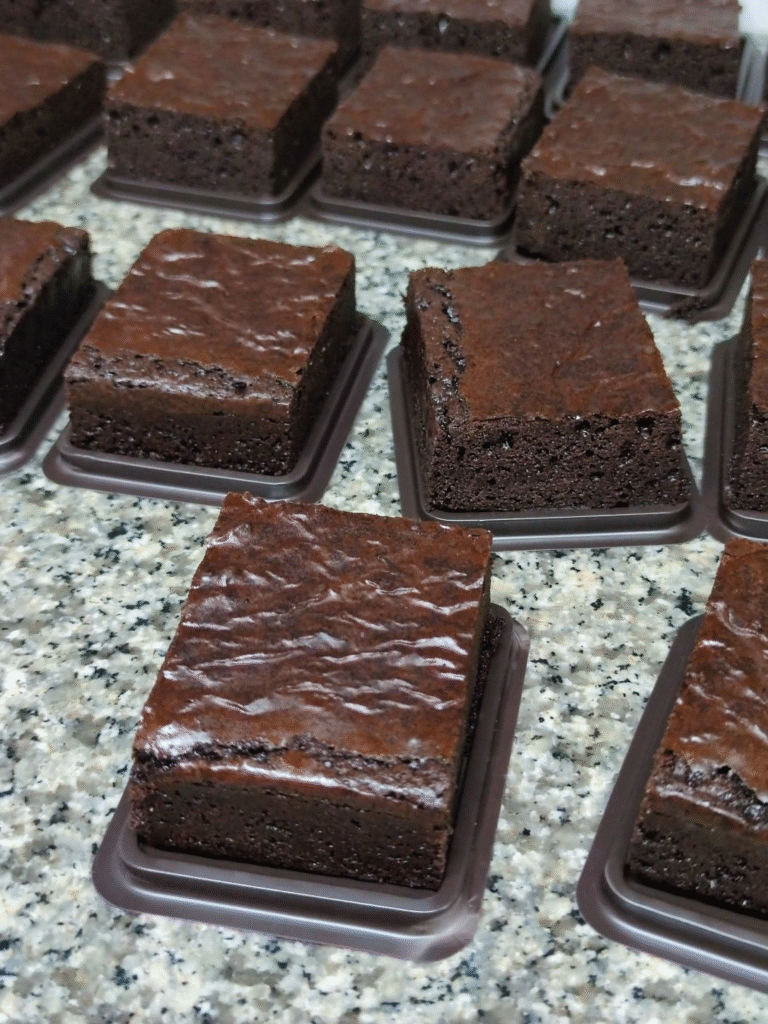
Gluten-free and vegan friends deserve brownie bliss too. You can nudge this recipe in a few simple directions without losing the fudgy core.
– Gluten-free swap: use a 1:1 gluten-free baking mix or a blend that’s designed for brownies. You might notice a touch crumblier texture; keep the batter thick to compensate.
– Vegan switch: replace eggs with flax eggs (1 tablespoon ground flaxseed + 3 tablespoons water per egg, soak 5 minutes) or use a commercial egg replacer. Use dairy-free butter or coconut oil.
– Dairy-free fun: use plant-based chocolate and butter substitutes. The overall taste stays chocolate-forward and satisfying.
If you want, I can tailor a specific gluten-free or vegan version with exact measurements.
Frequently Asked Questions
Find answers to common questions
Conclusion
Lunchbox brownies aren’t just a snack; they’re a small victory in pastry form. They travel well, taste rich, and feel surprisingly elite for something you can whip up in no time. IMO, the best part is that you can tailor them to your mood, your dietary needs, or whatever random add-ins you’ve got pretending to be a snack stash.
So, when you’re staring at a bag of cocoa and thinking, “What’s for lunch?” remember this: grab a bowl, melt some butter, and bake your way to portable chocolate glory. If you want, I can help you tweak the recipe for your favorite add-ins or dietary needs. Happy baking, friend—may your lunchbox be forever delicious.